Introduction
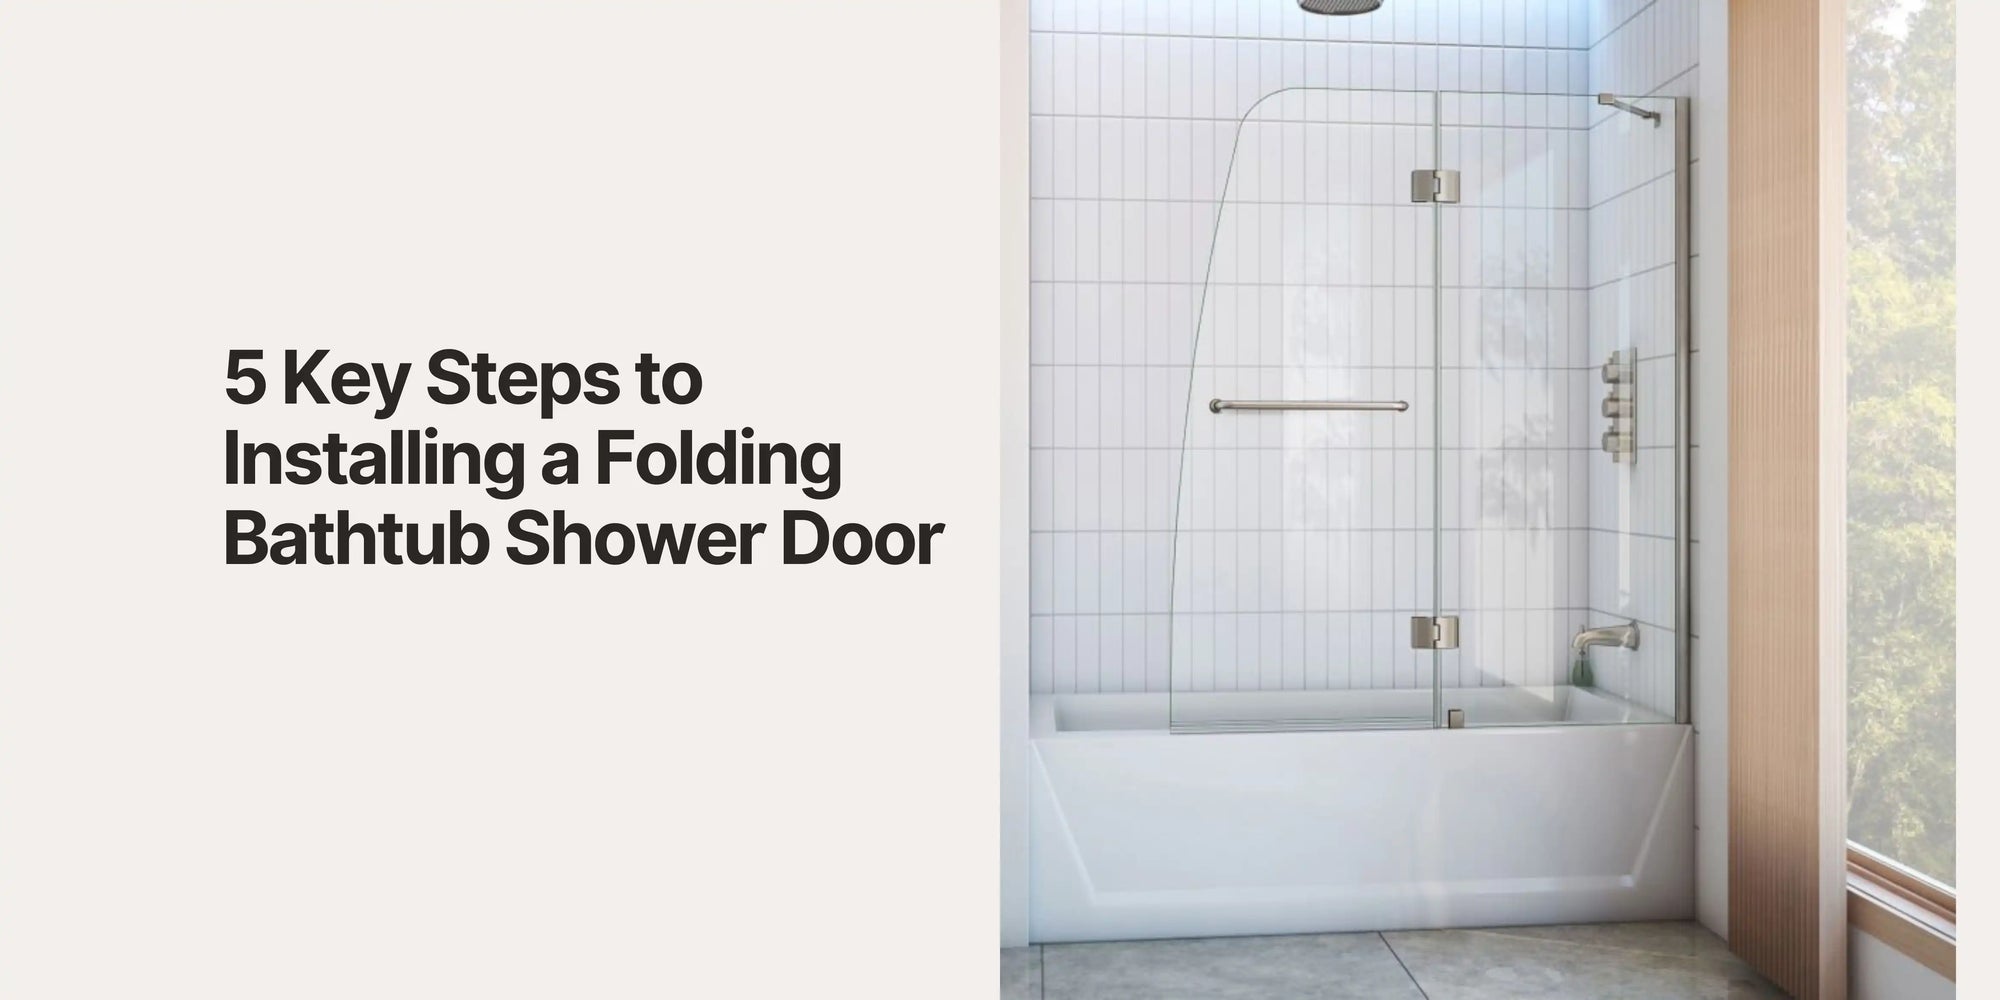
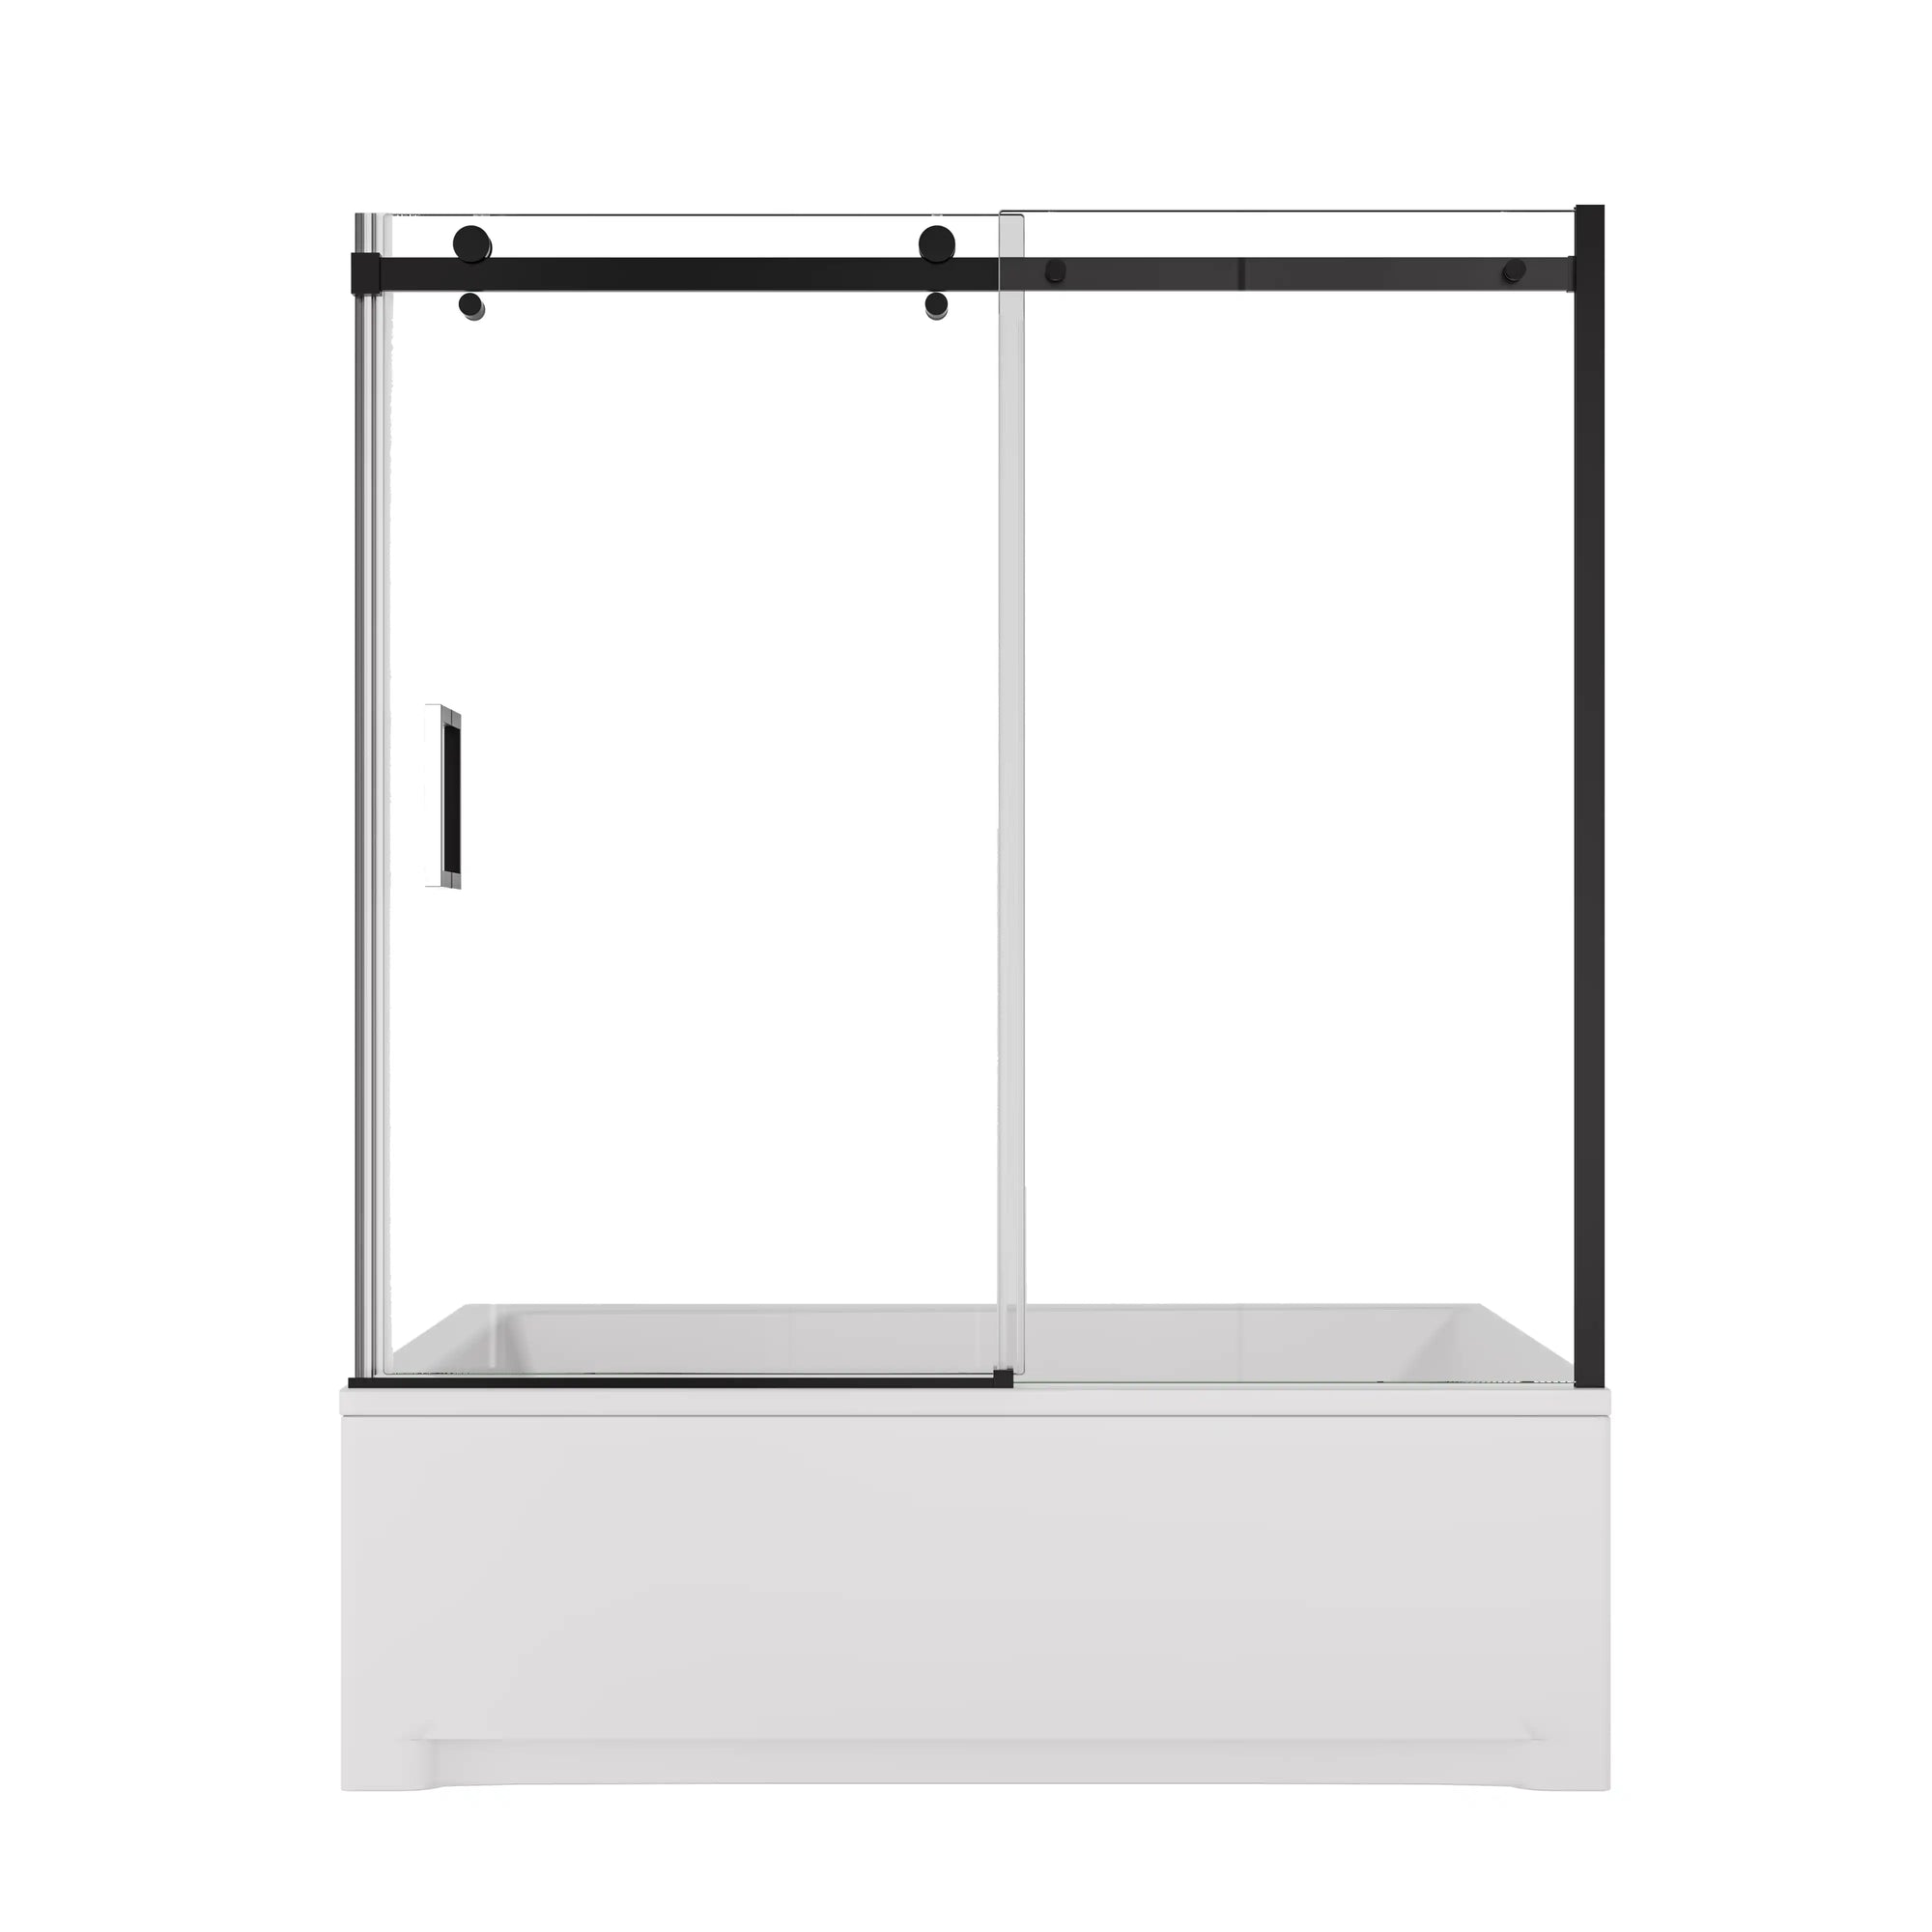
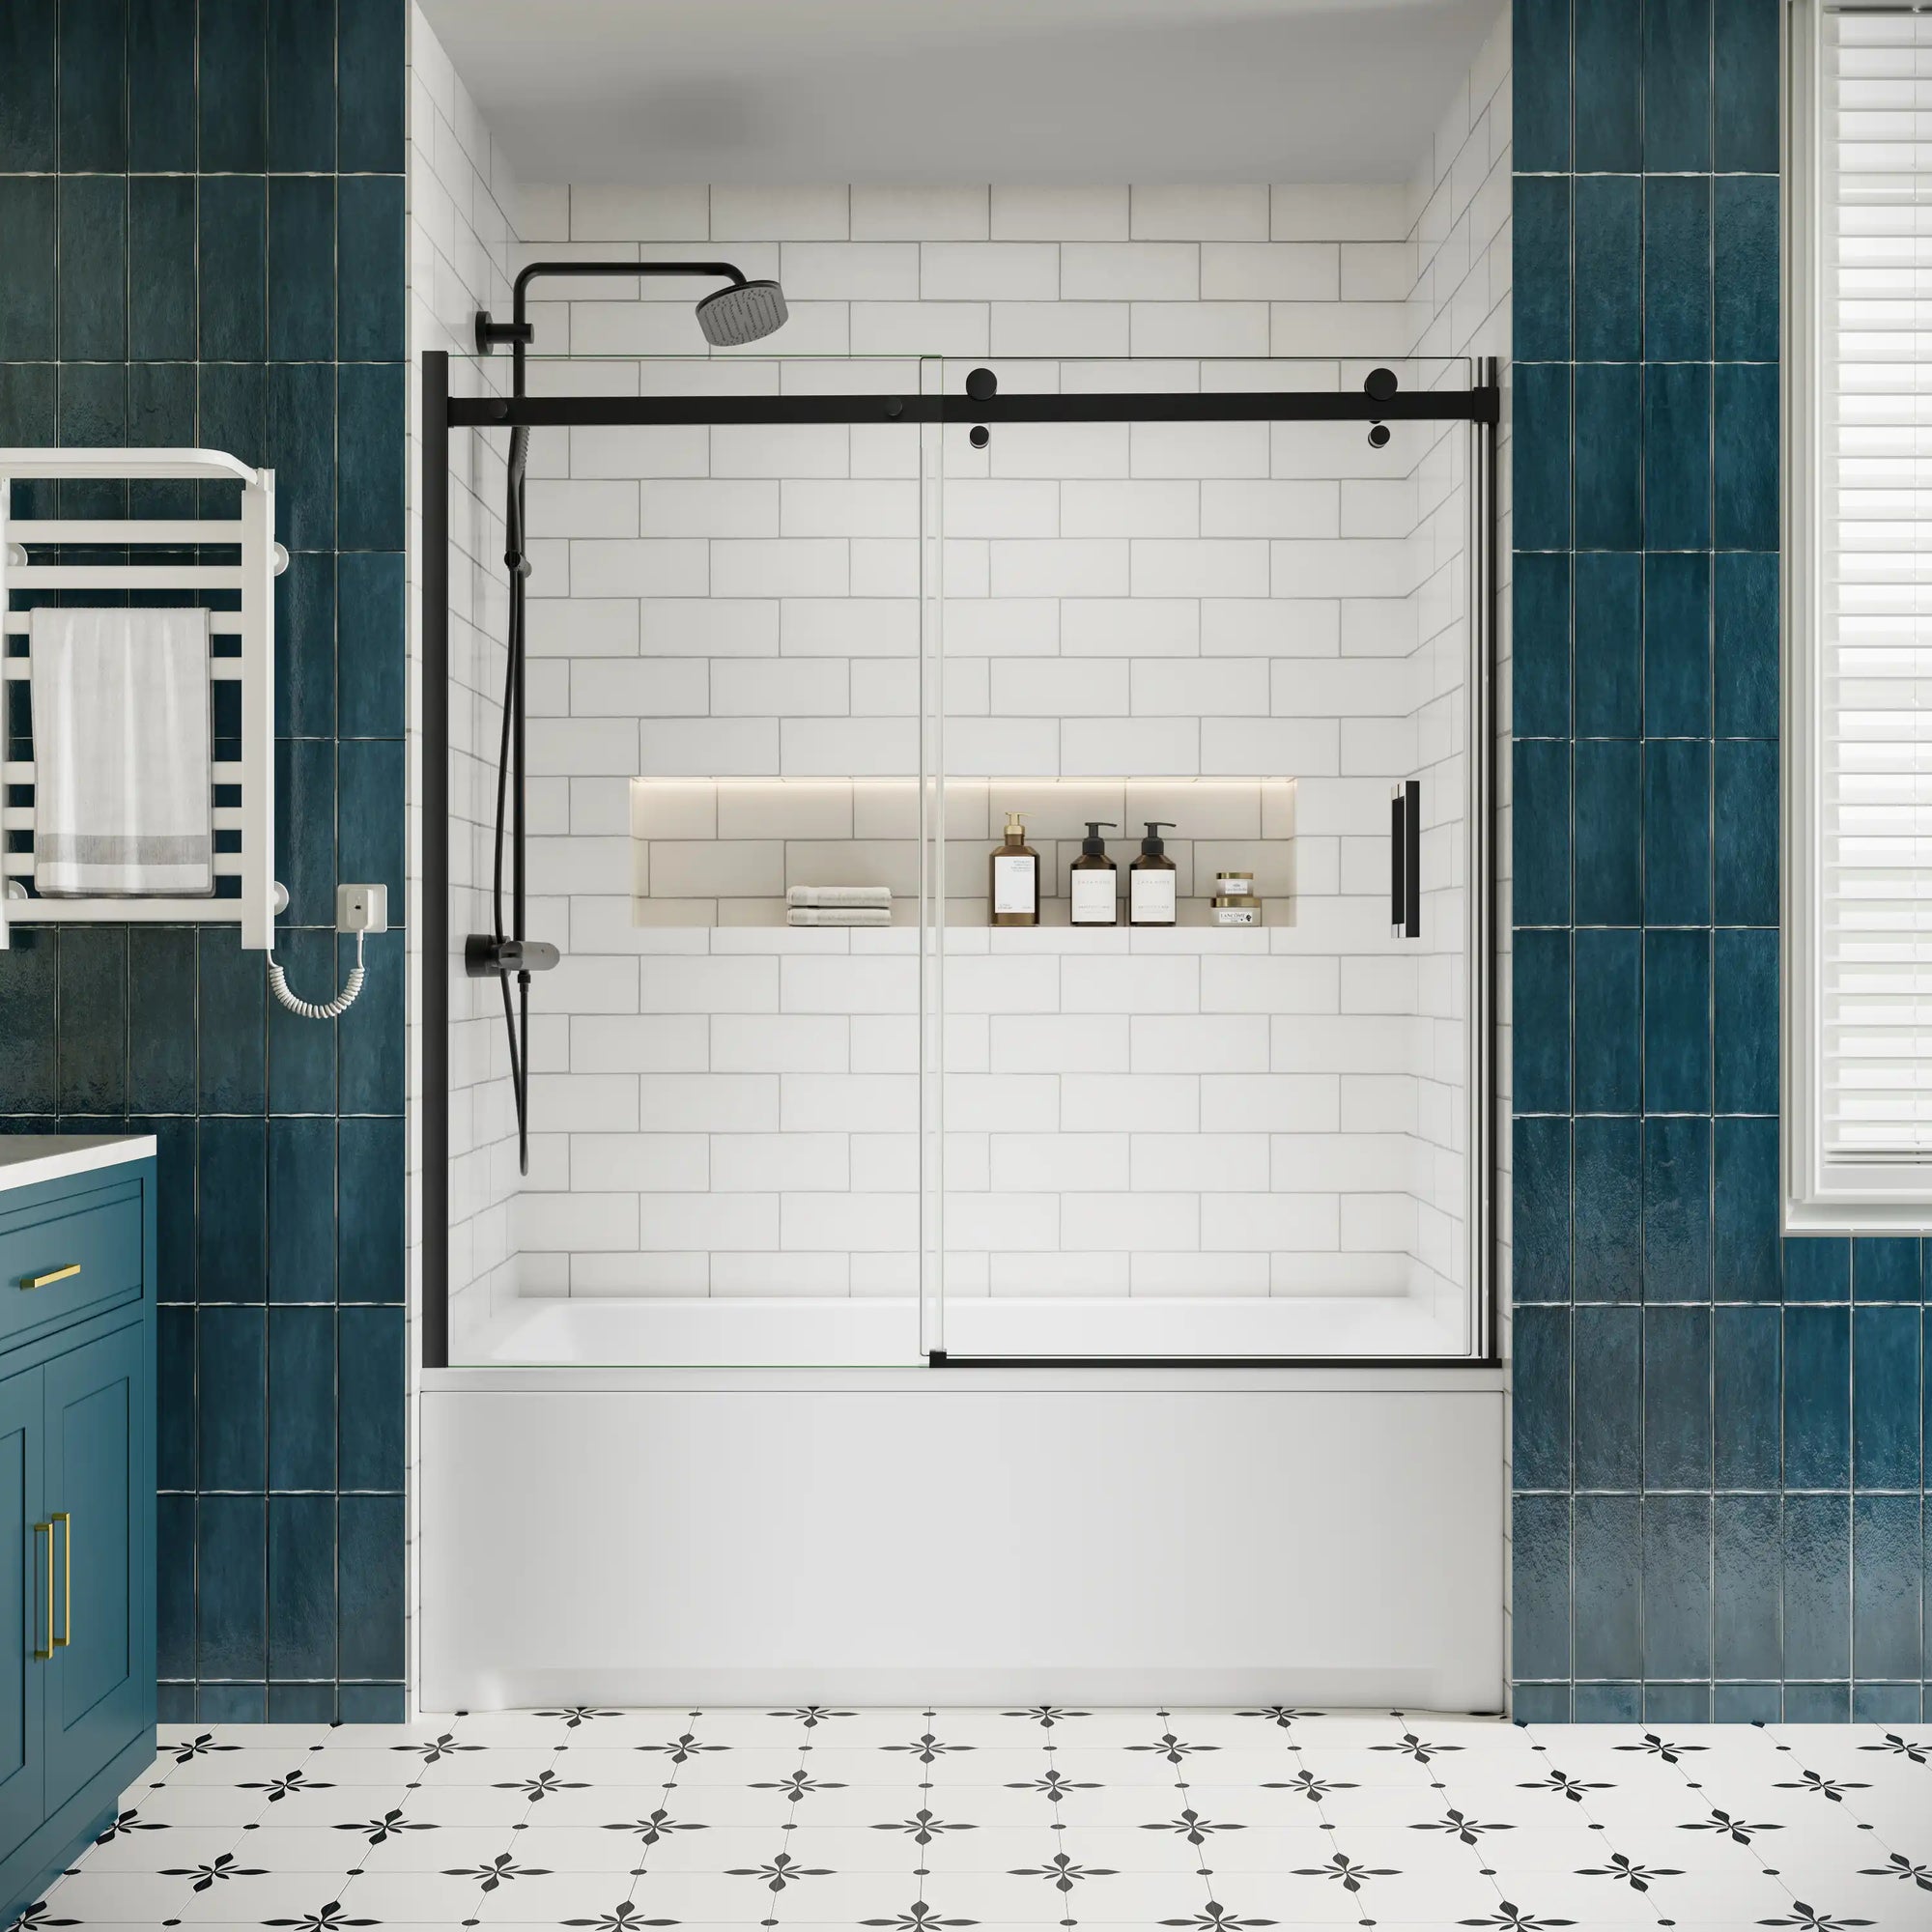
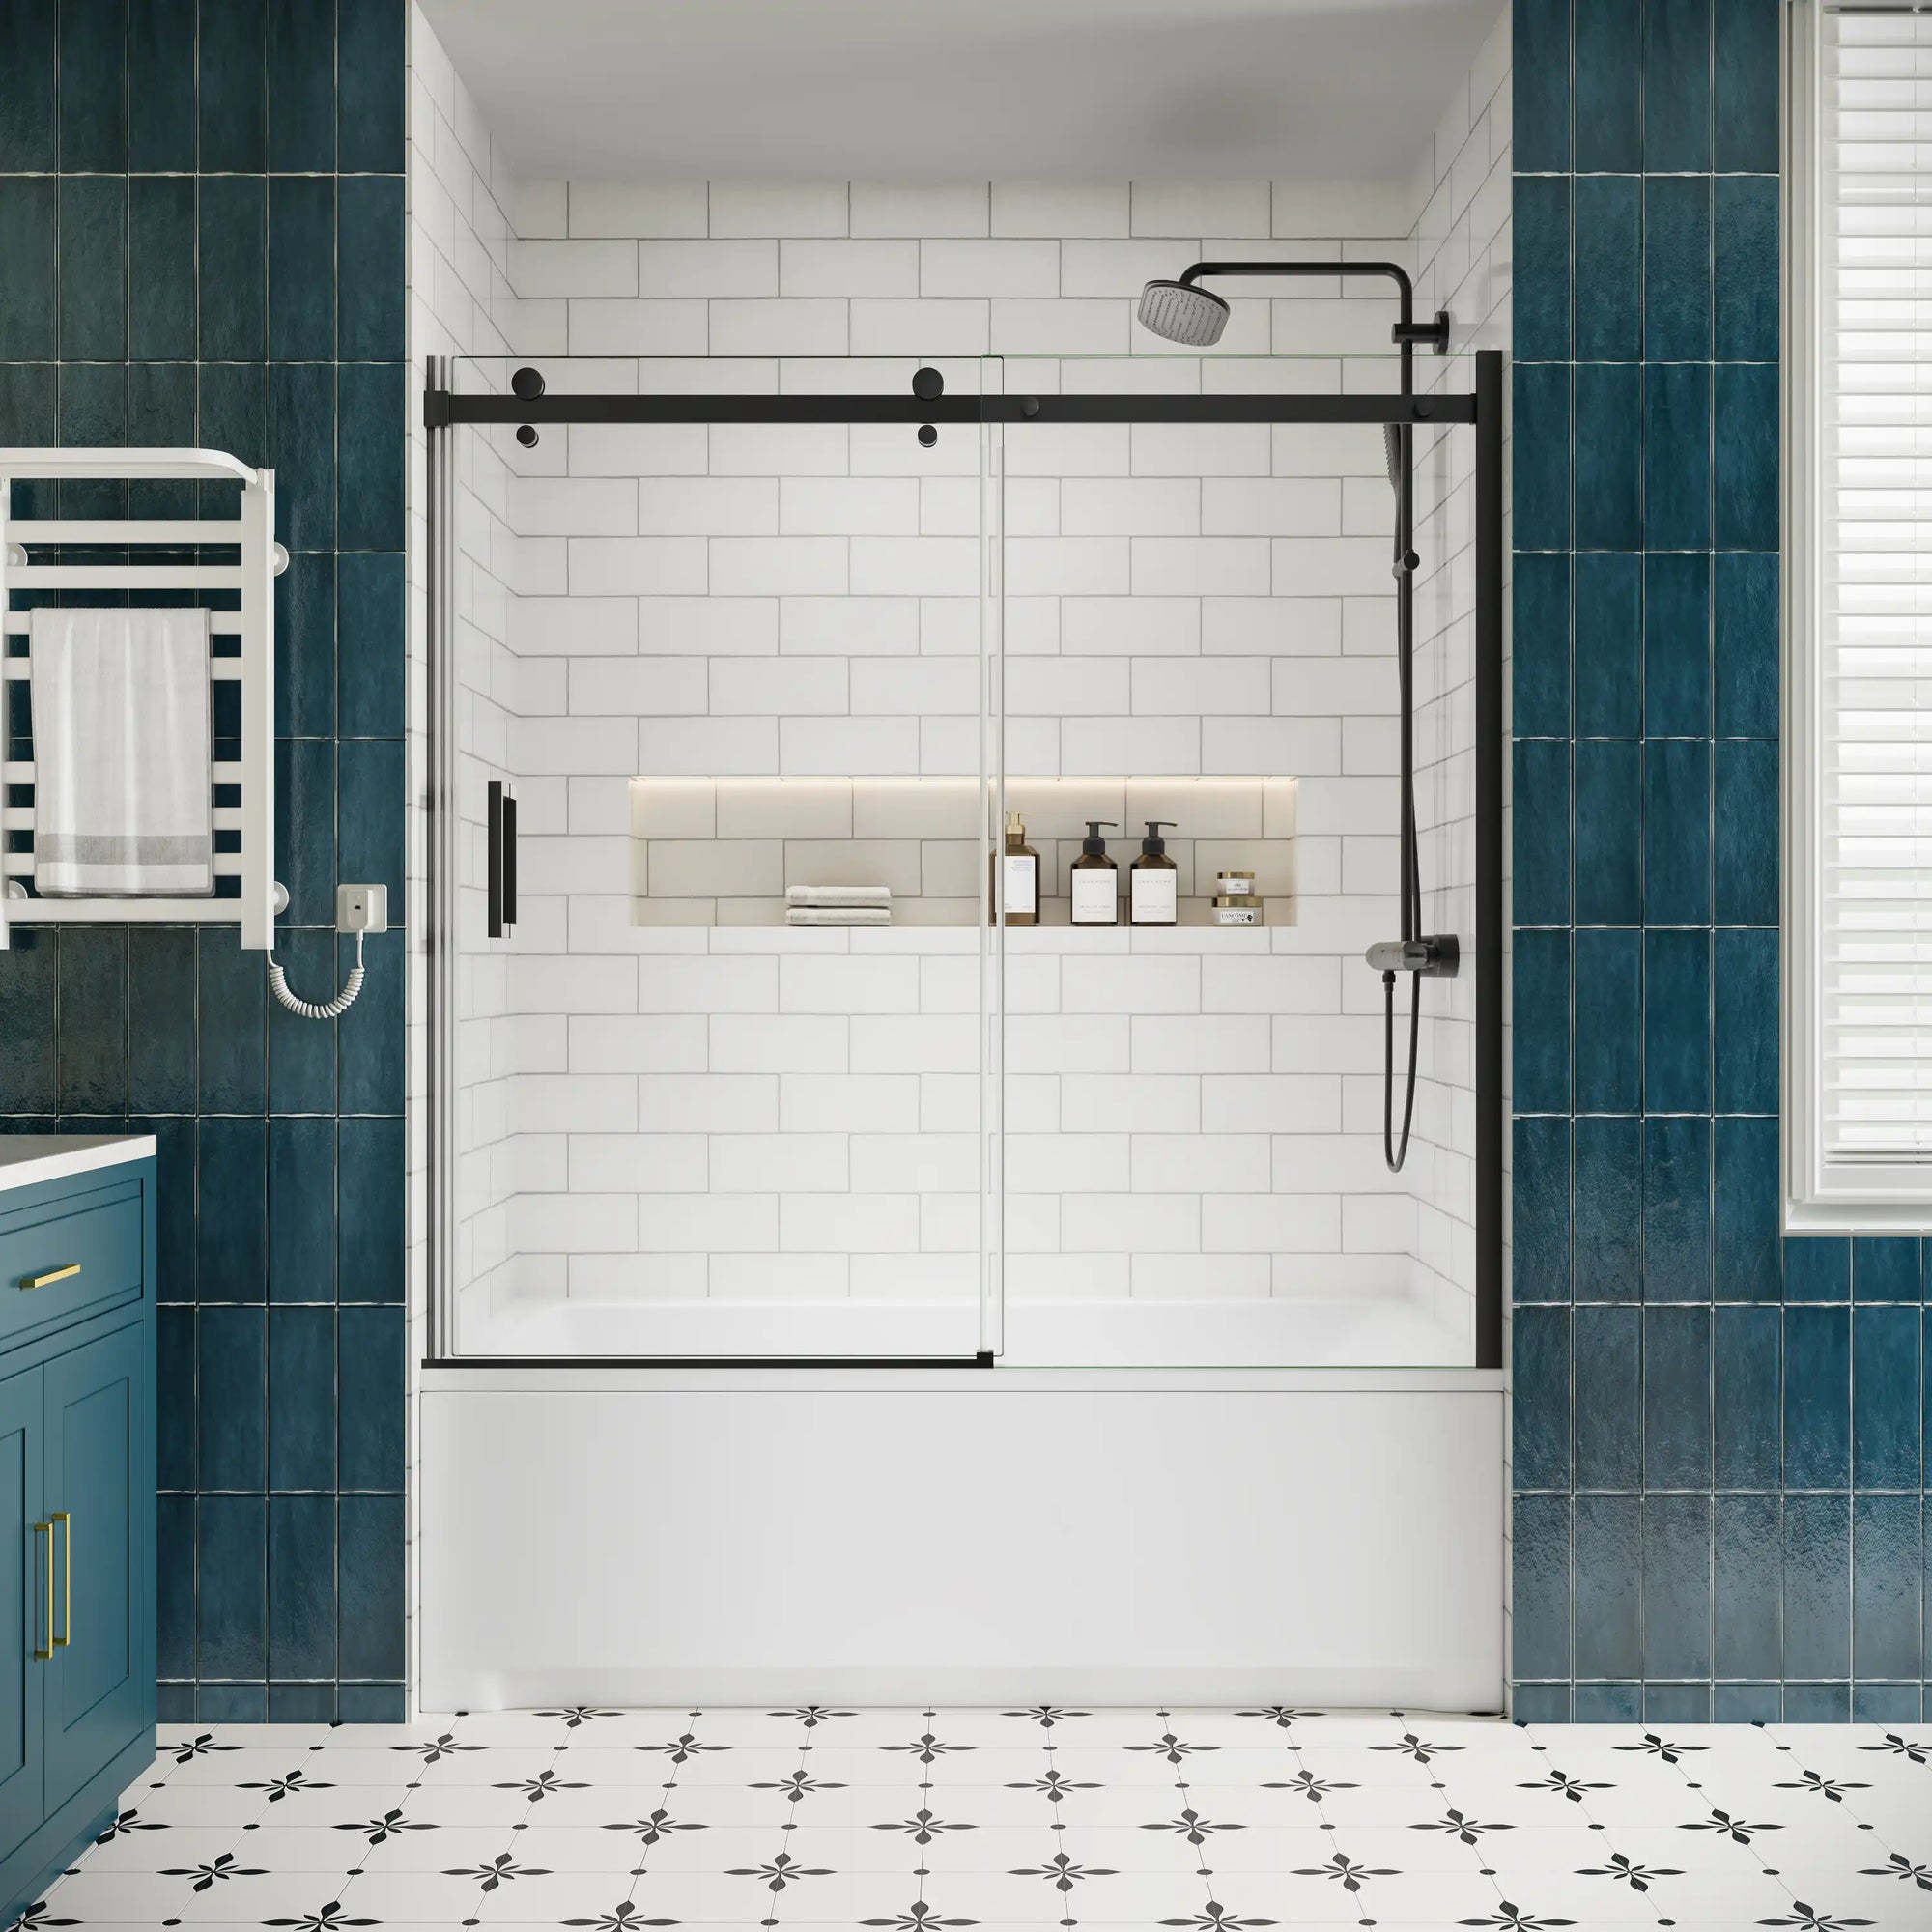
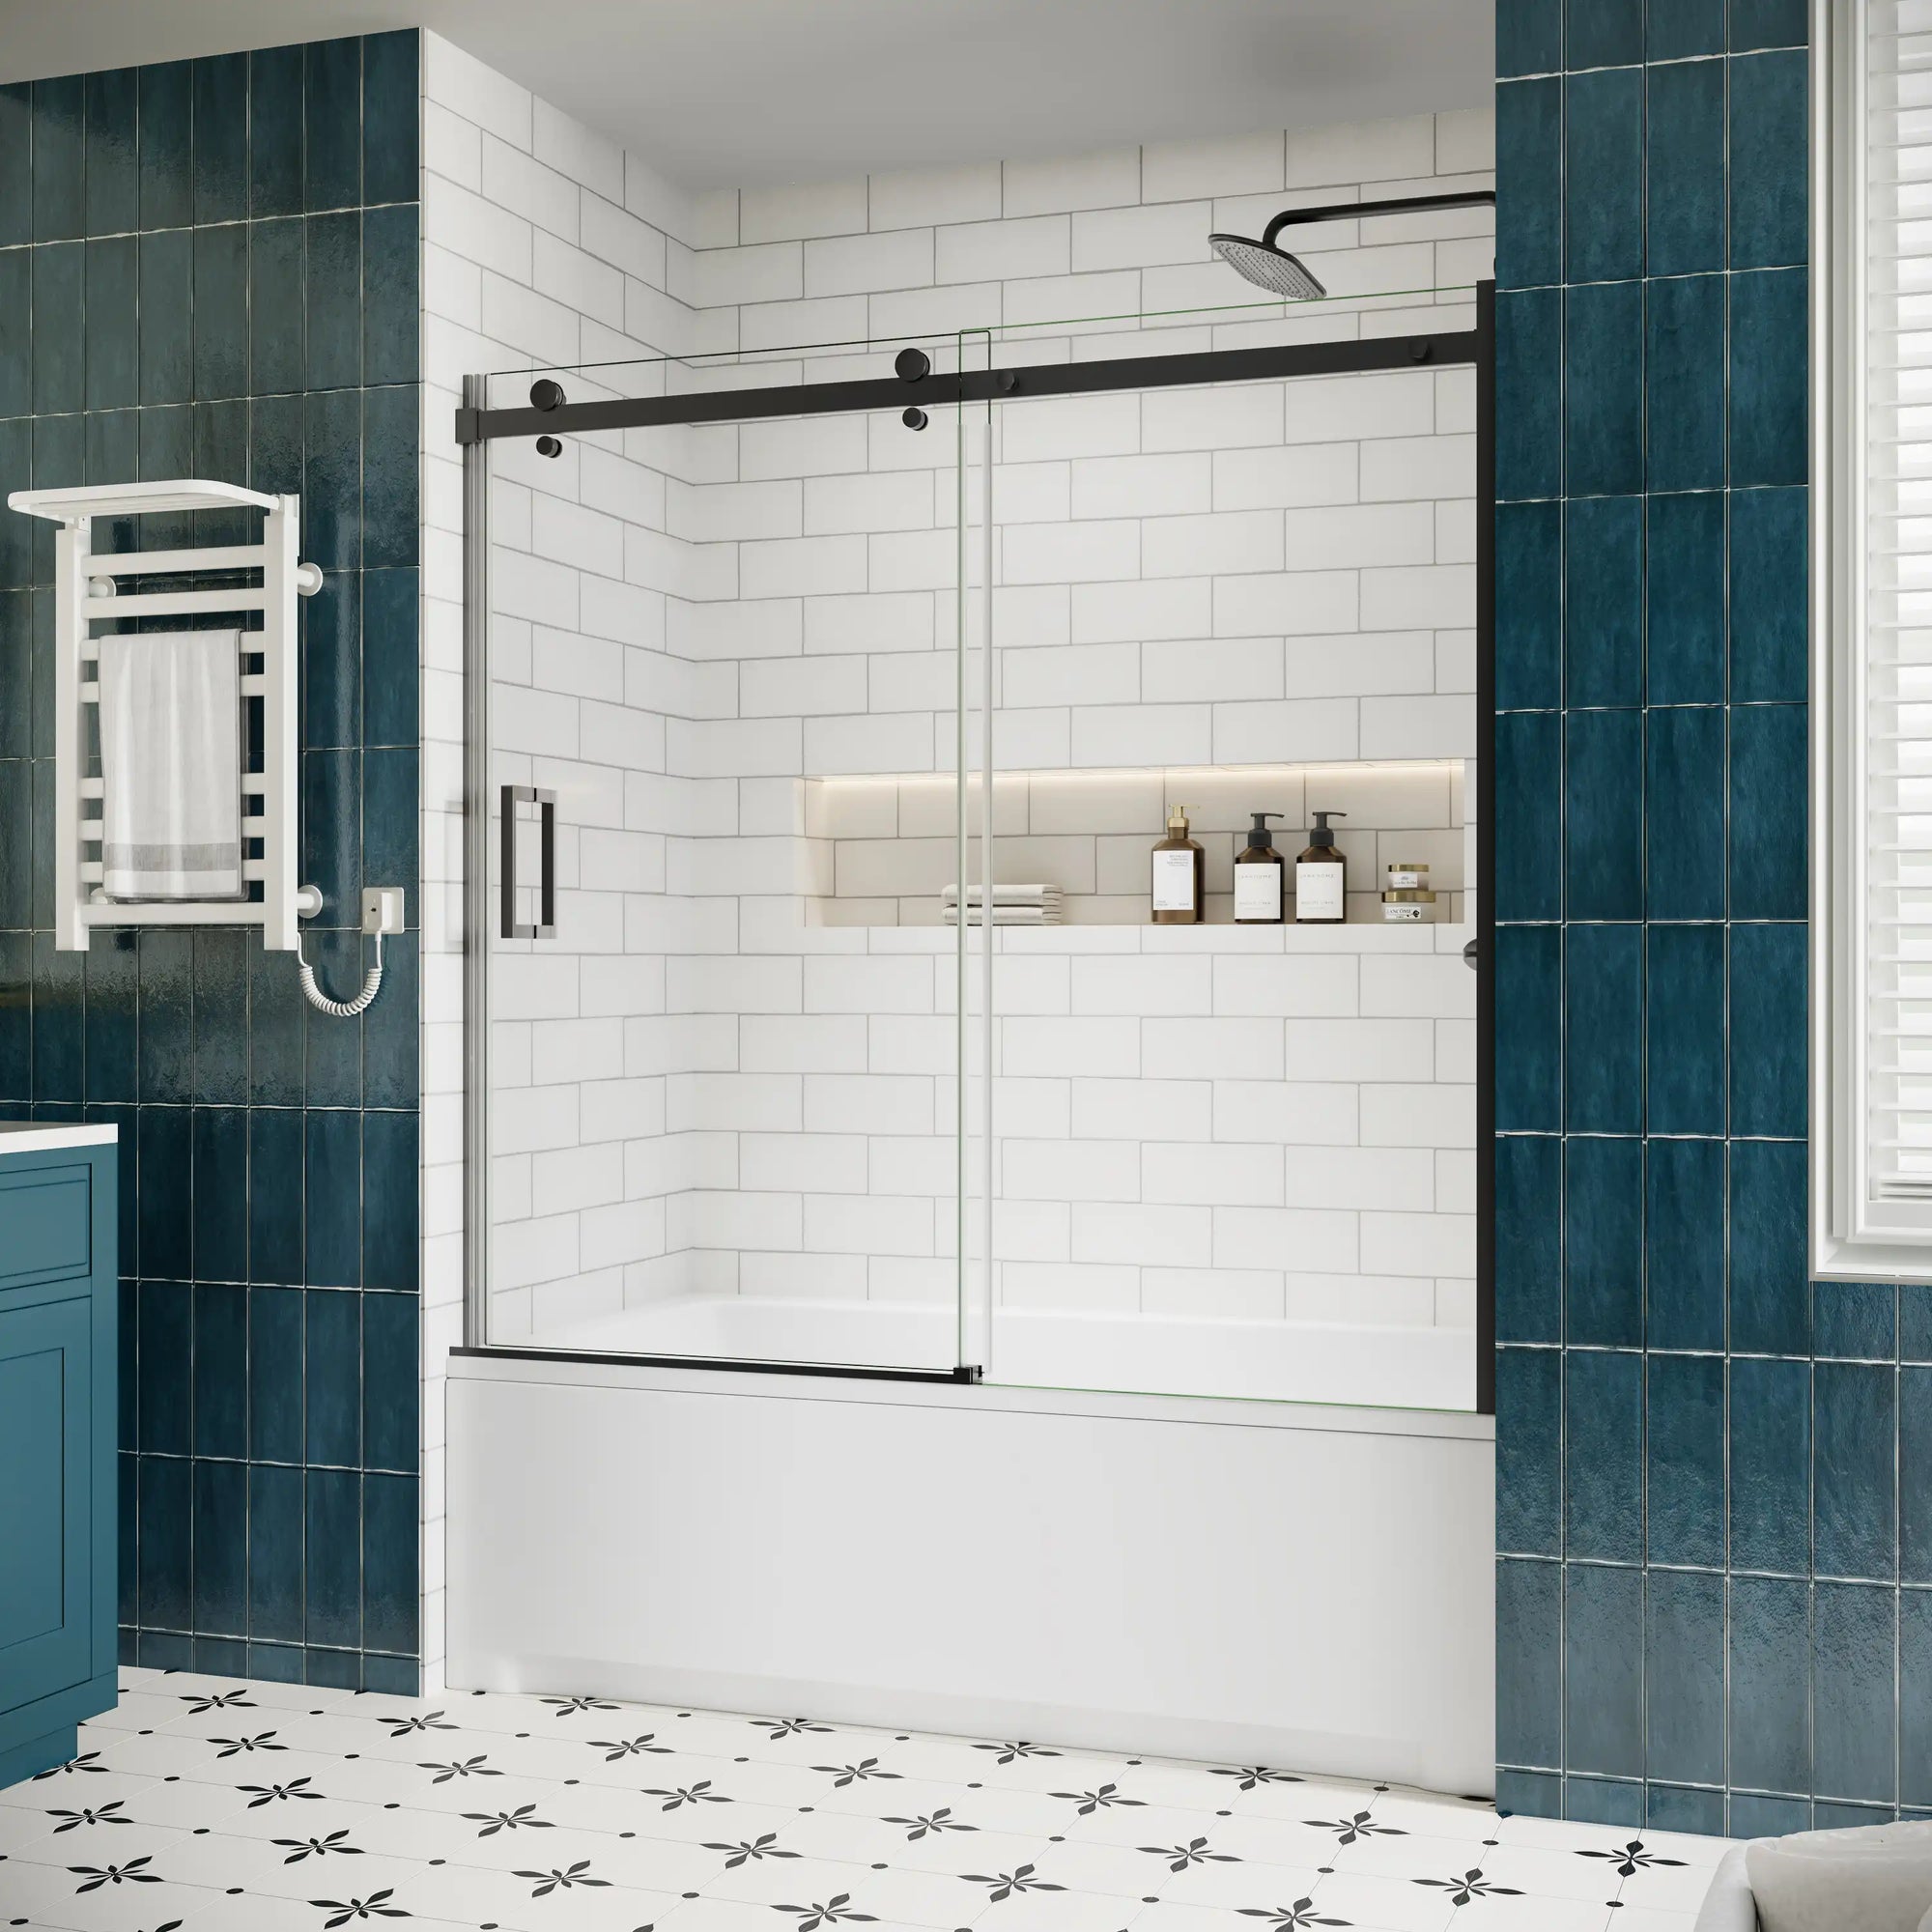
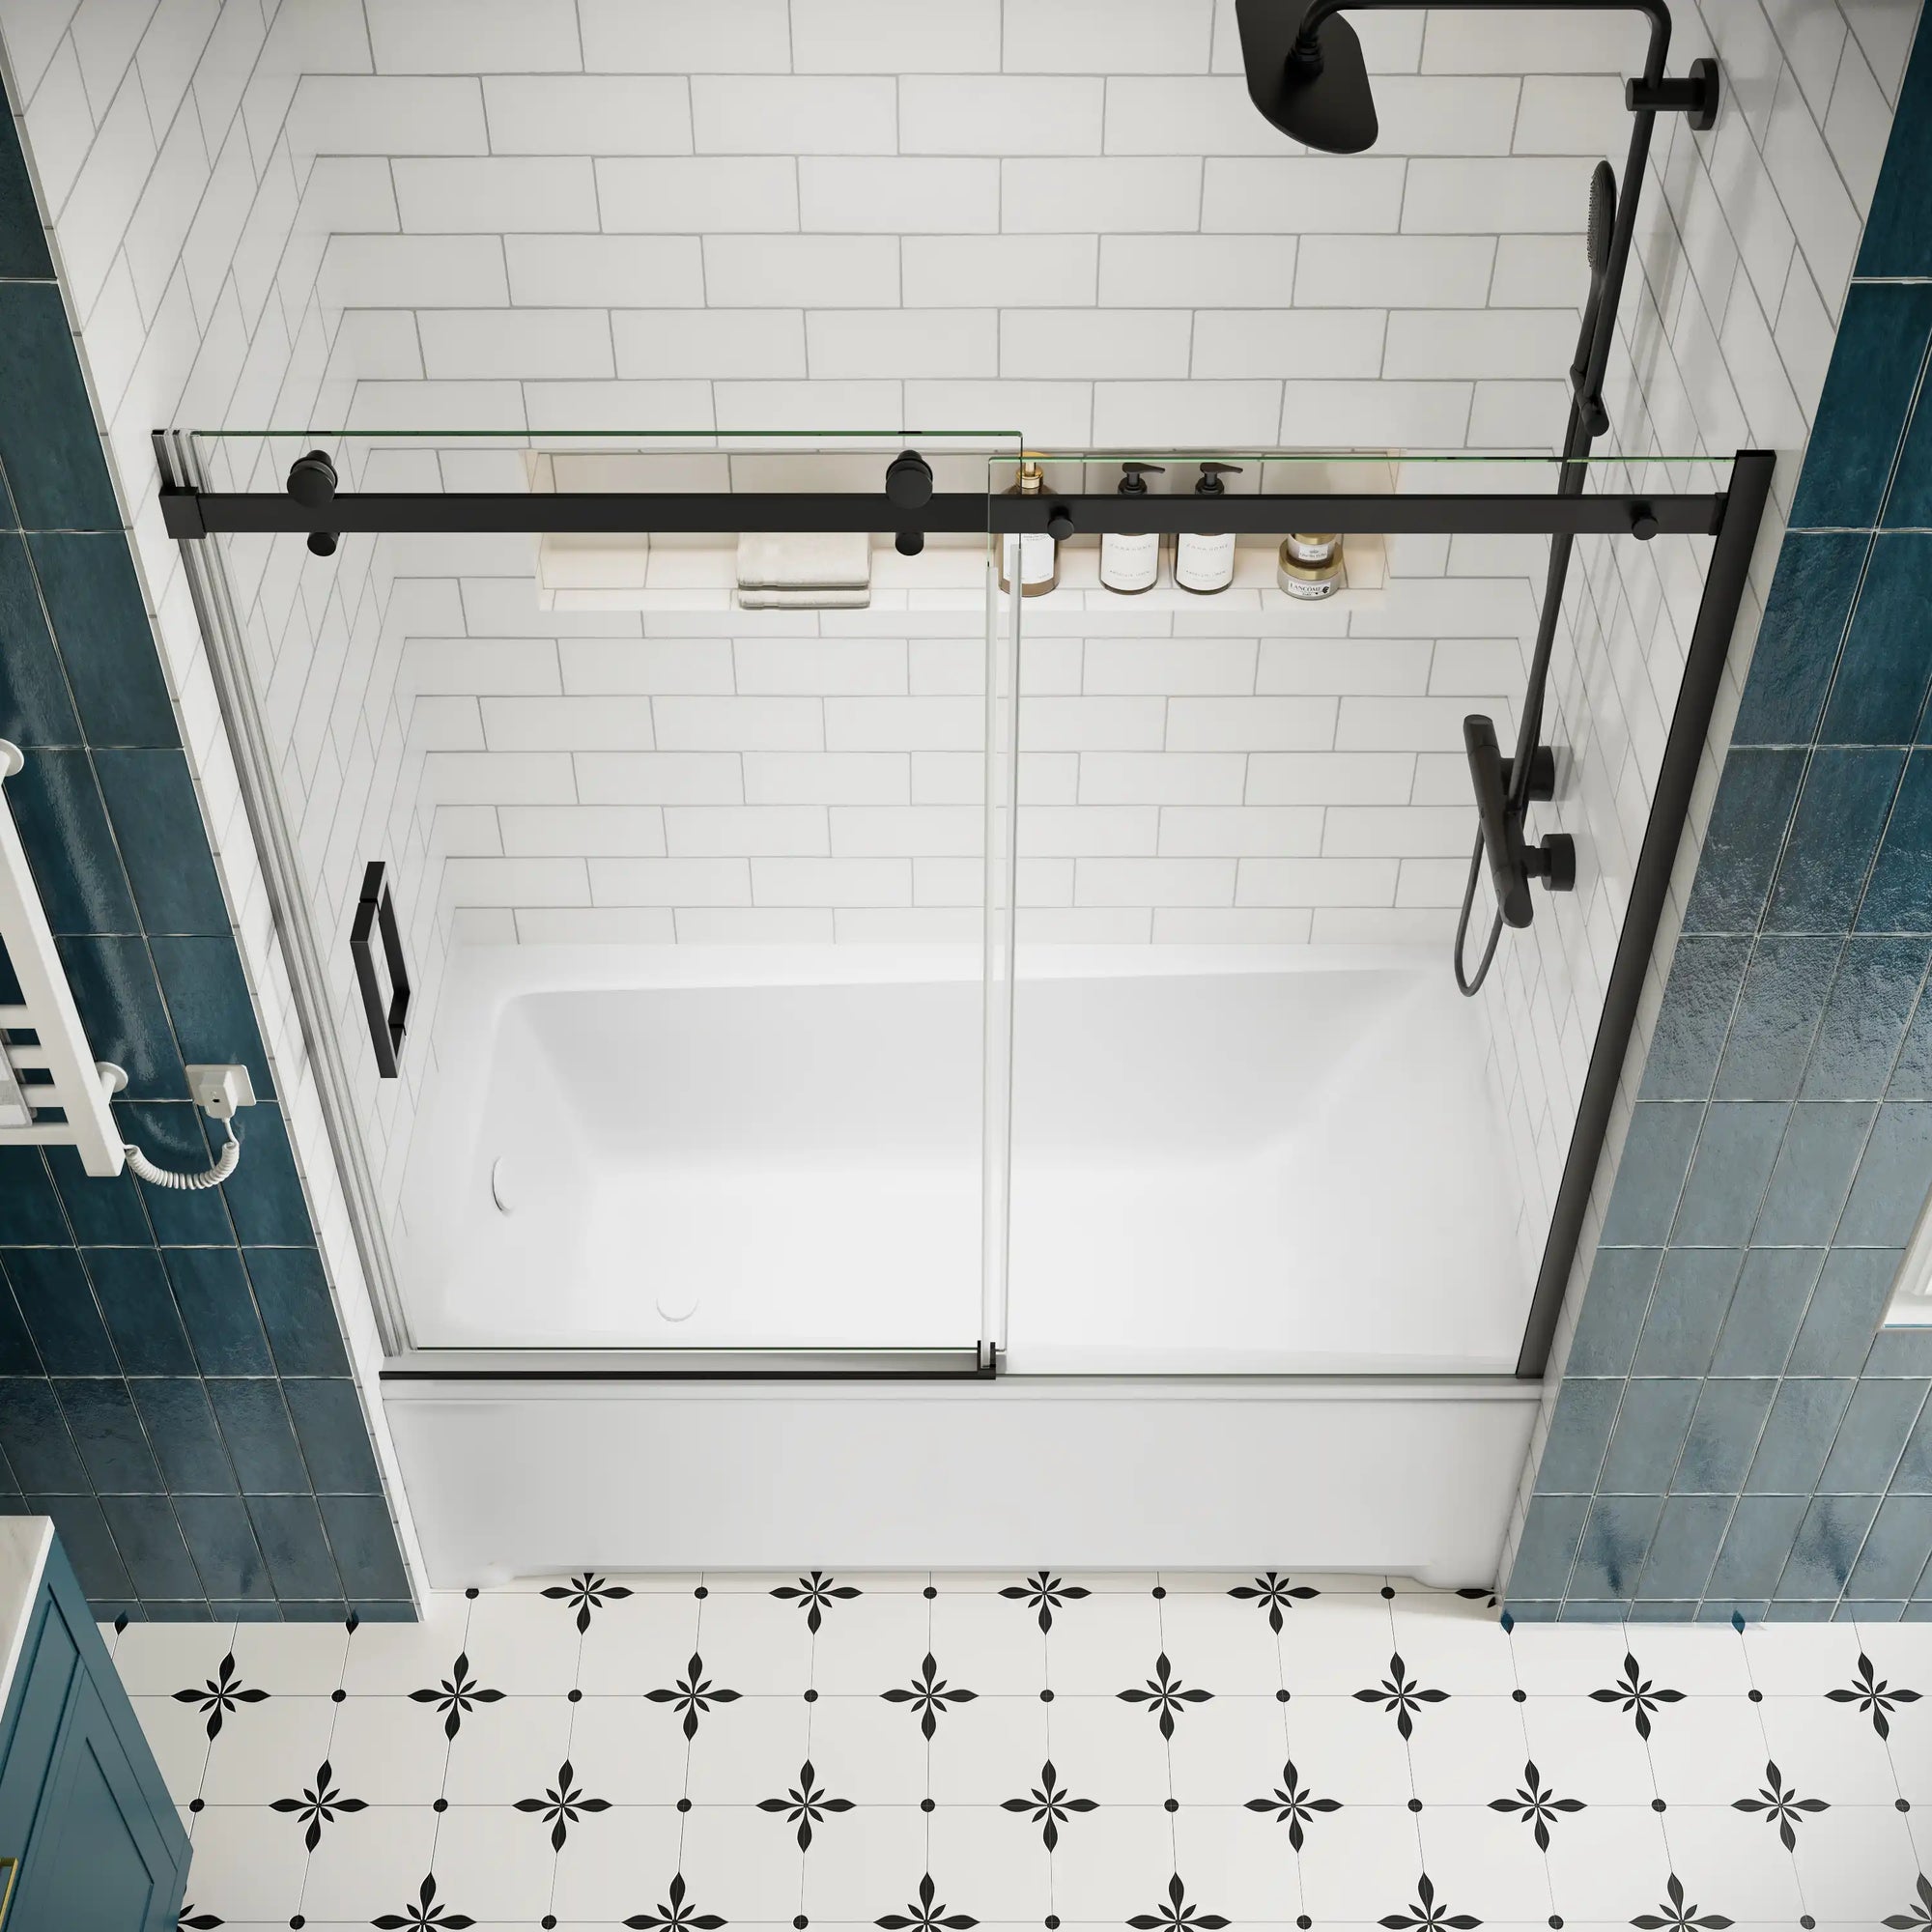
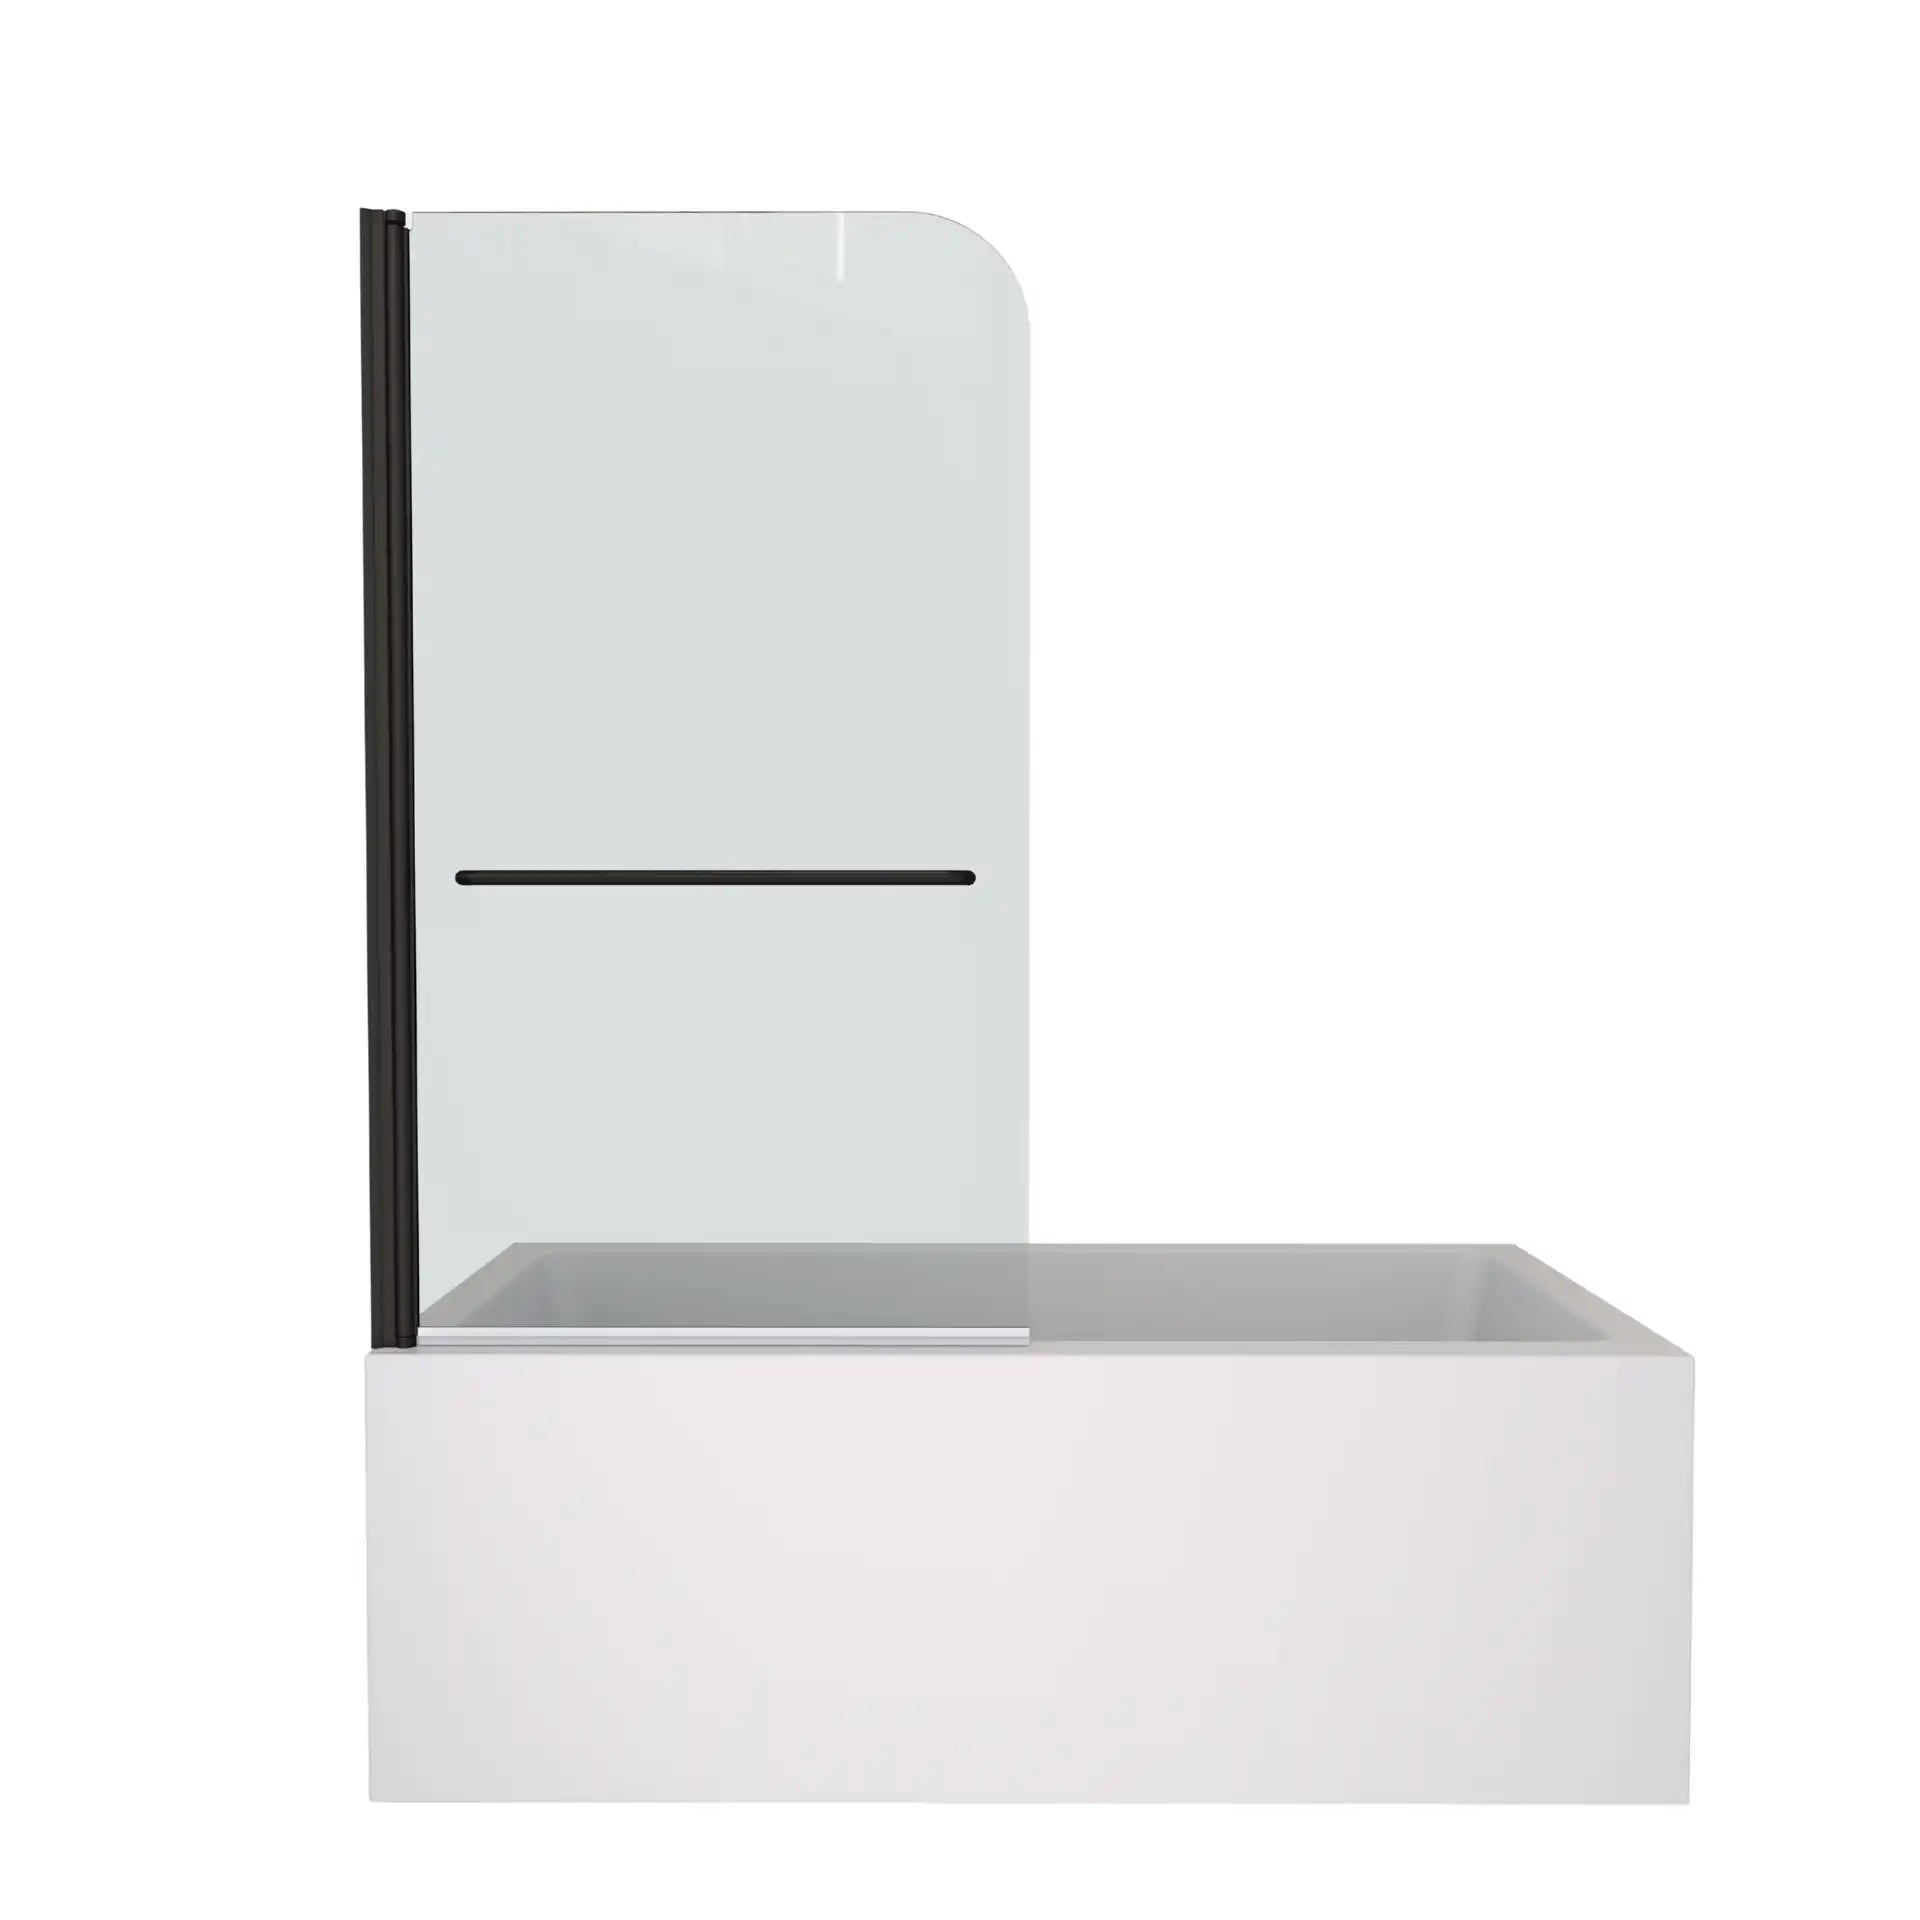
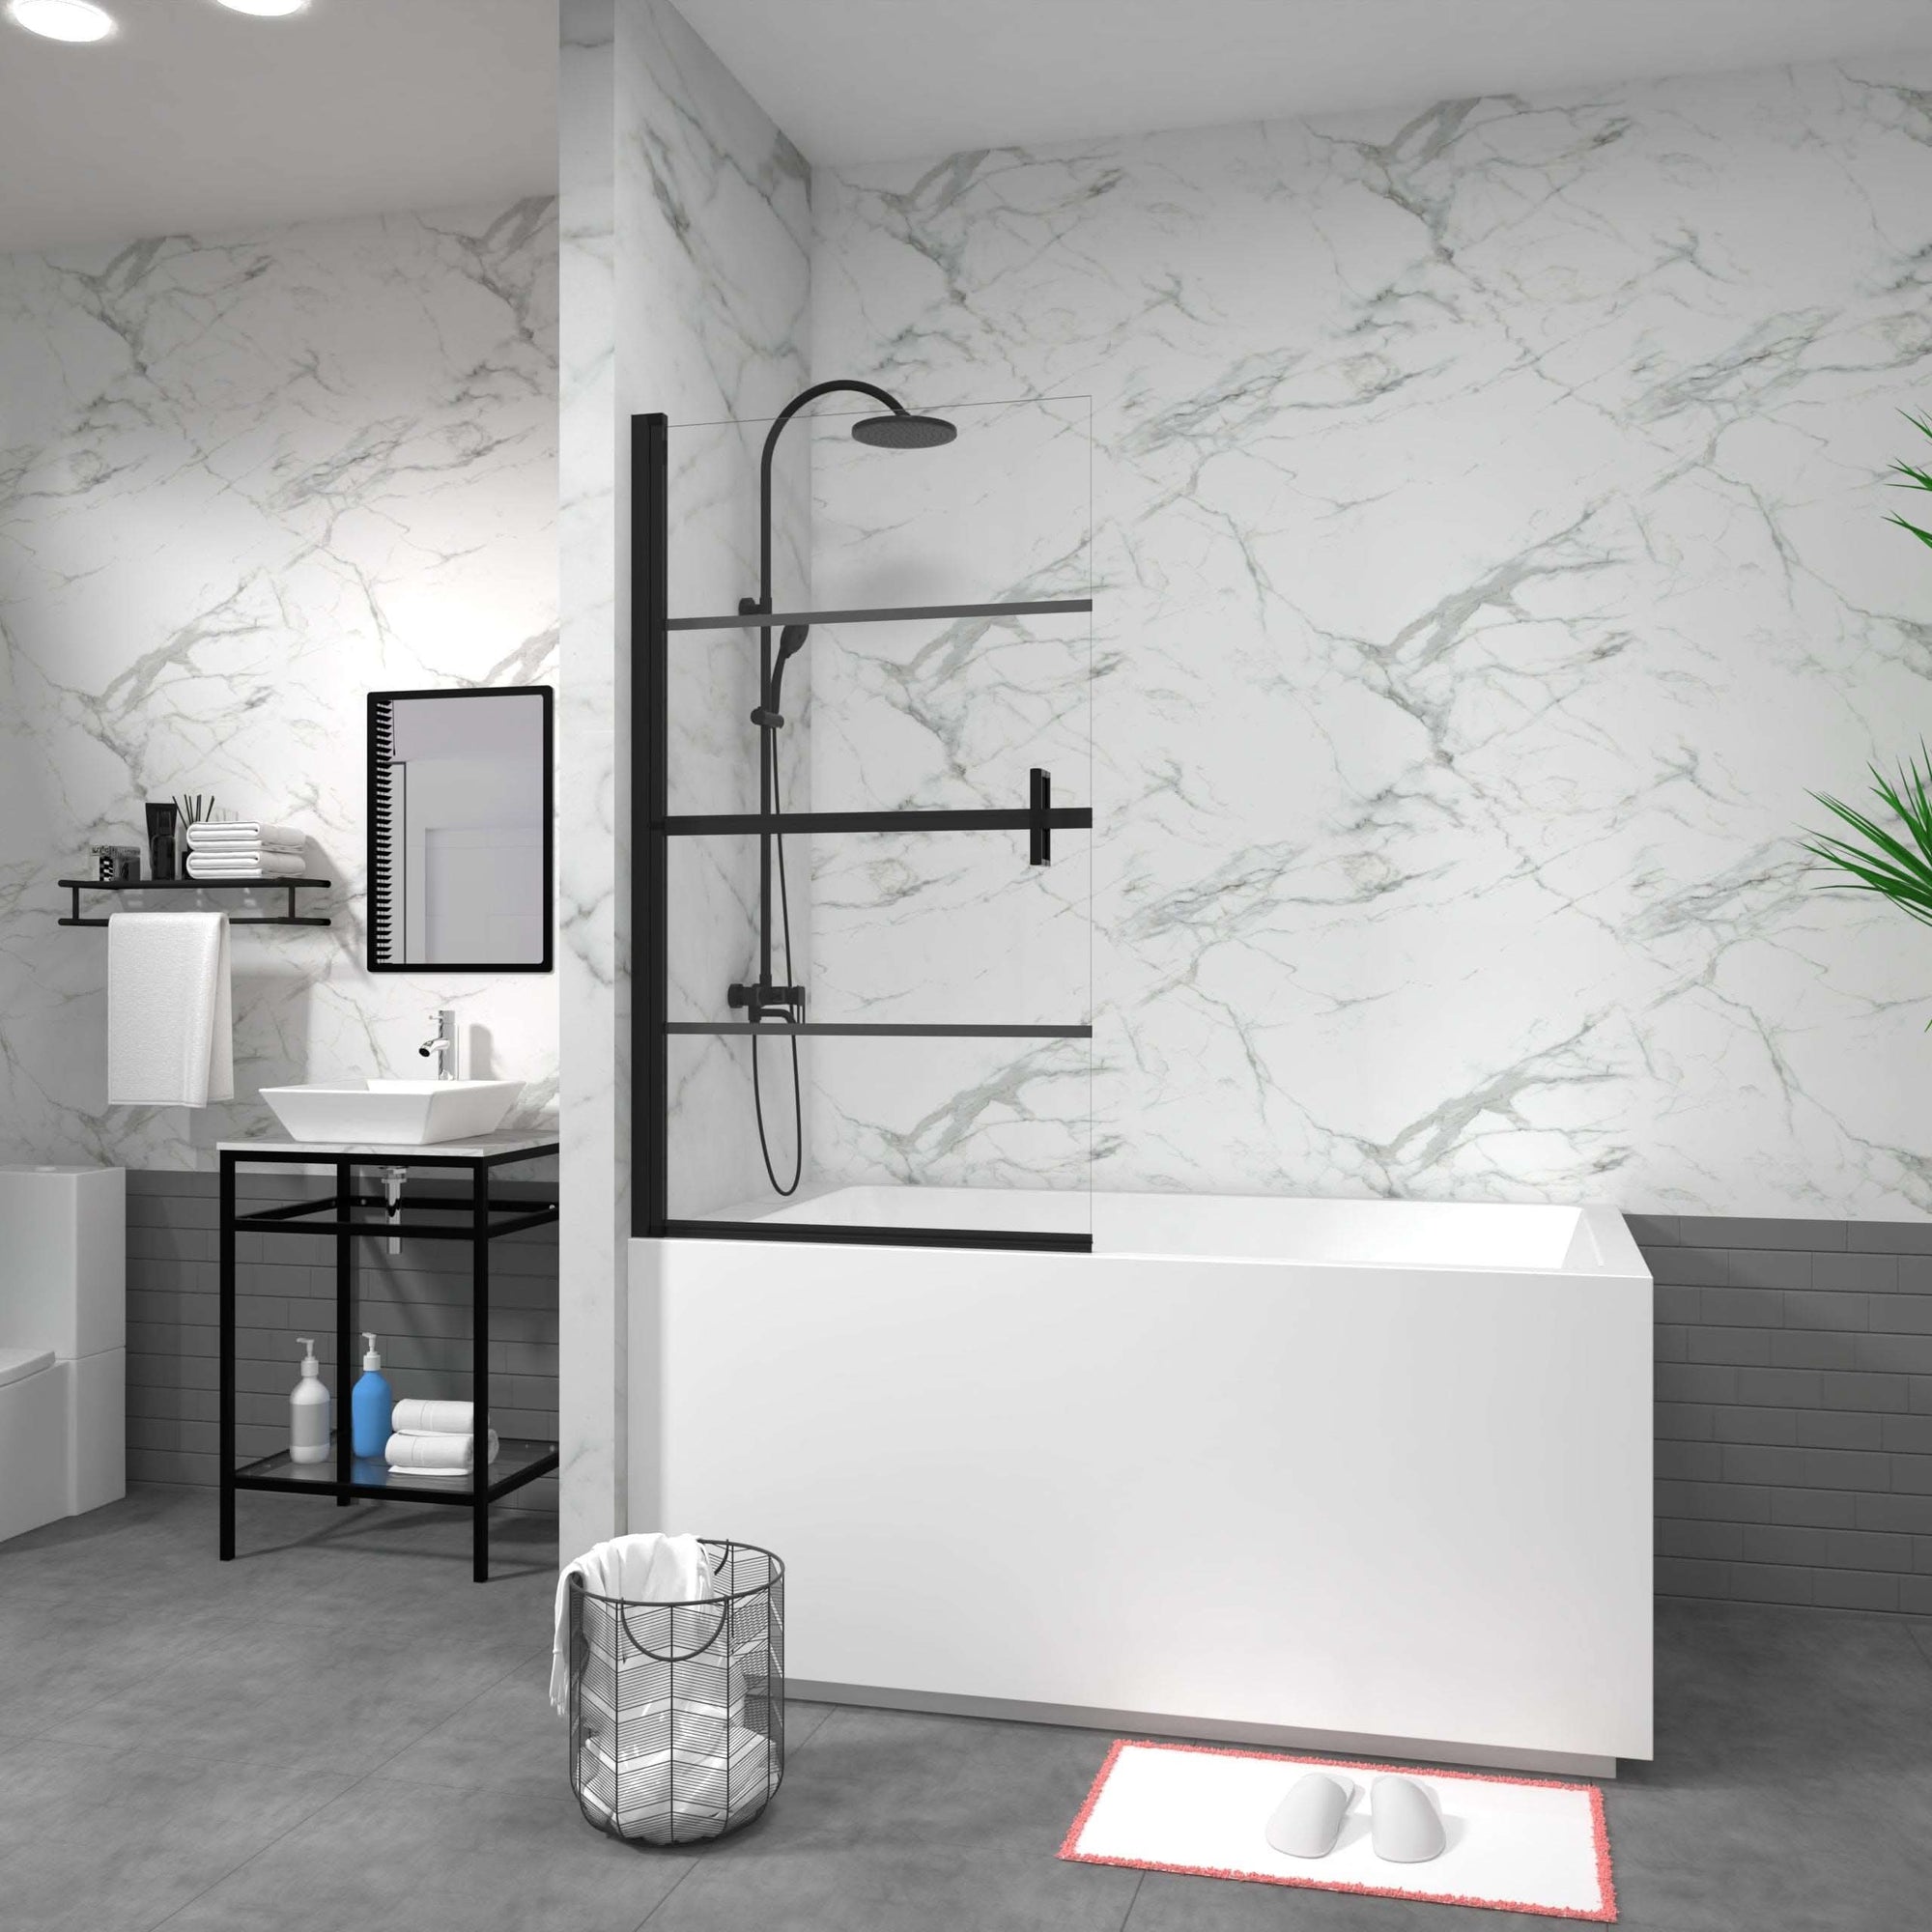
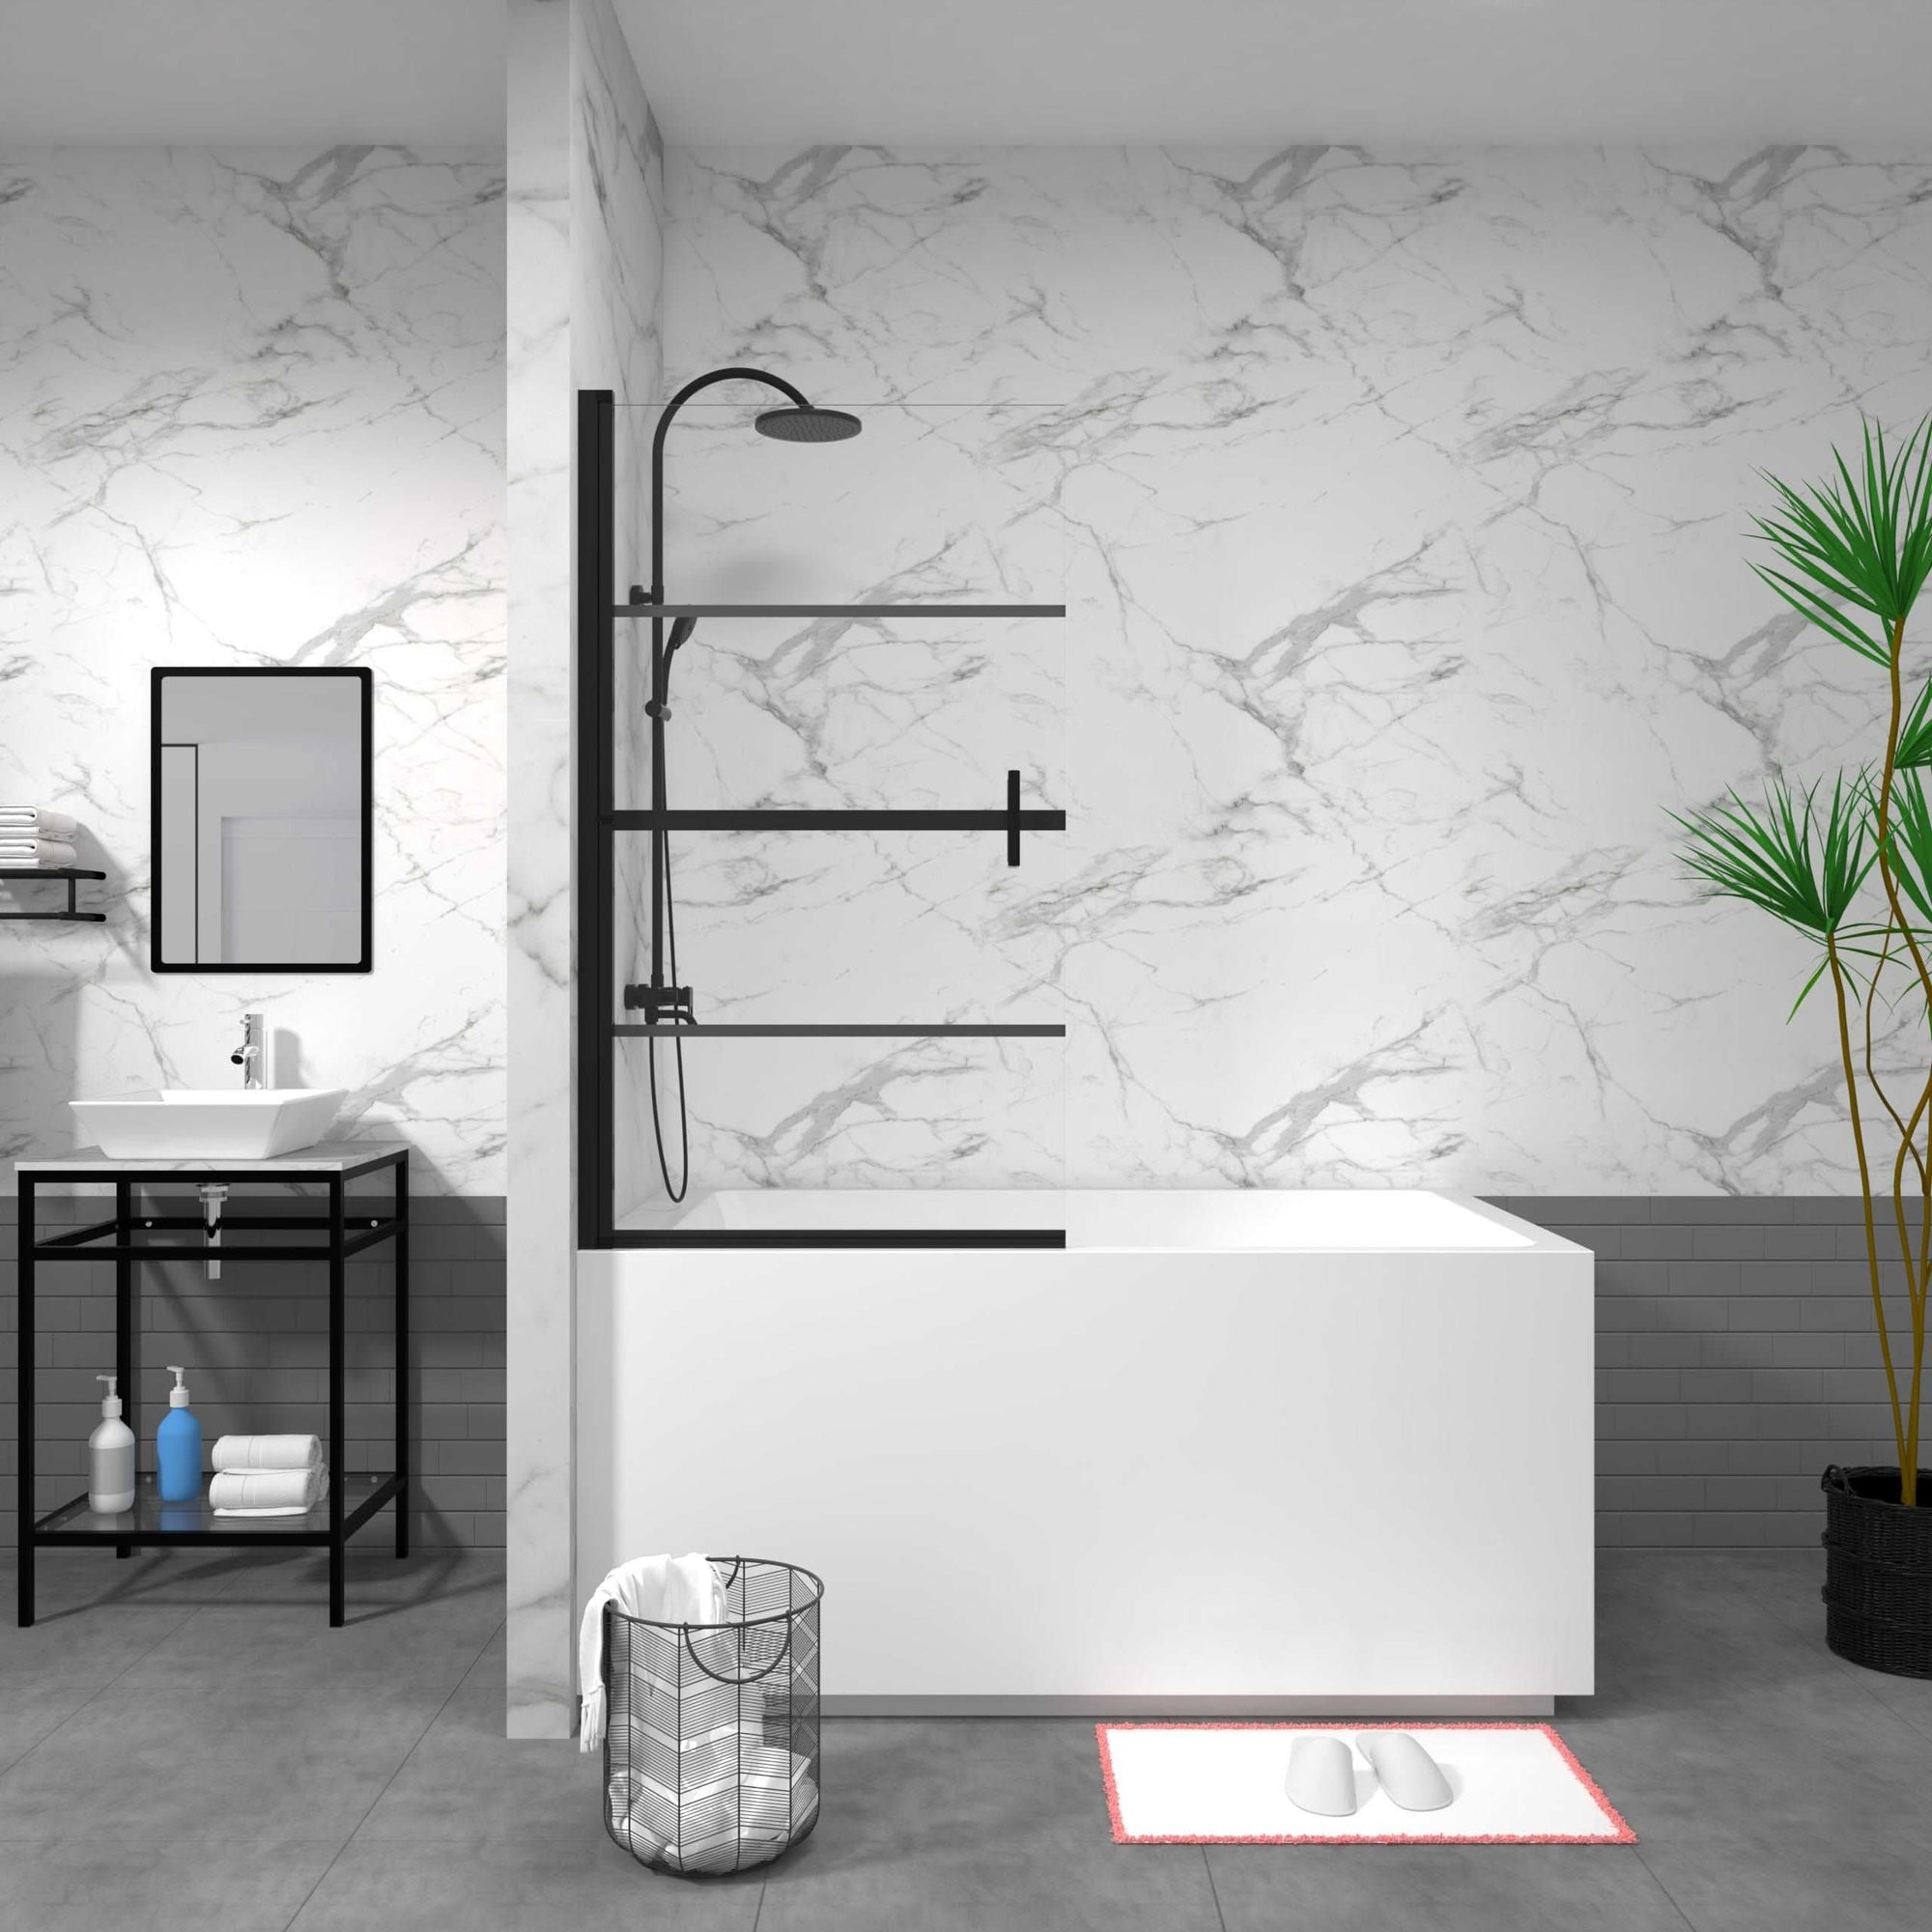
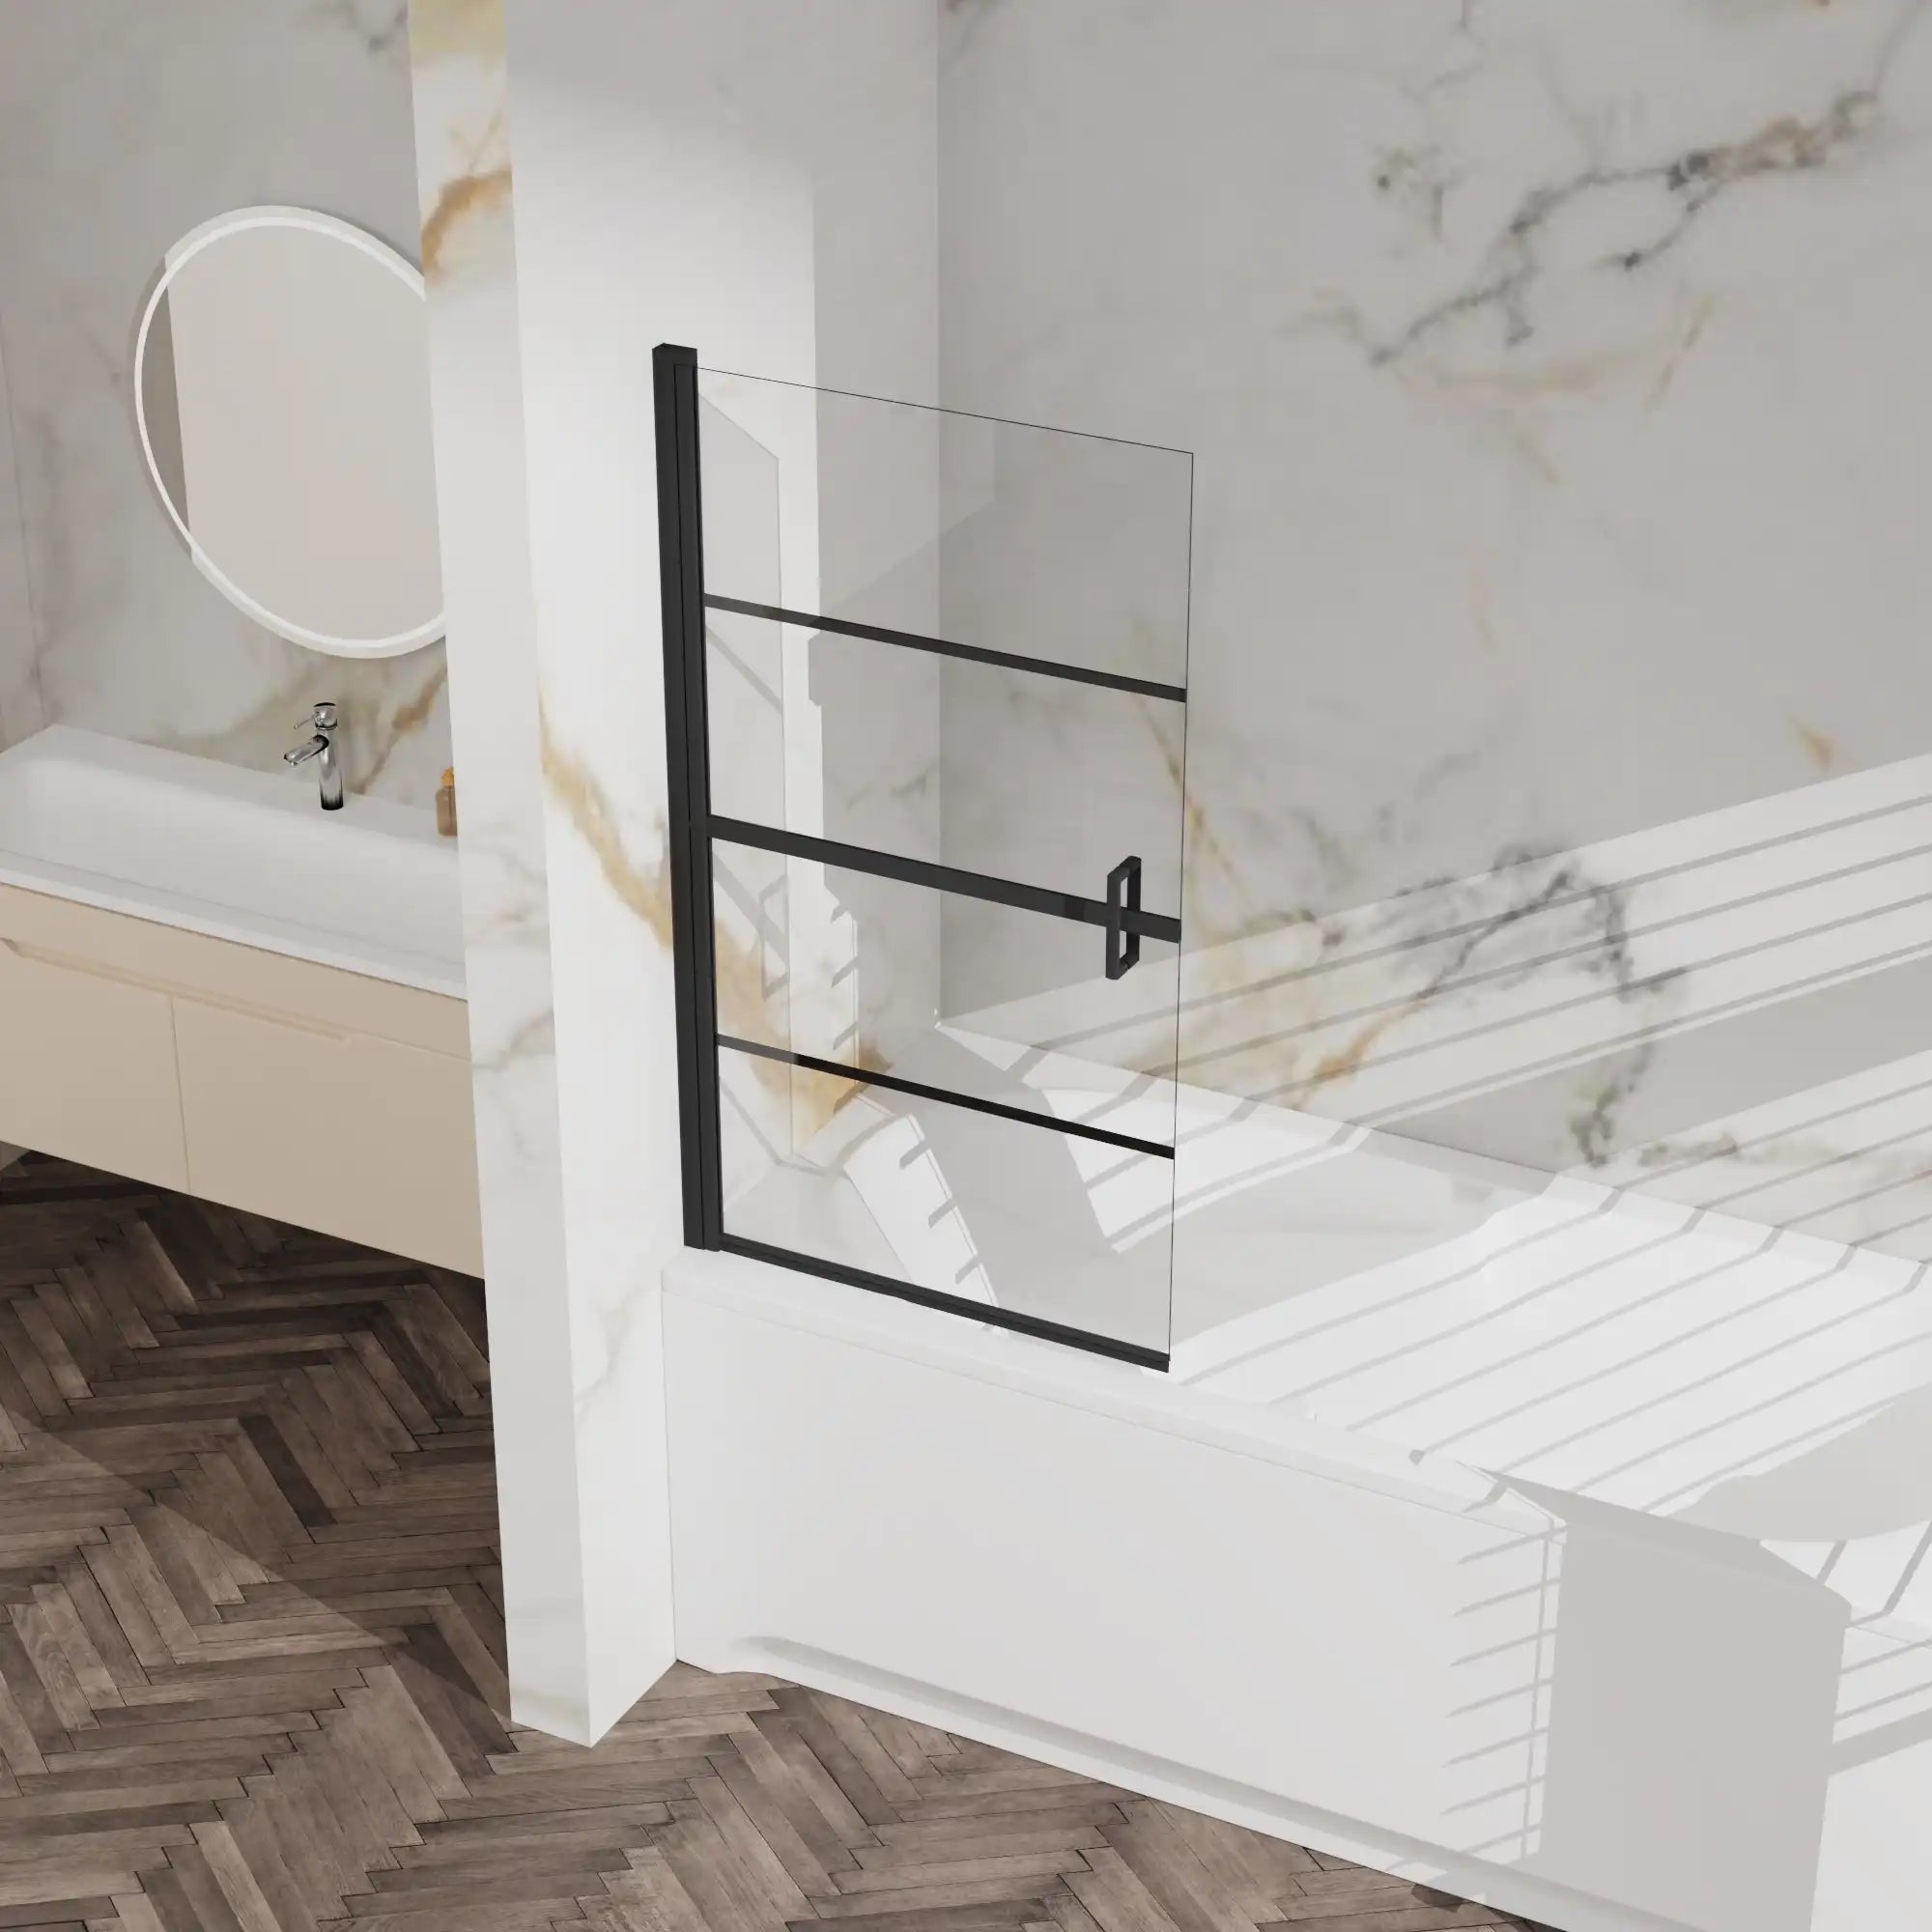
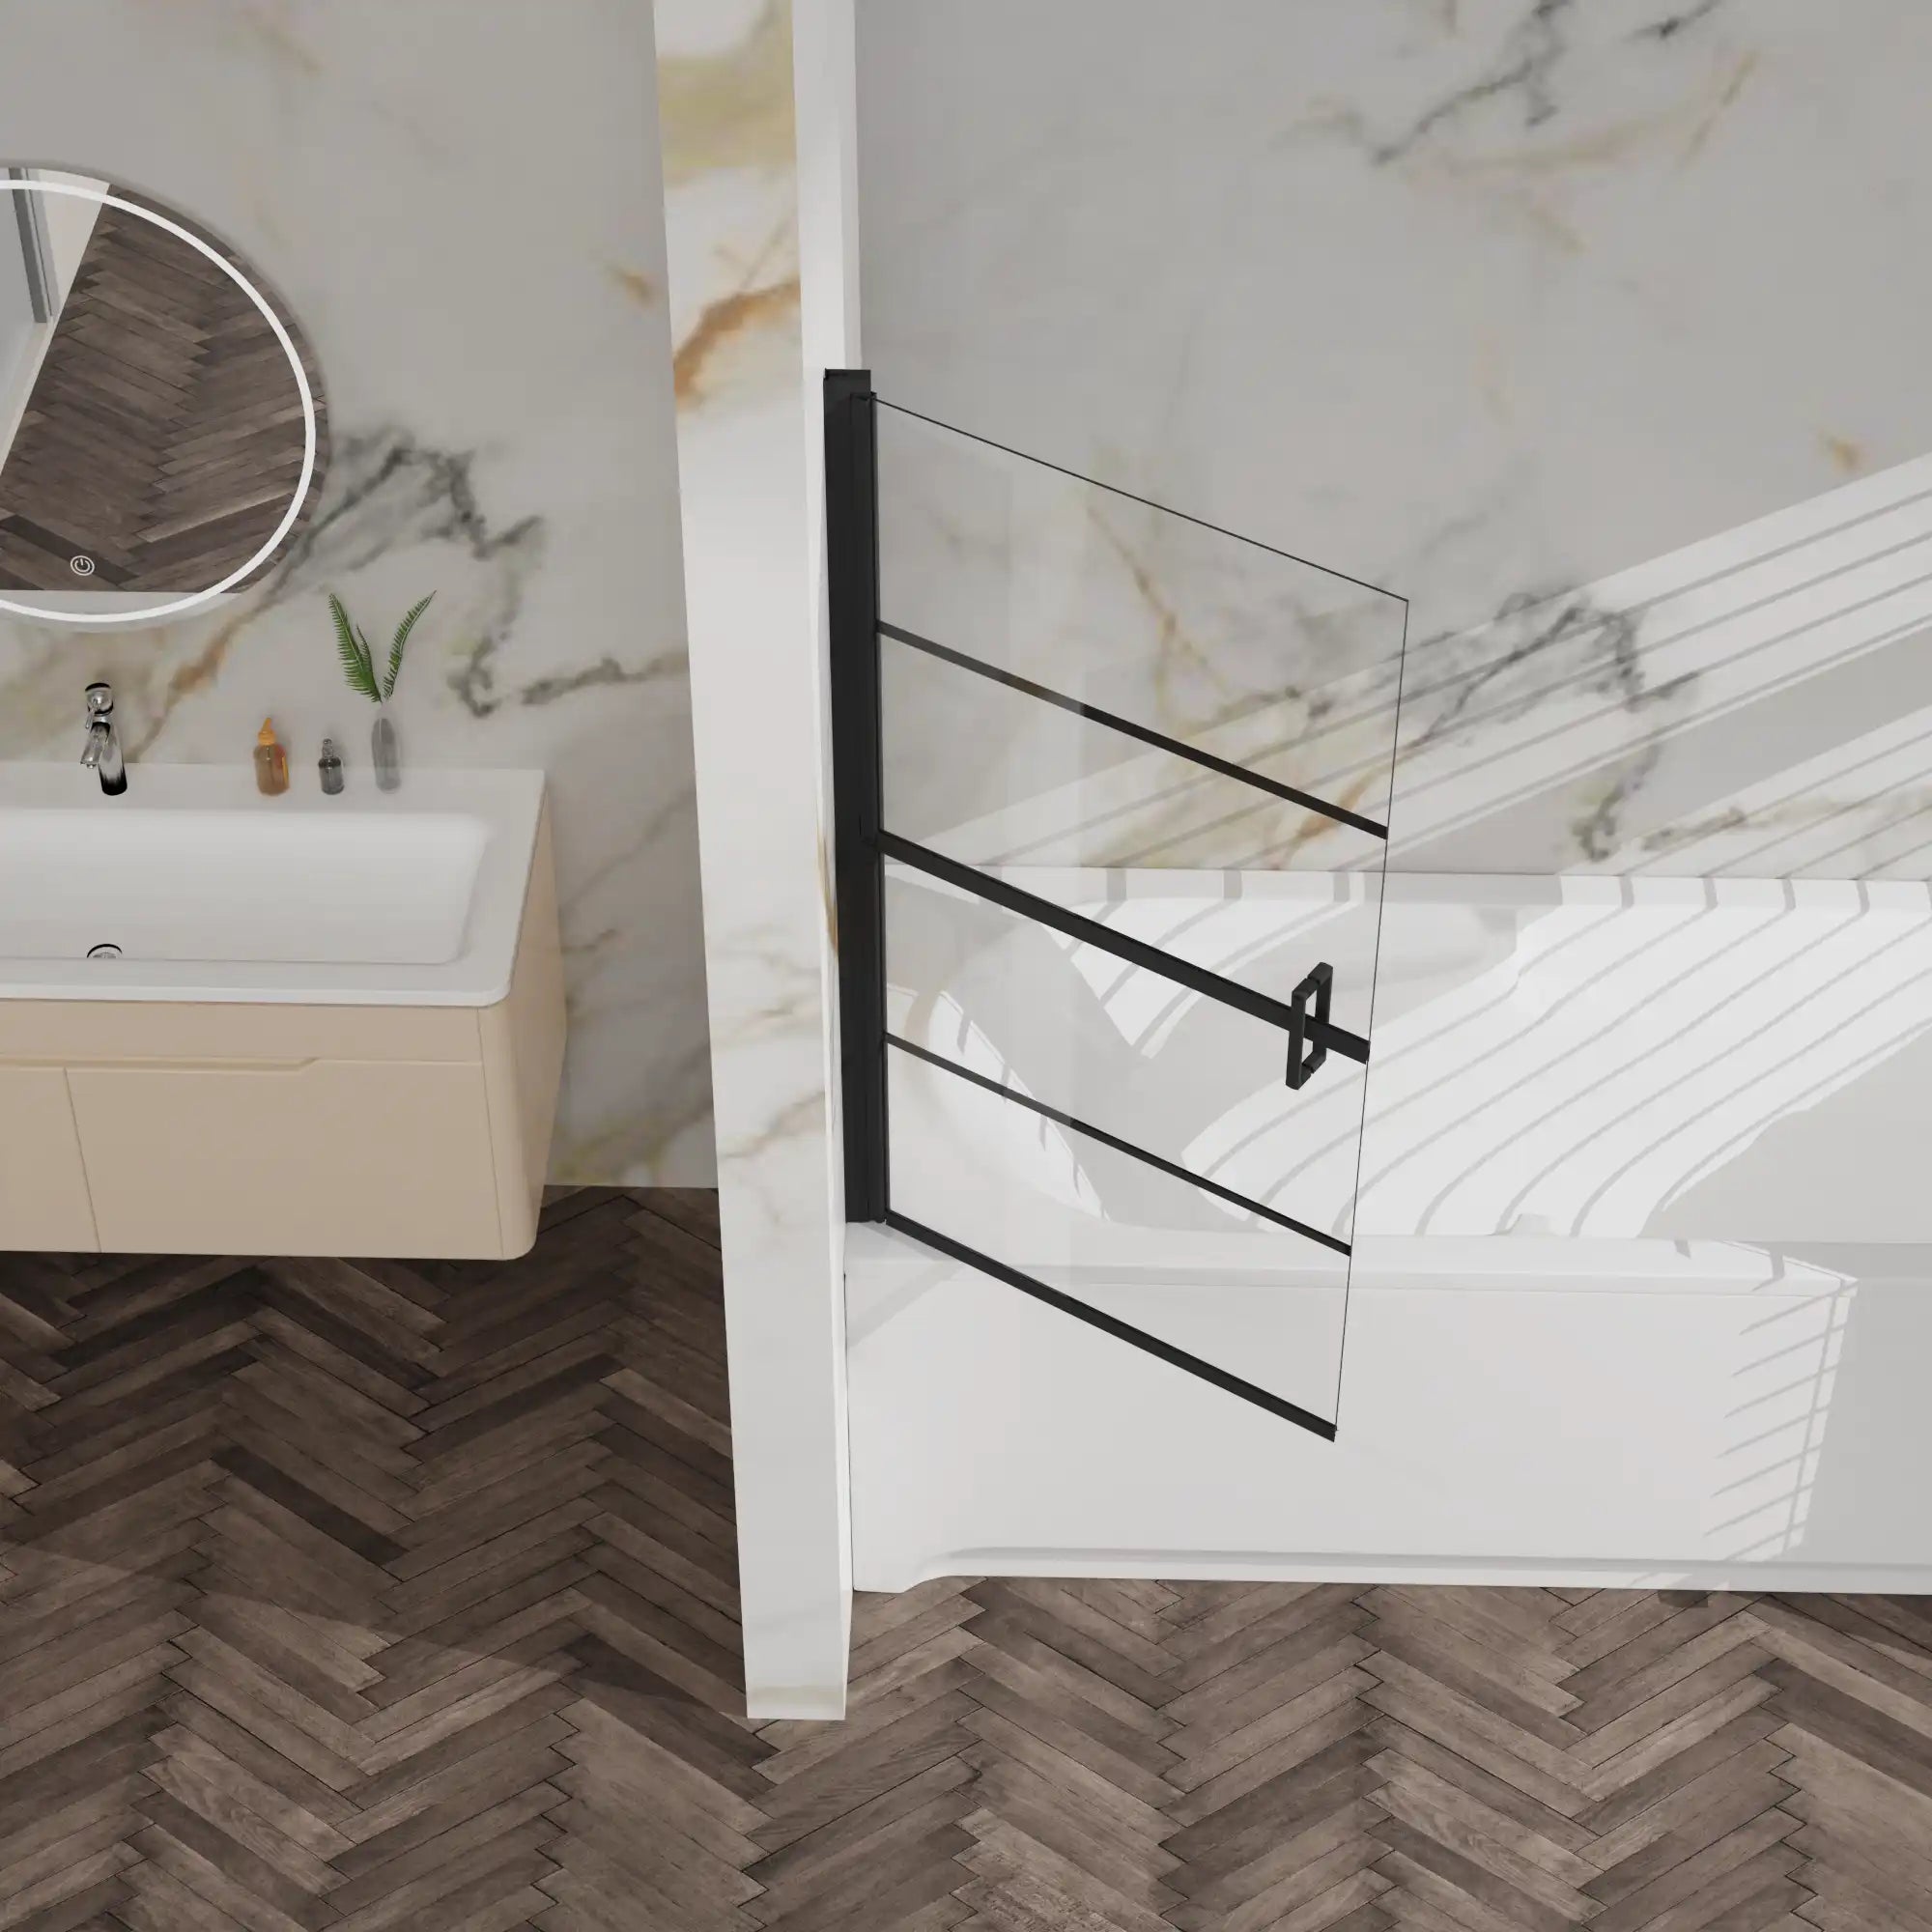
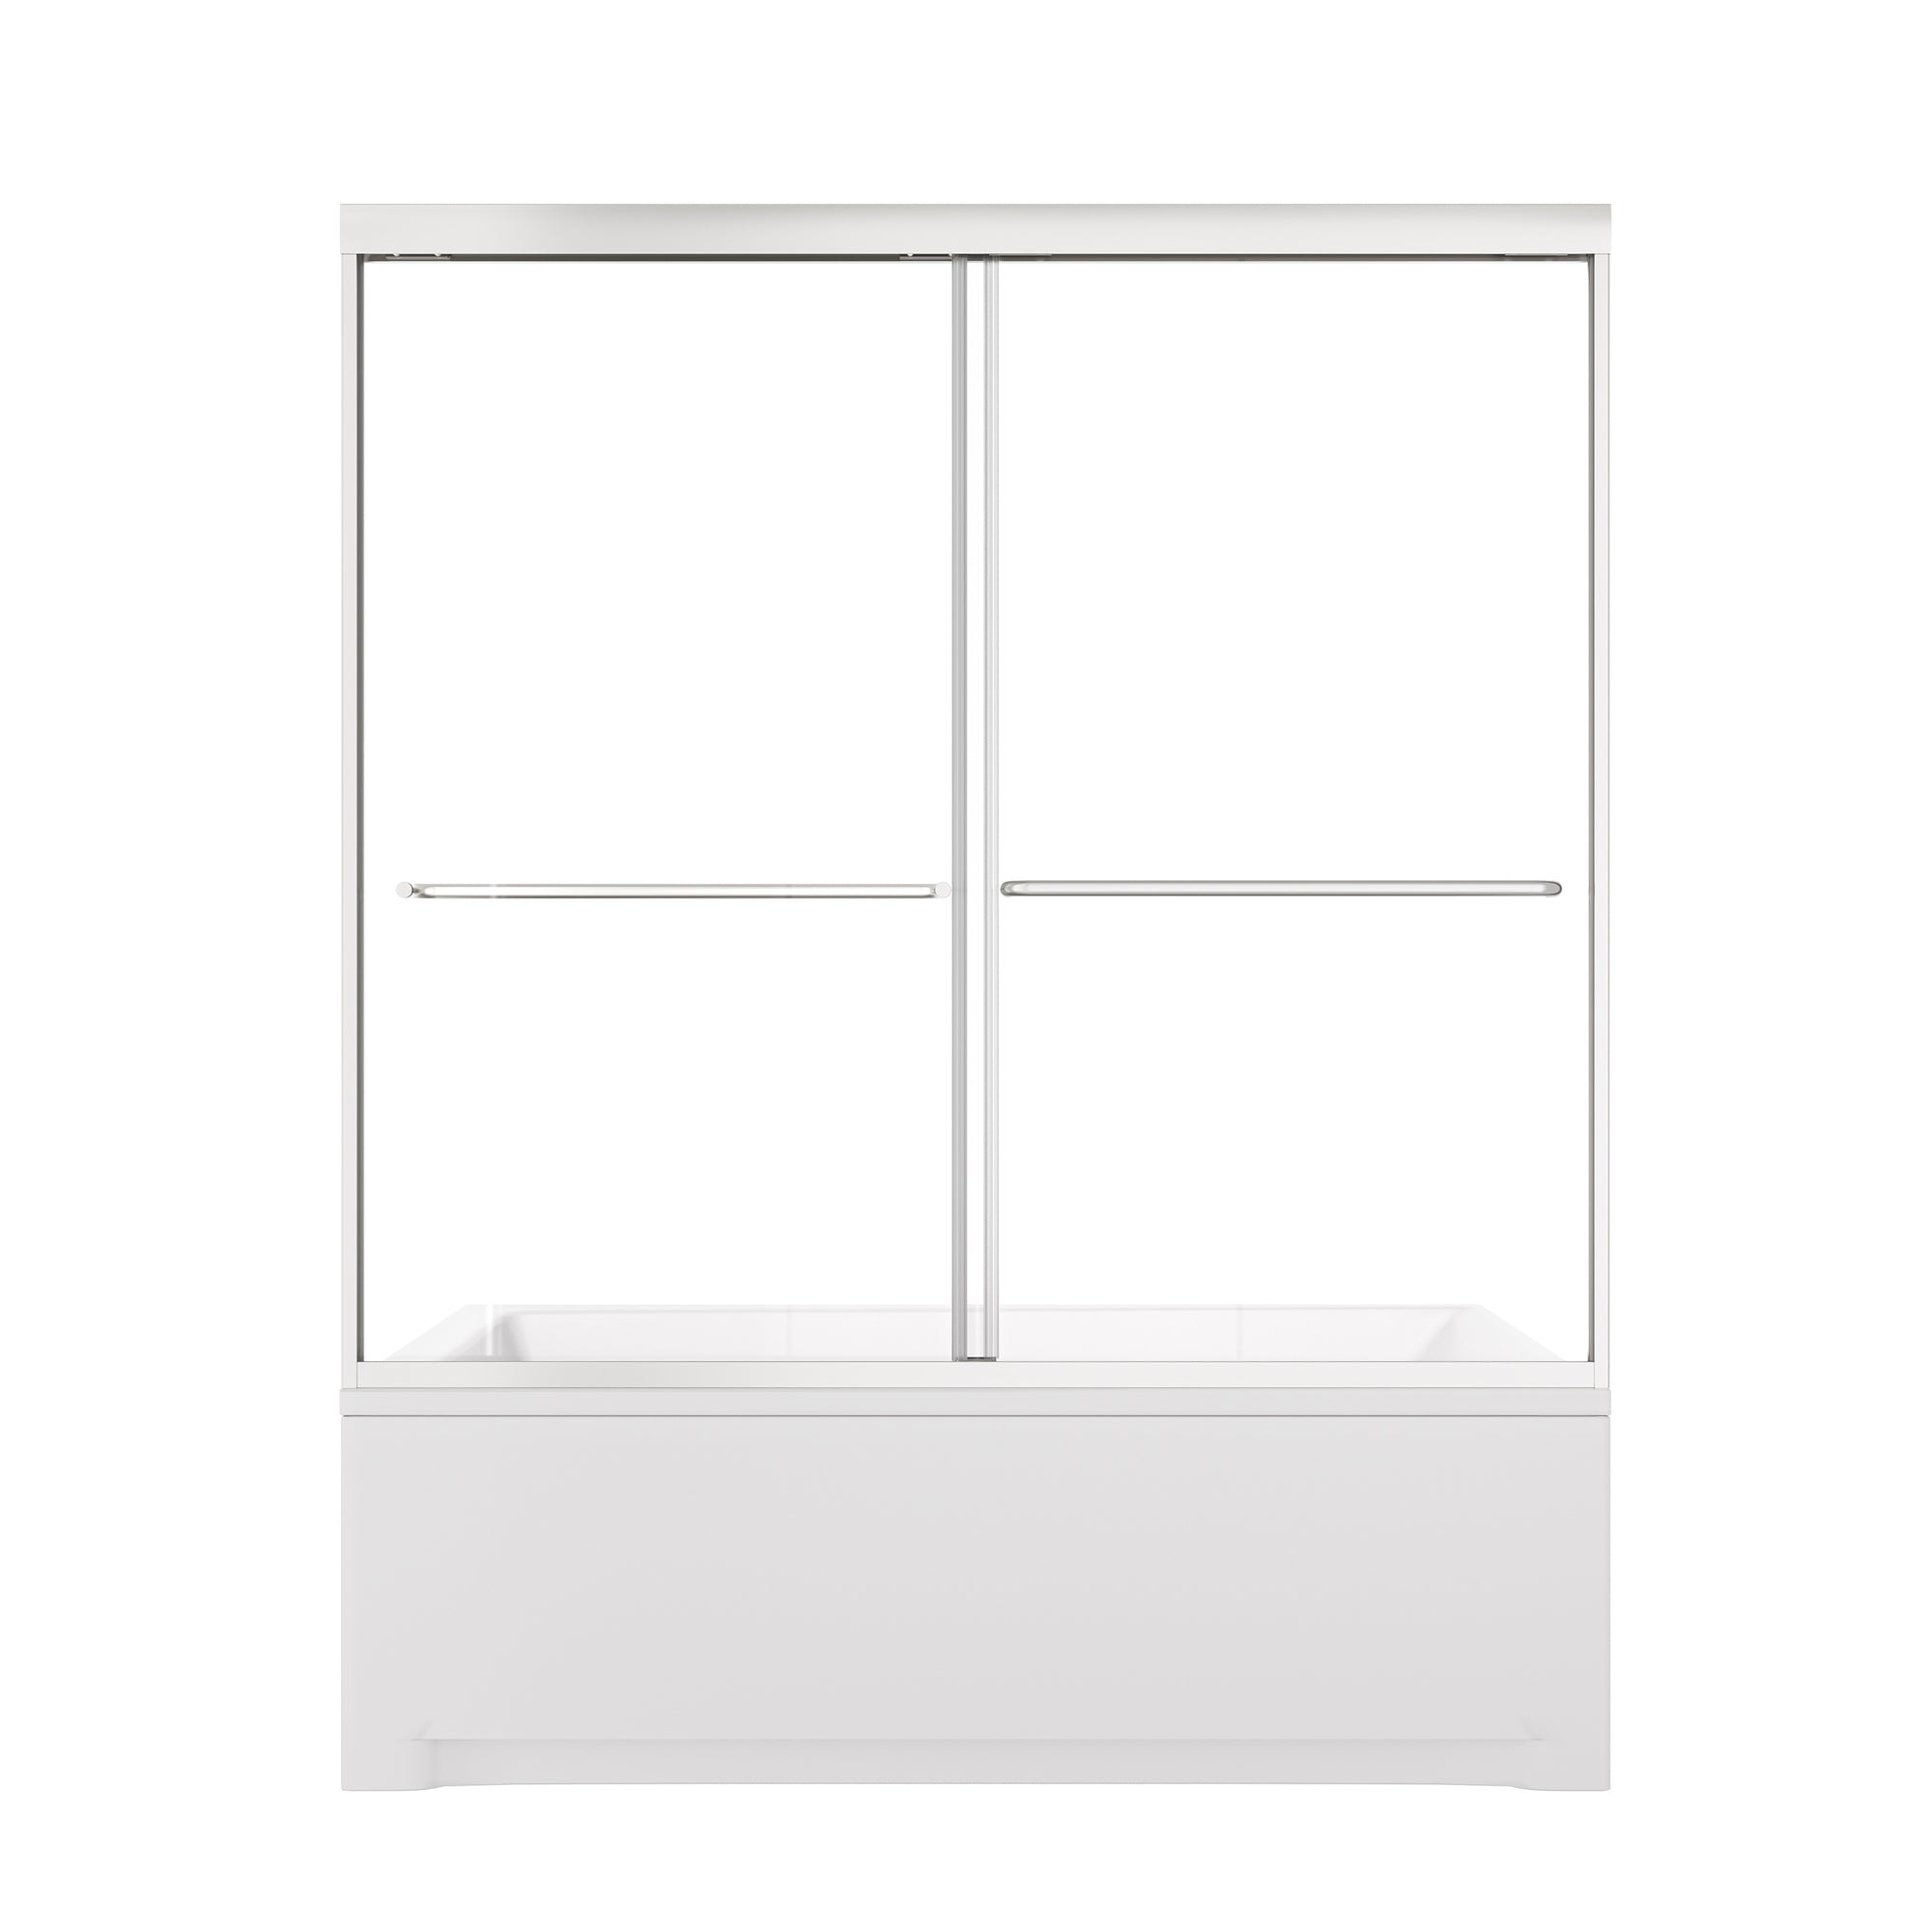
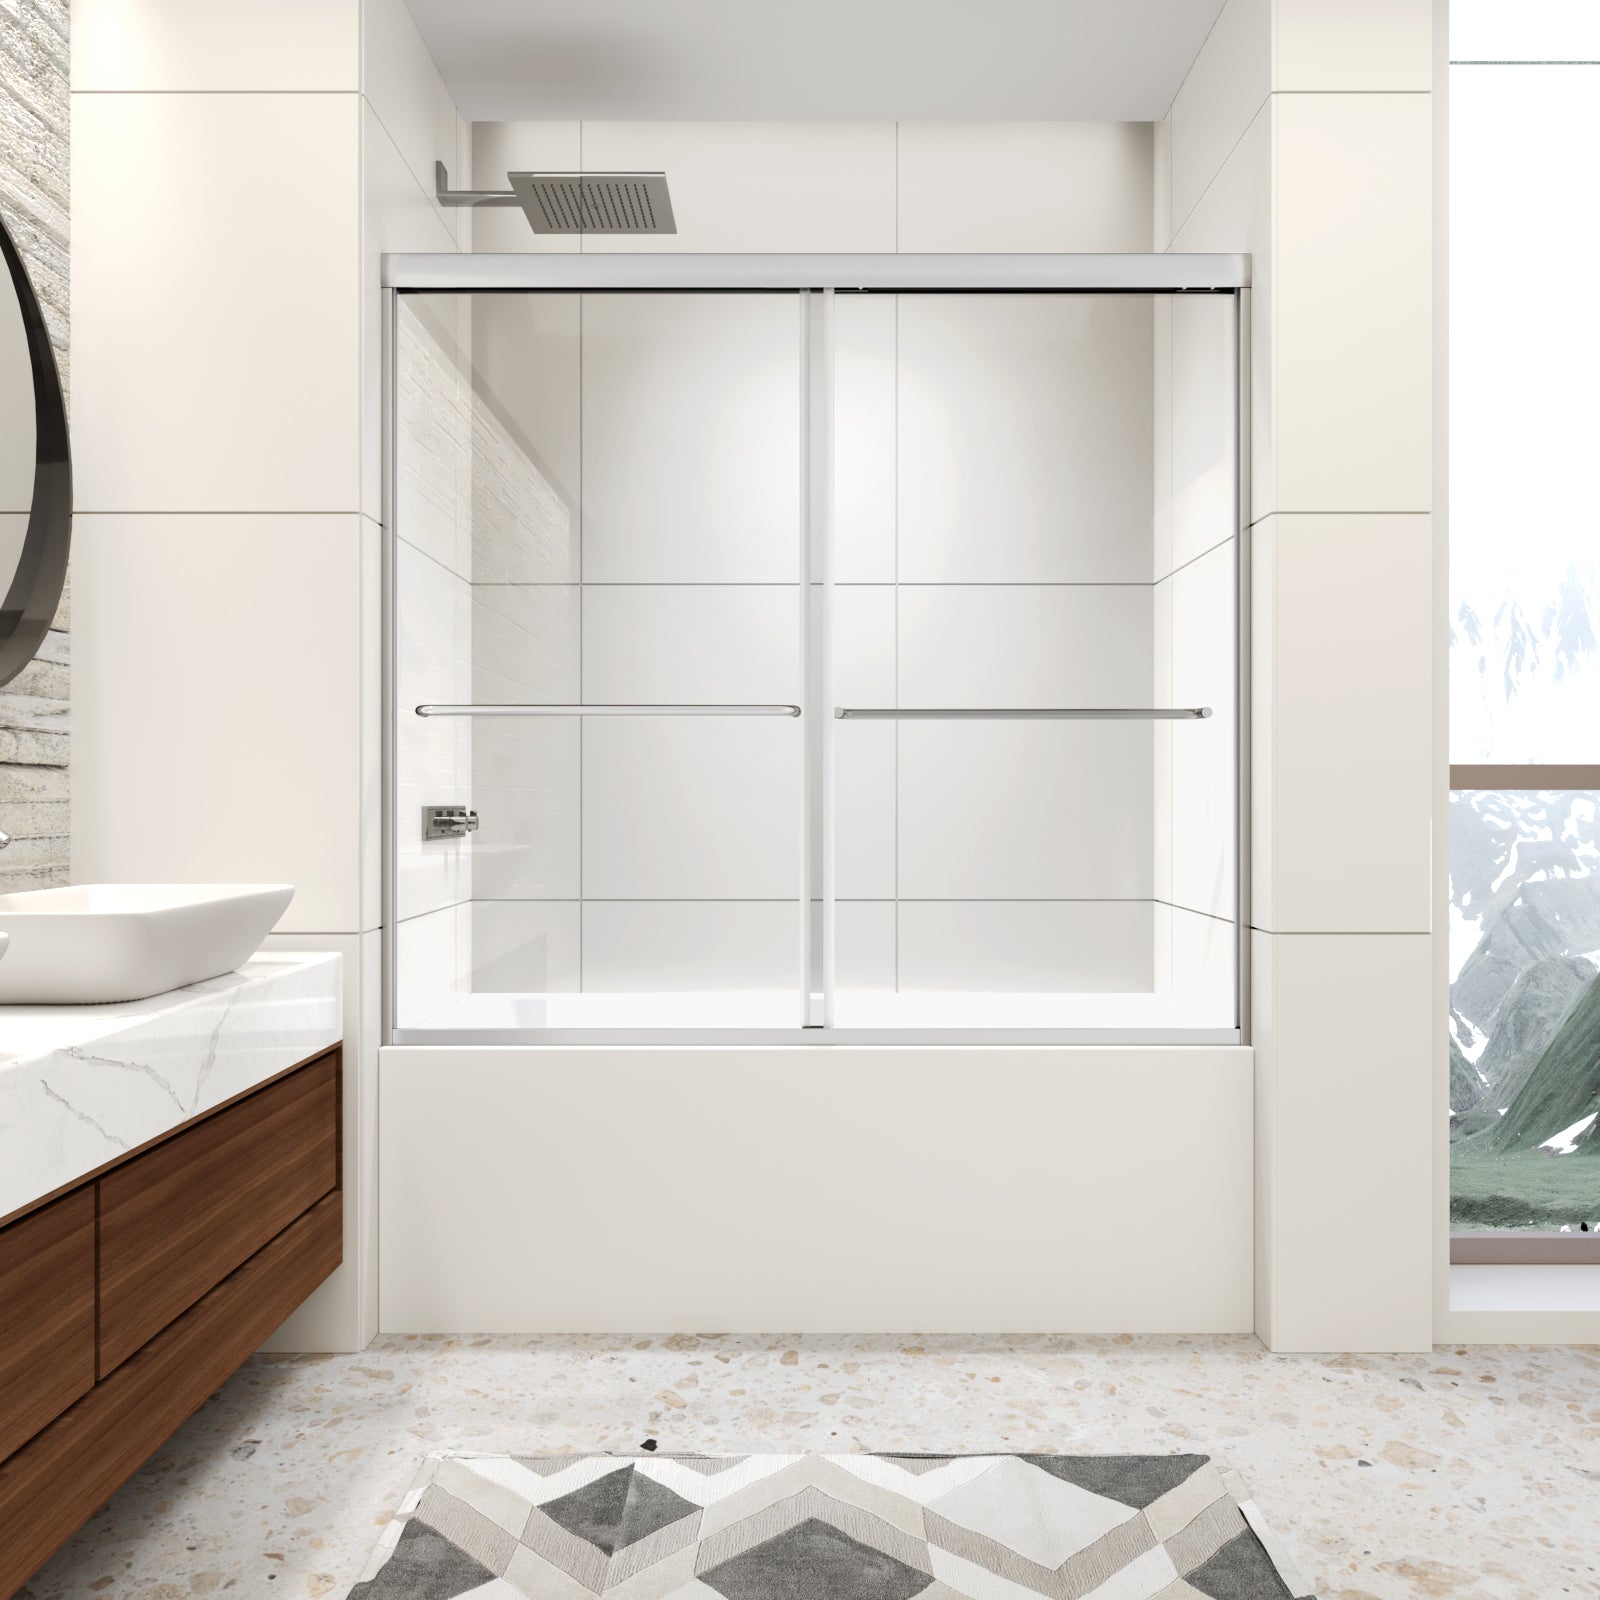
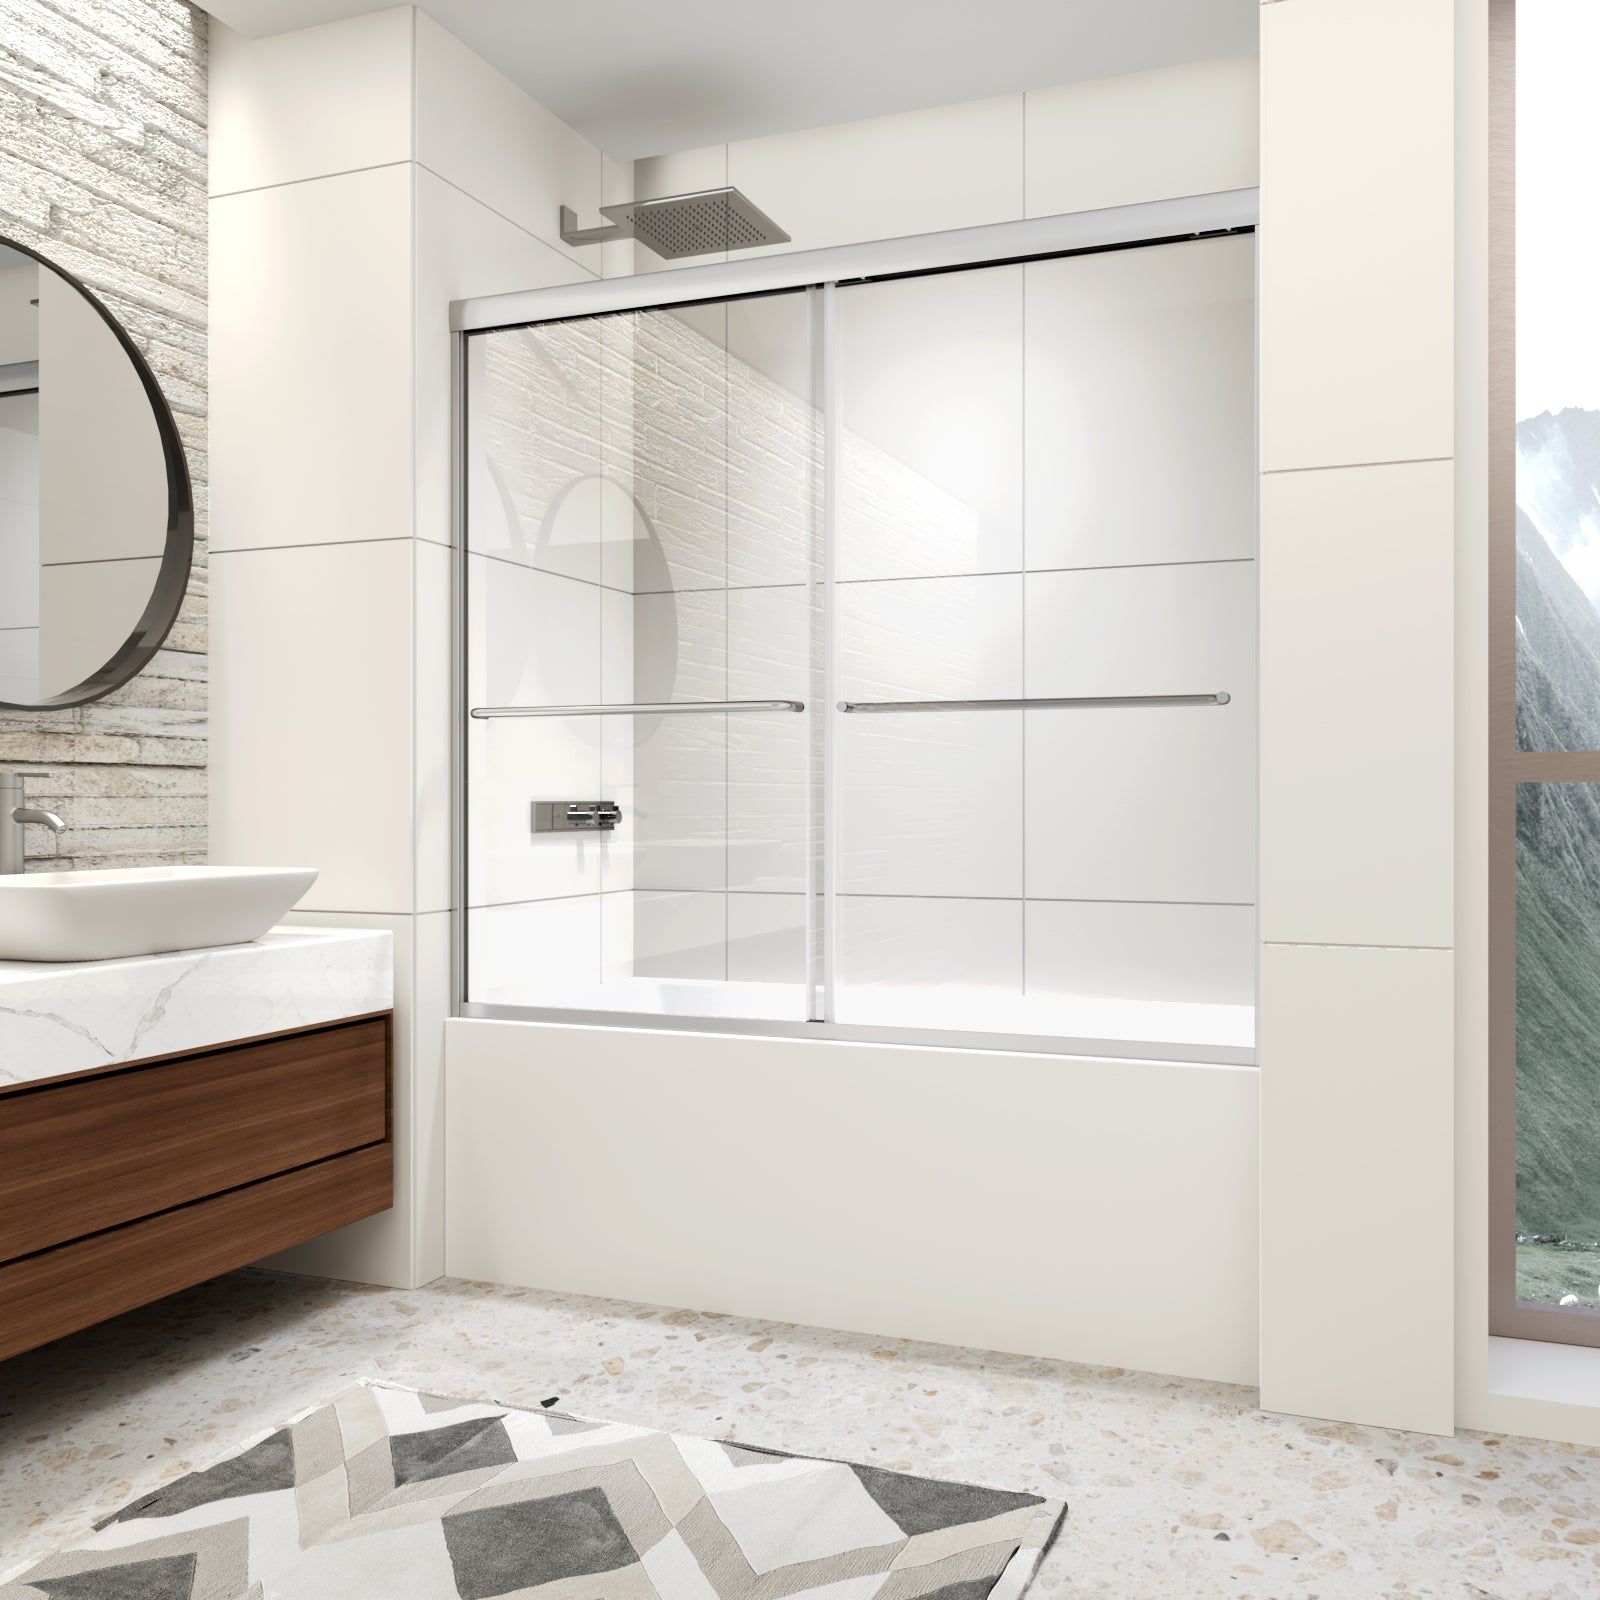
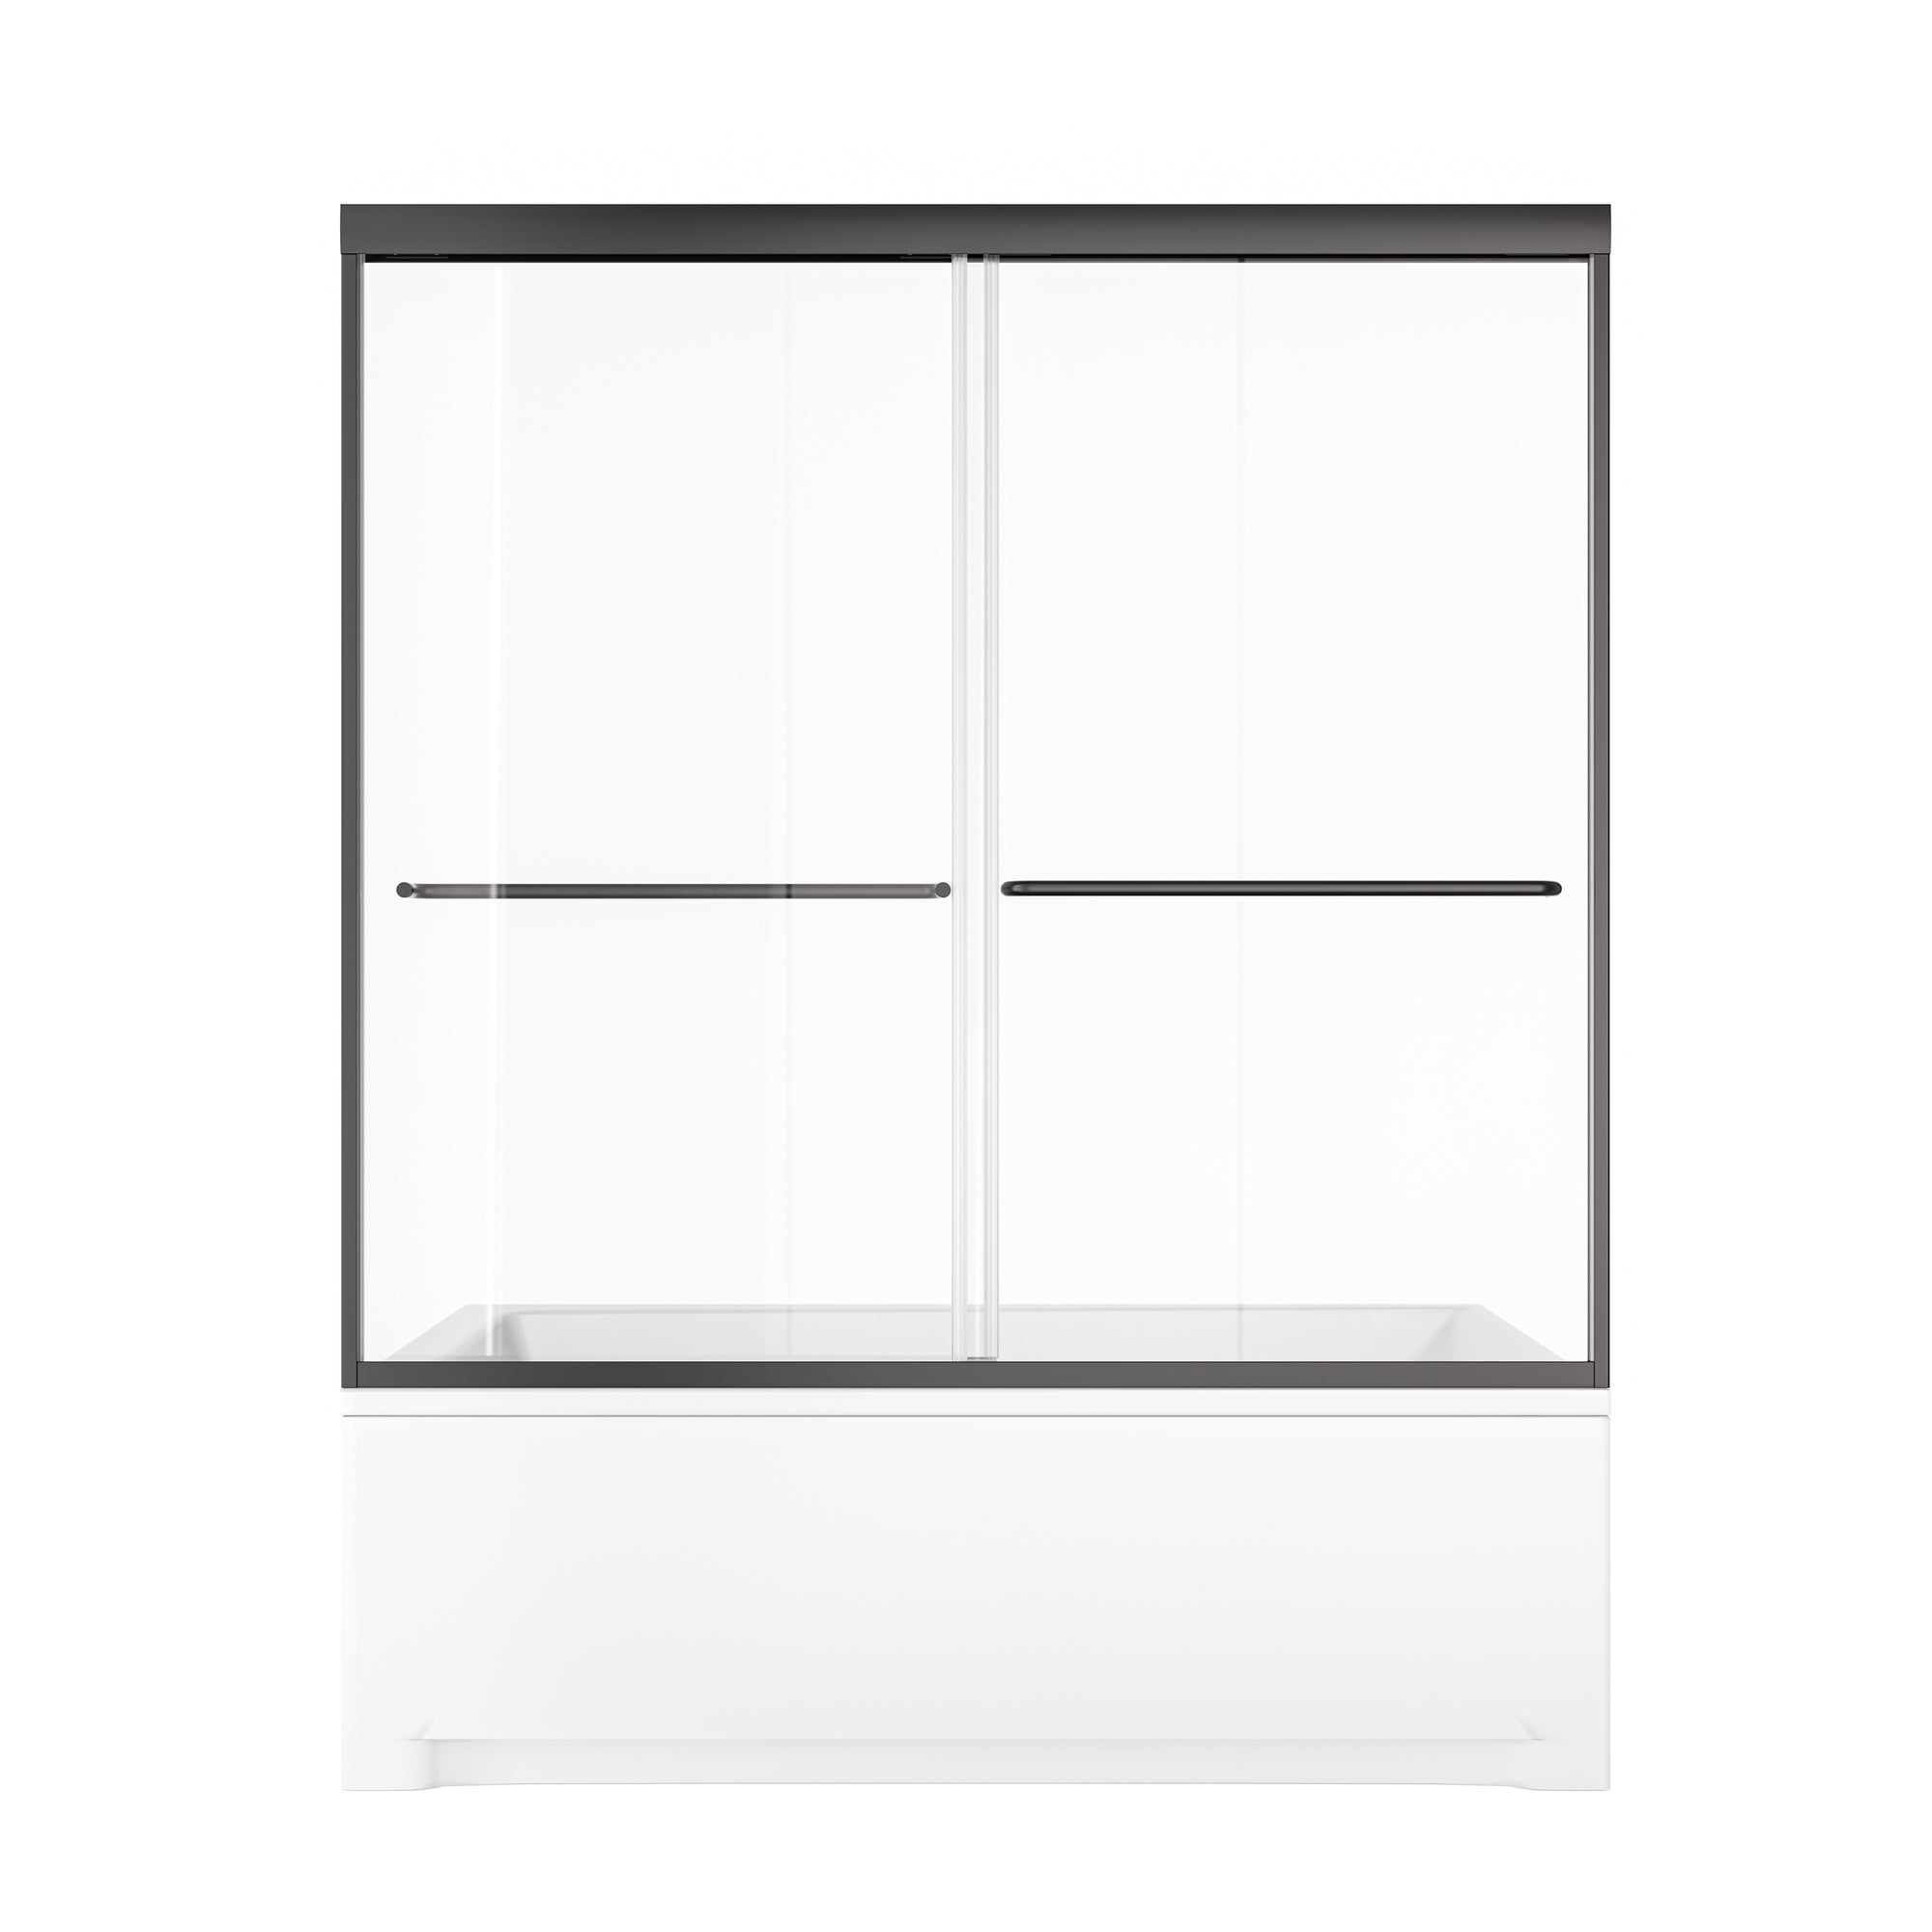
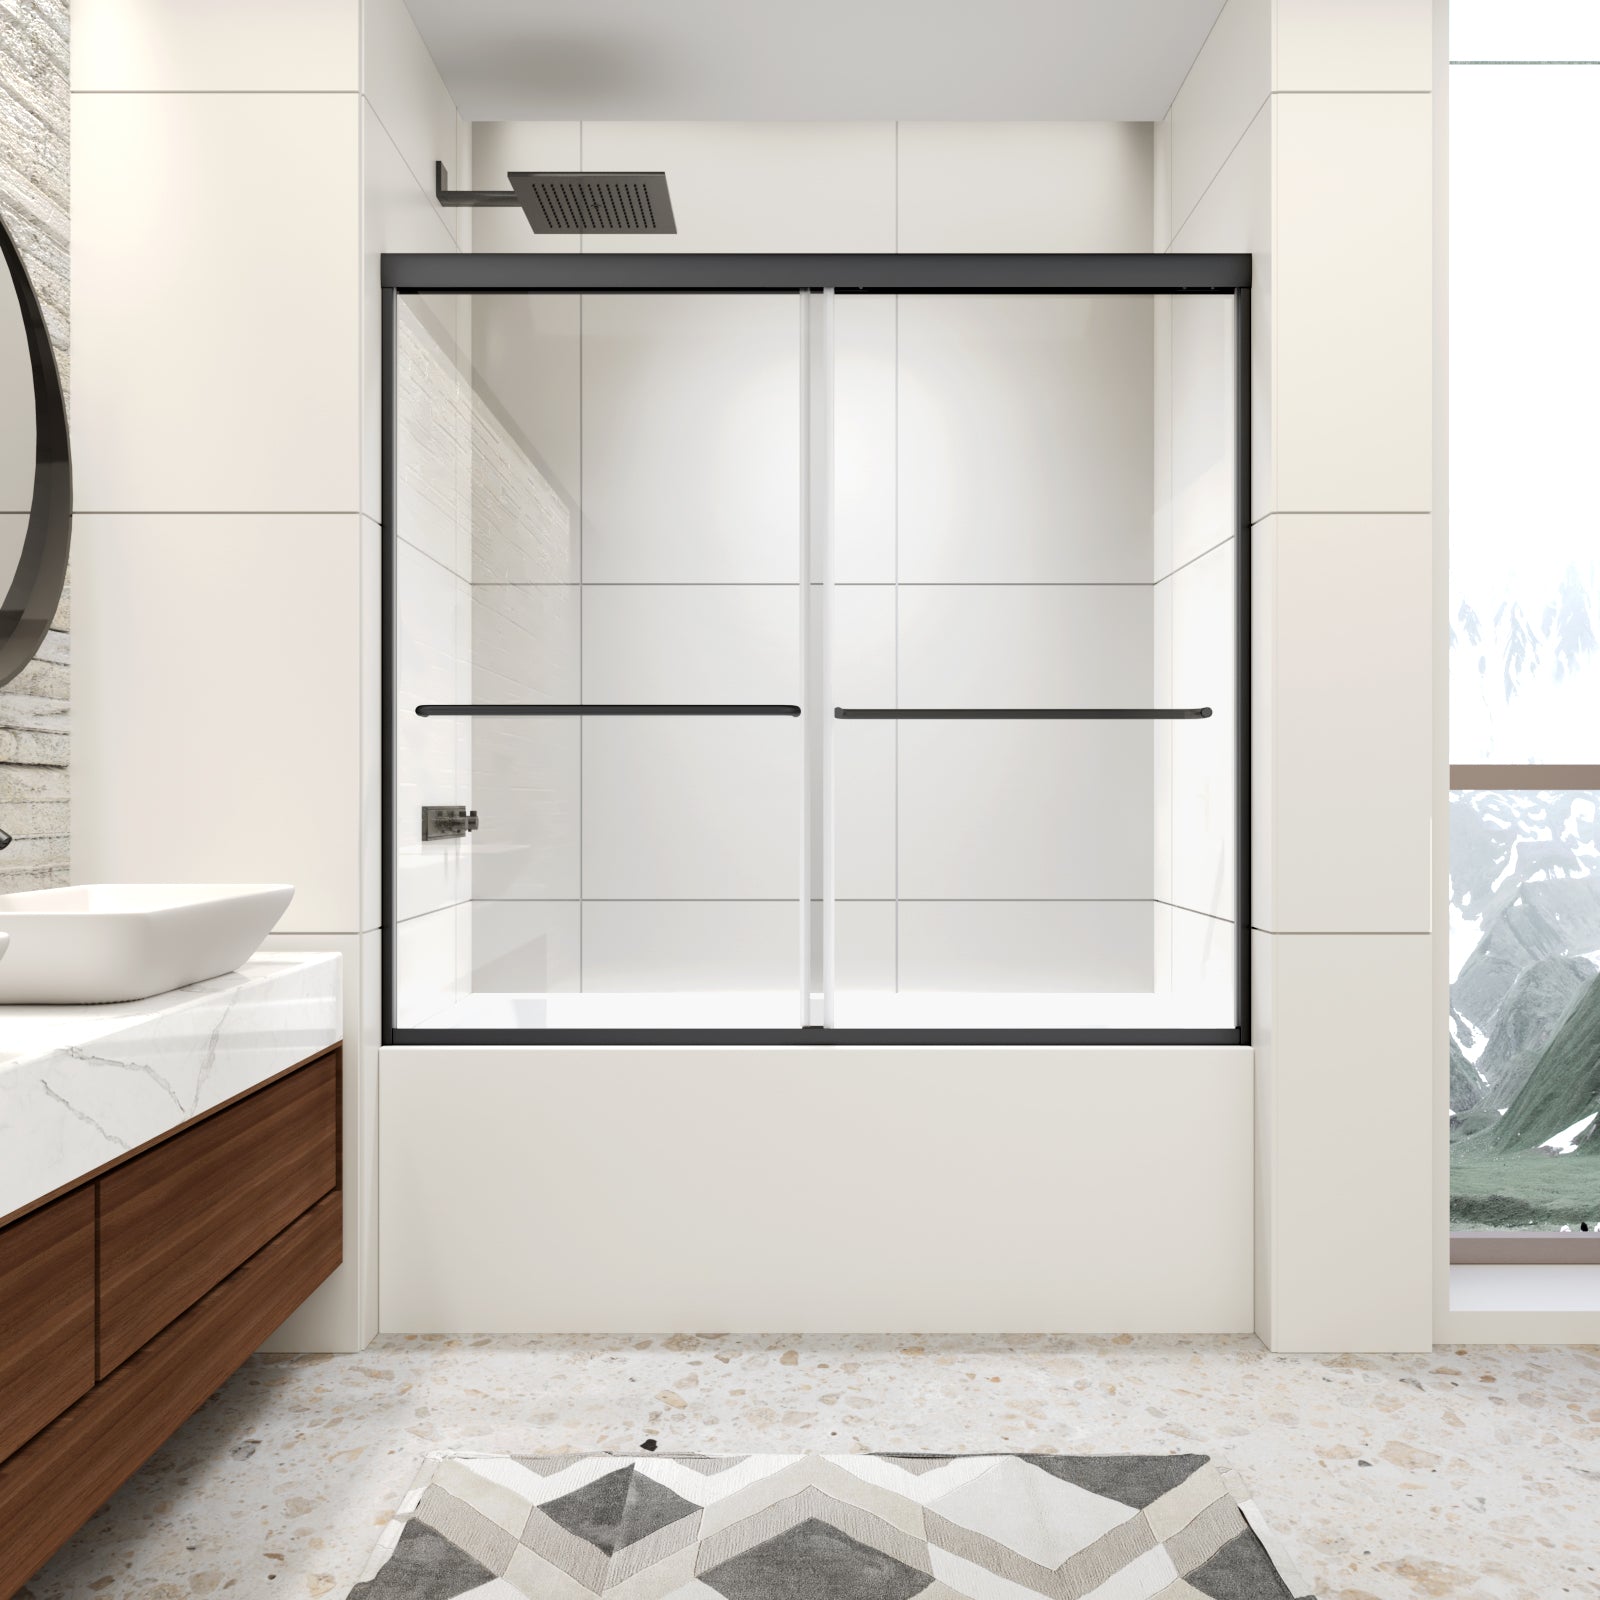
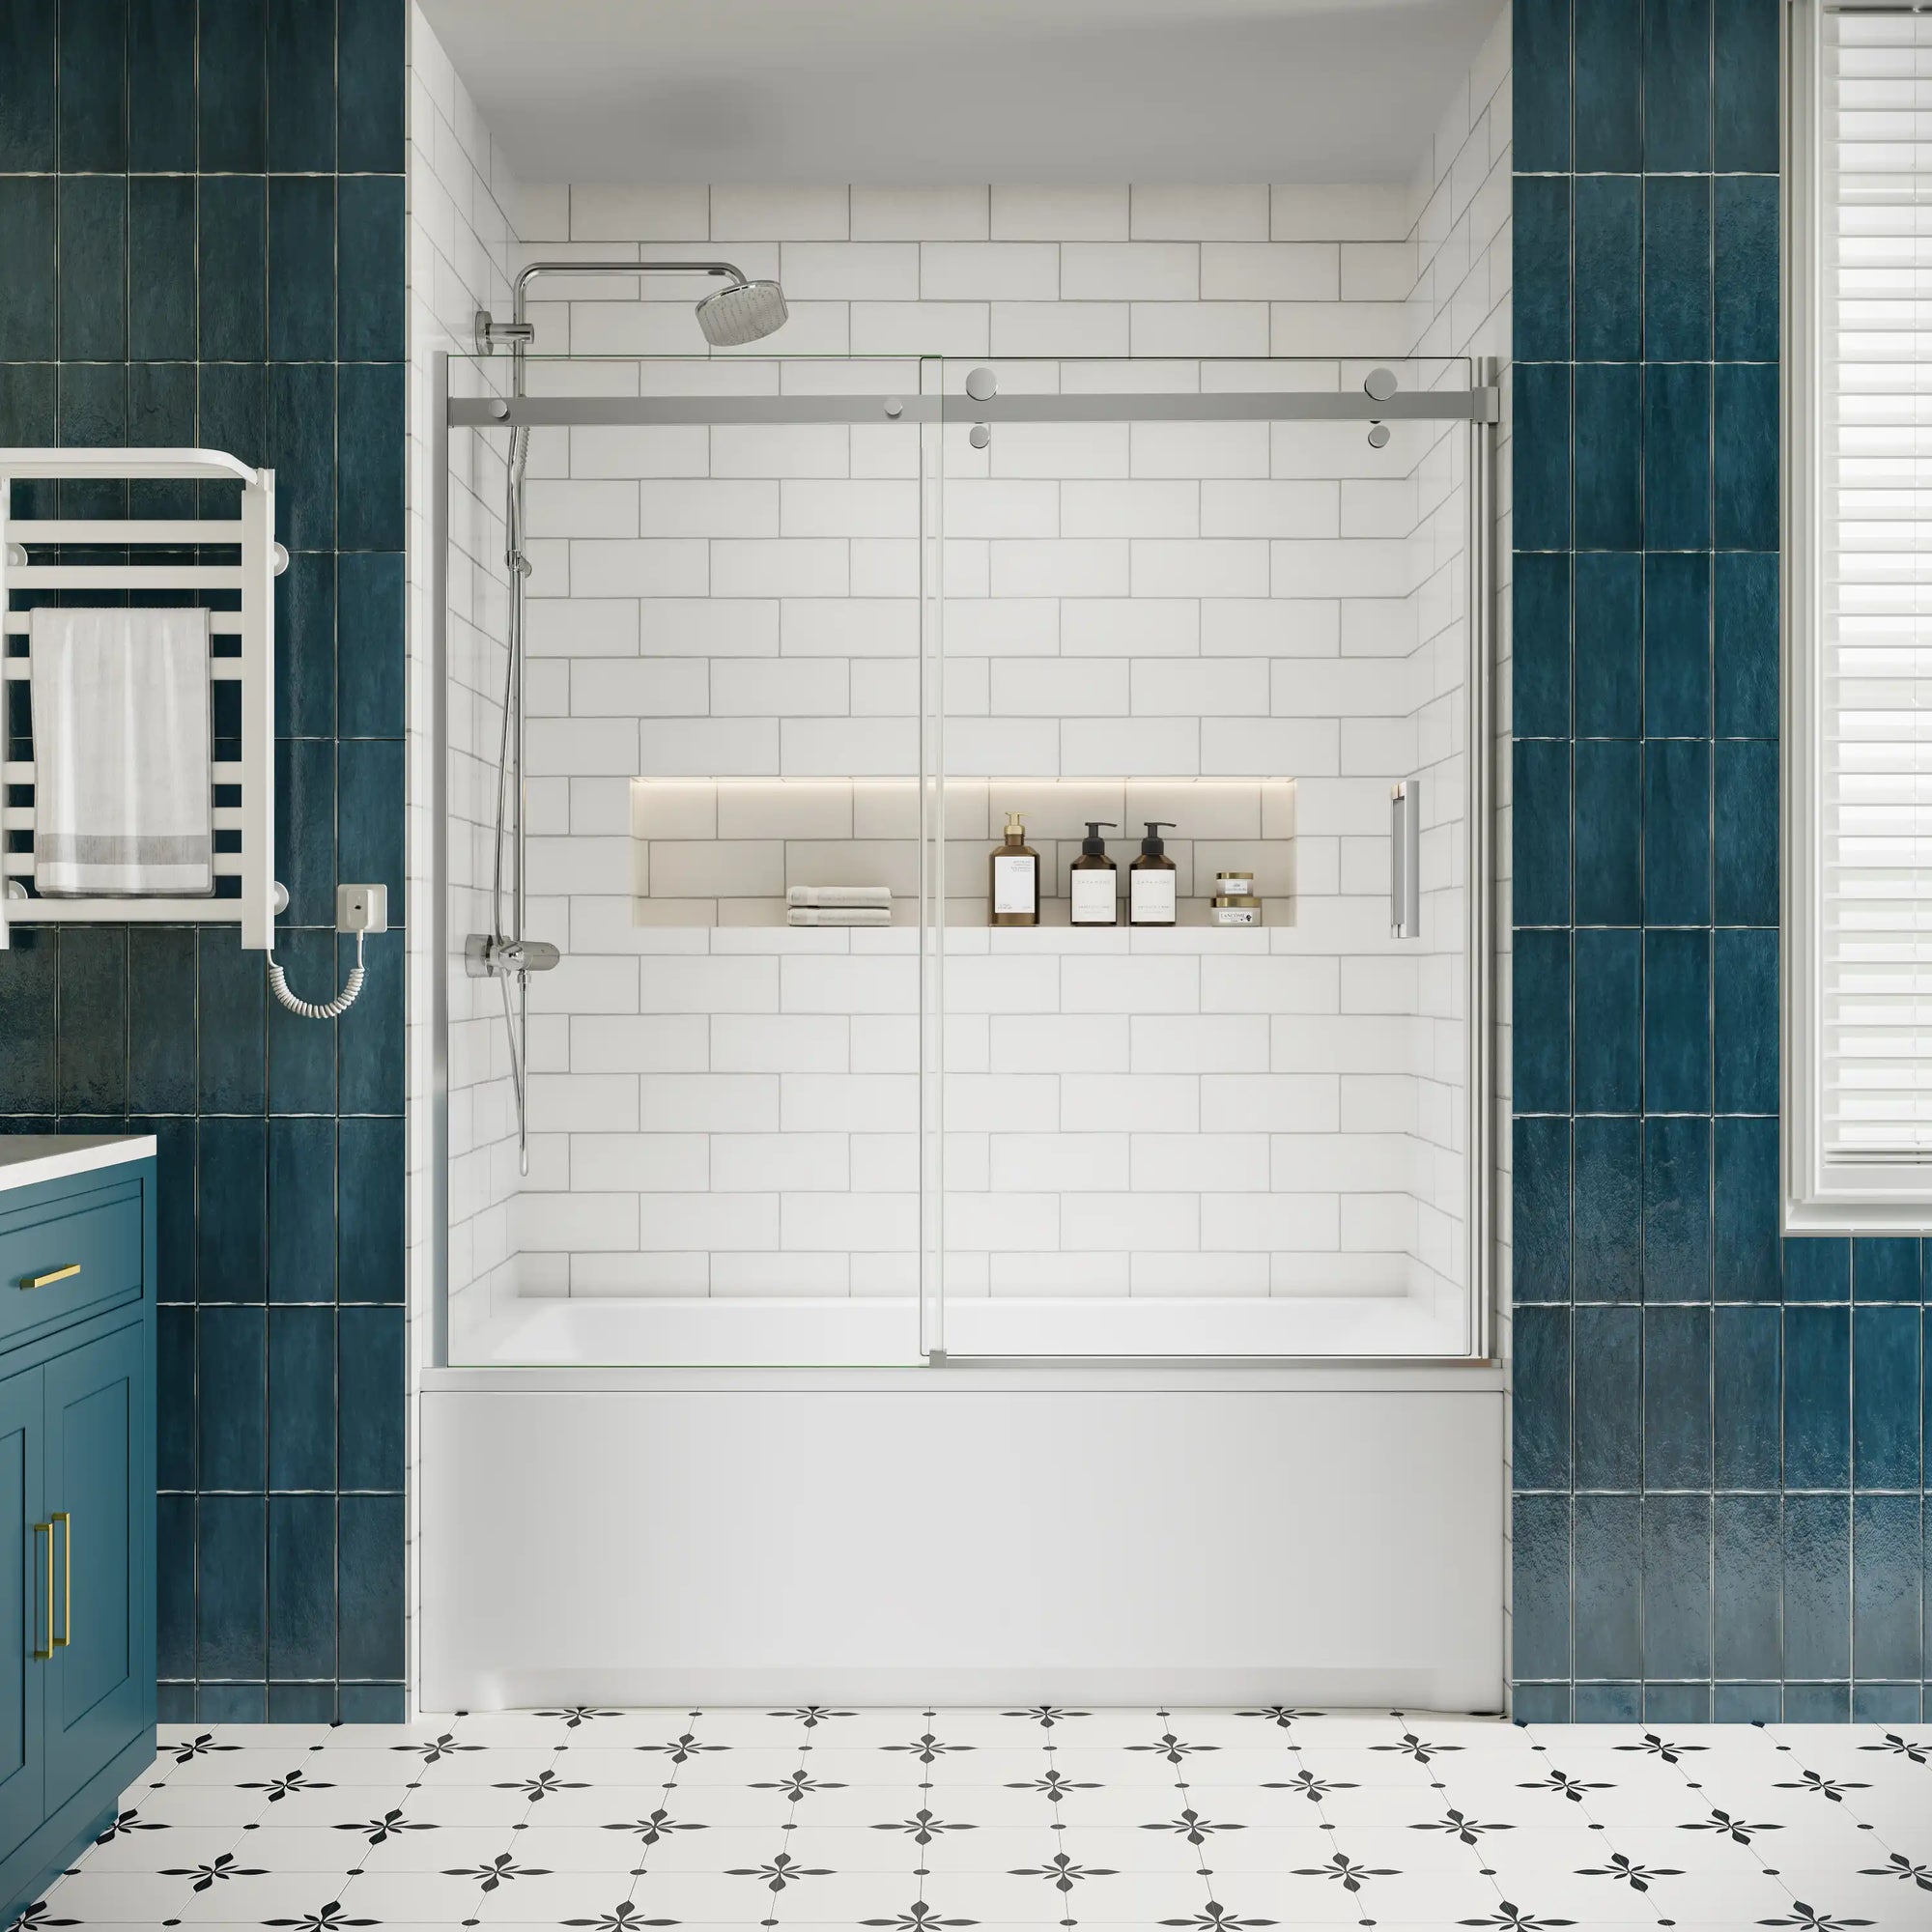
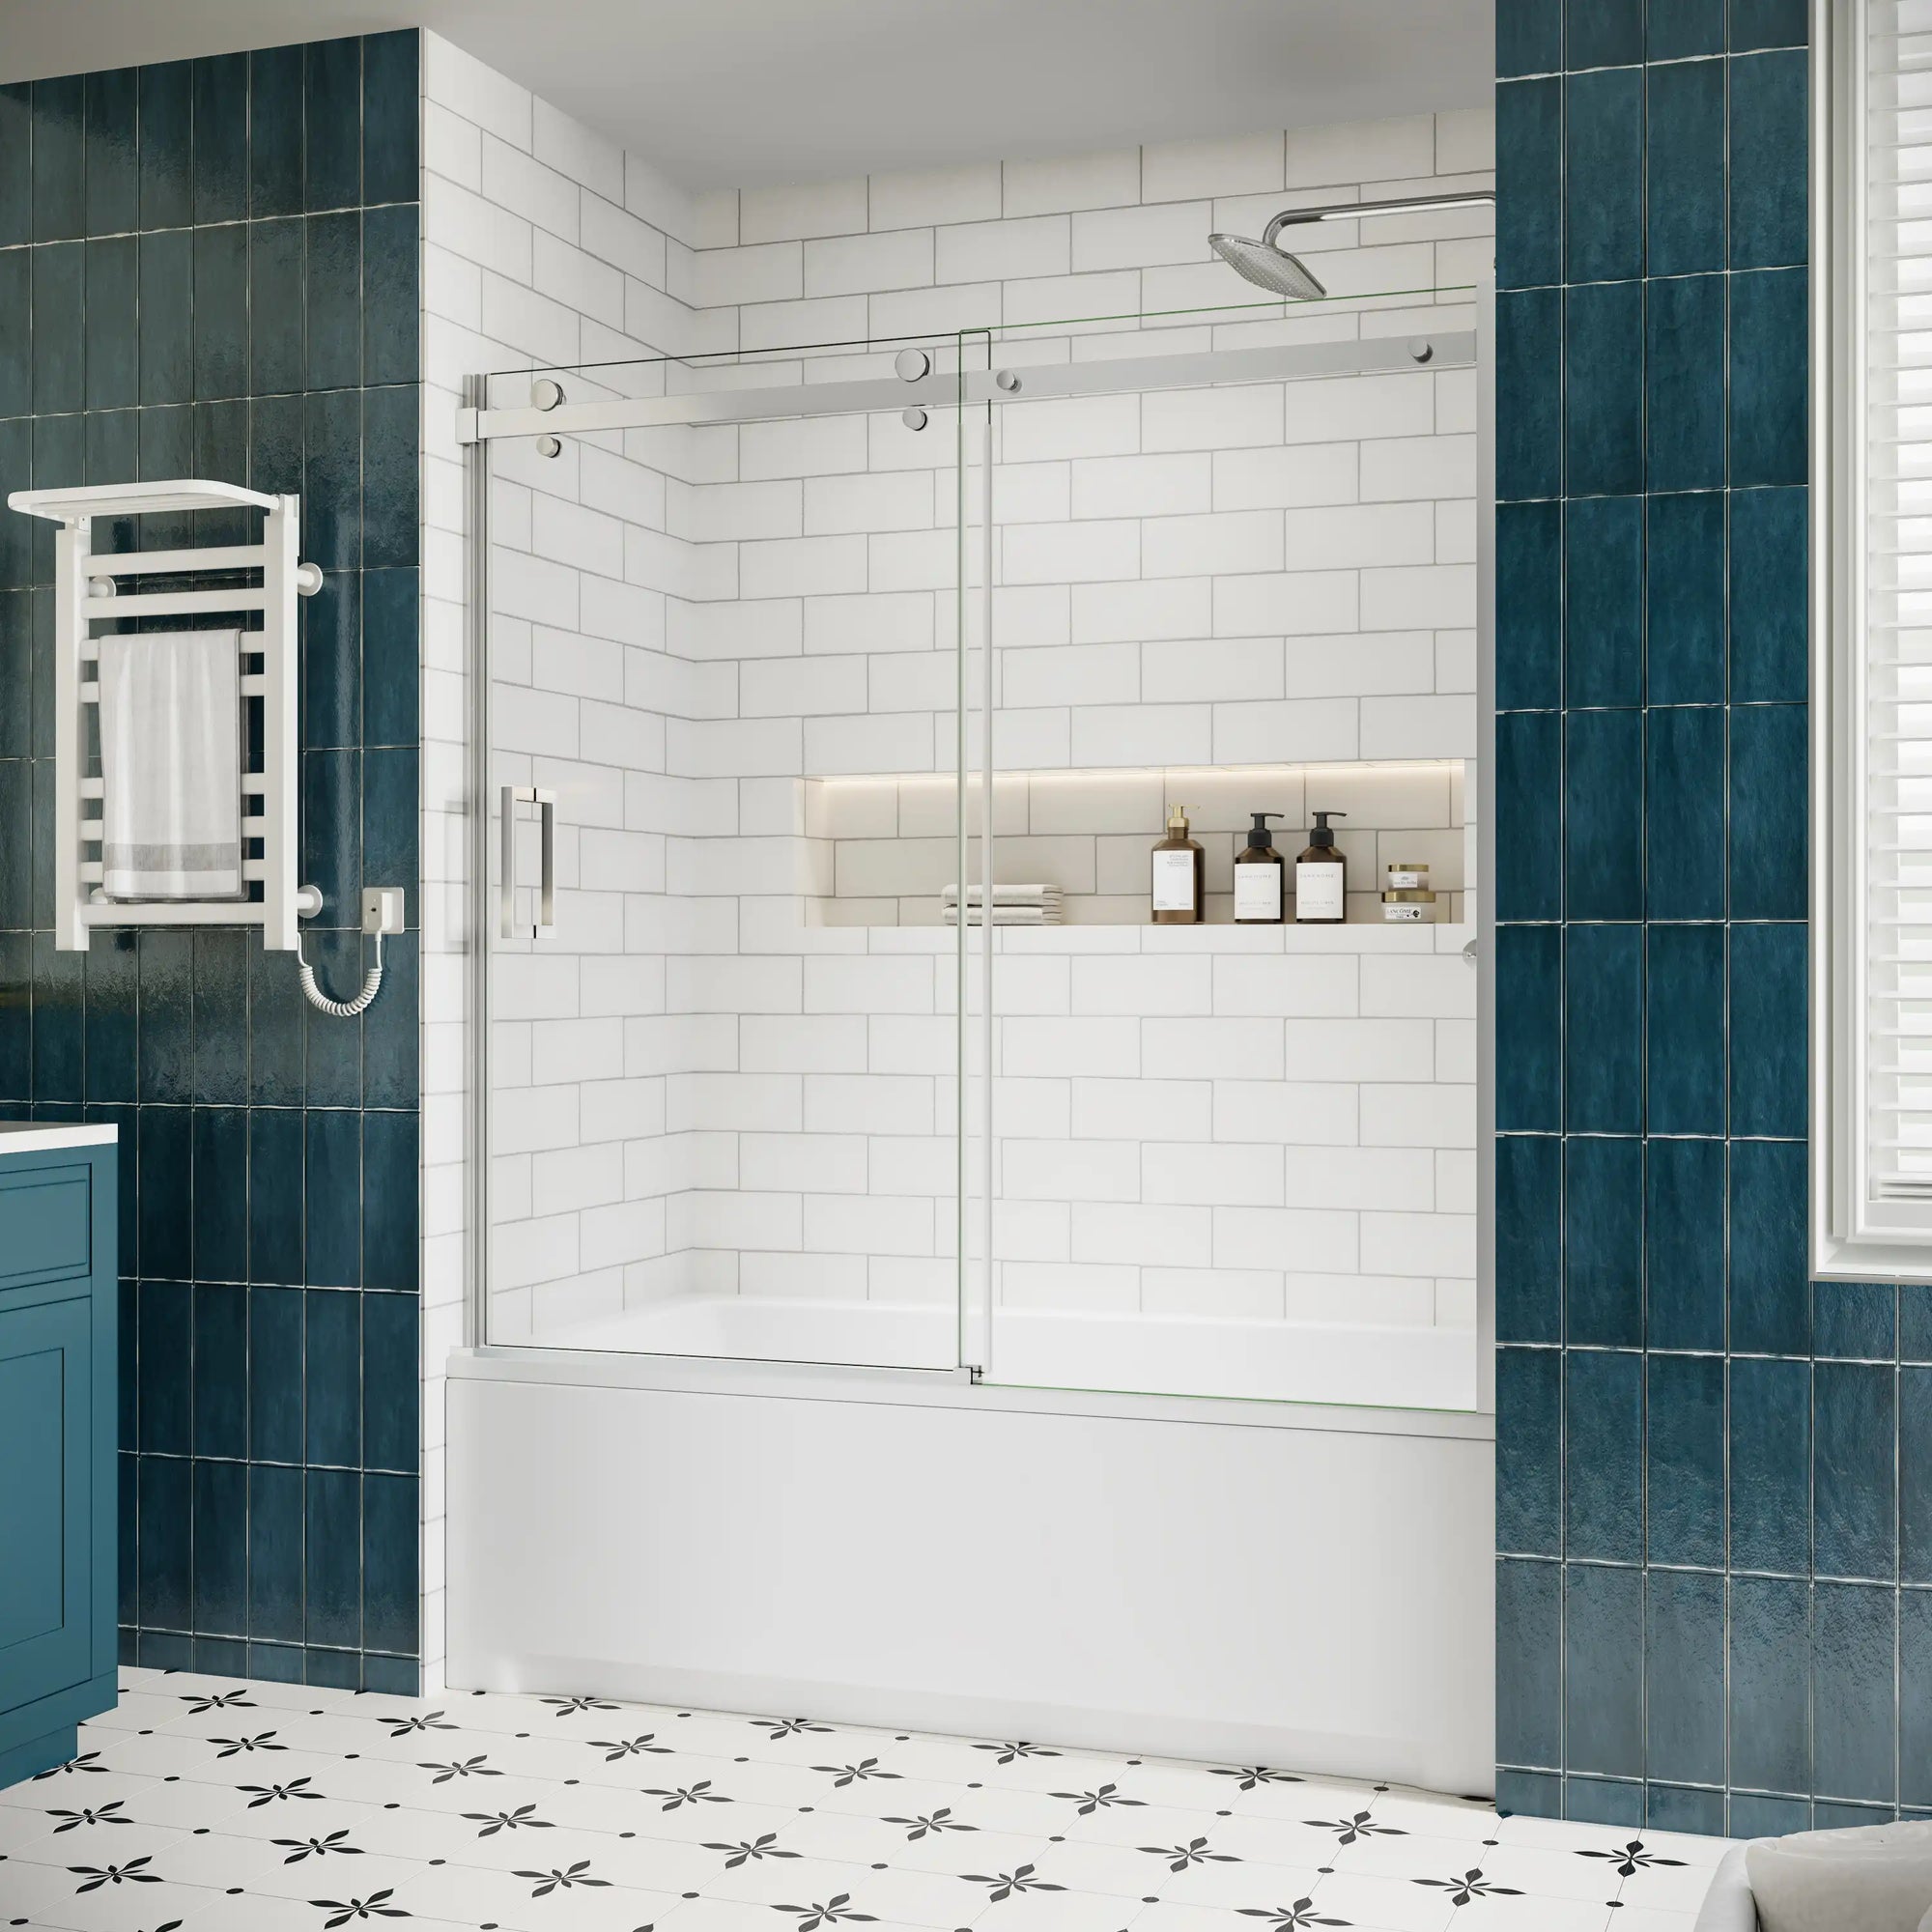
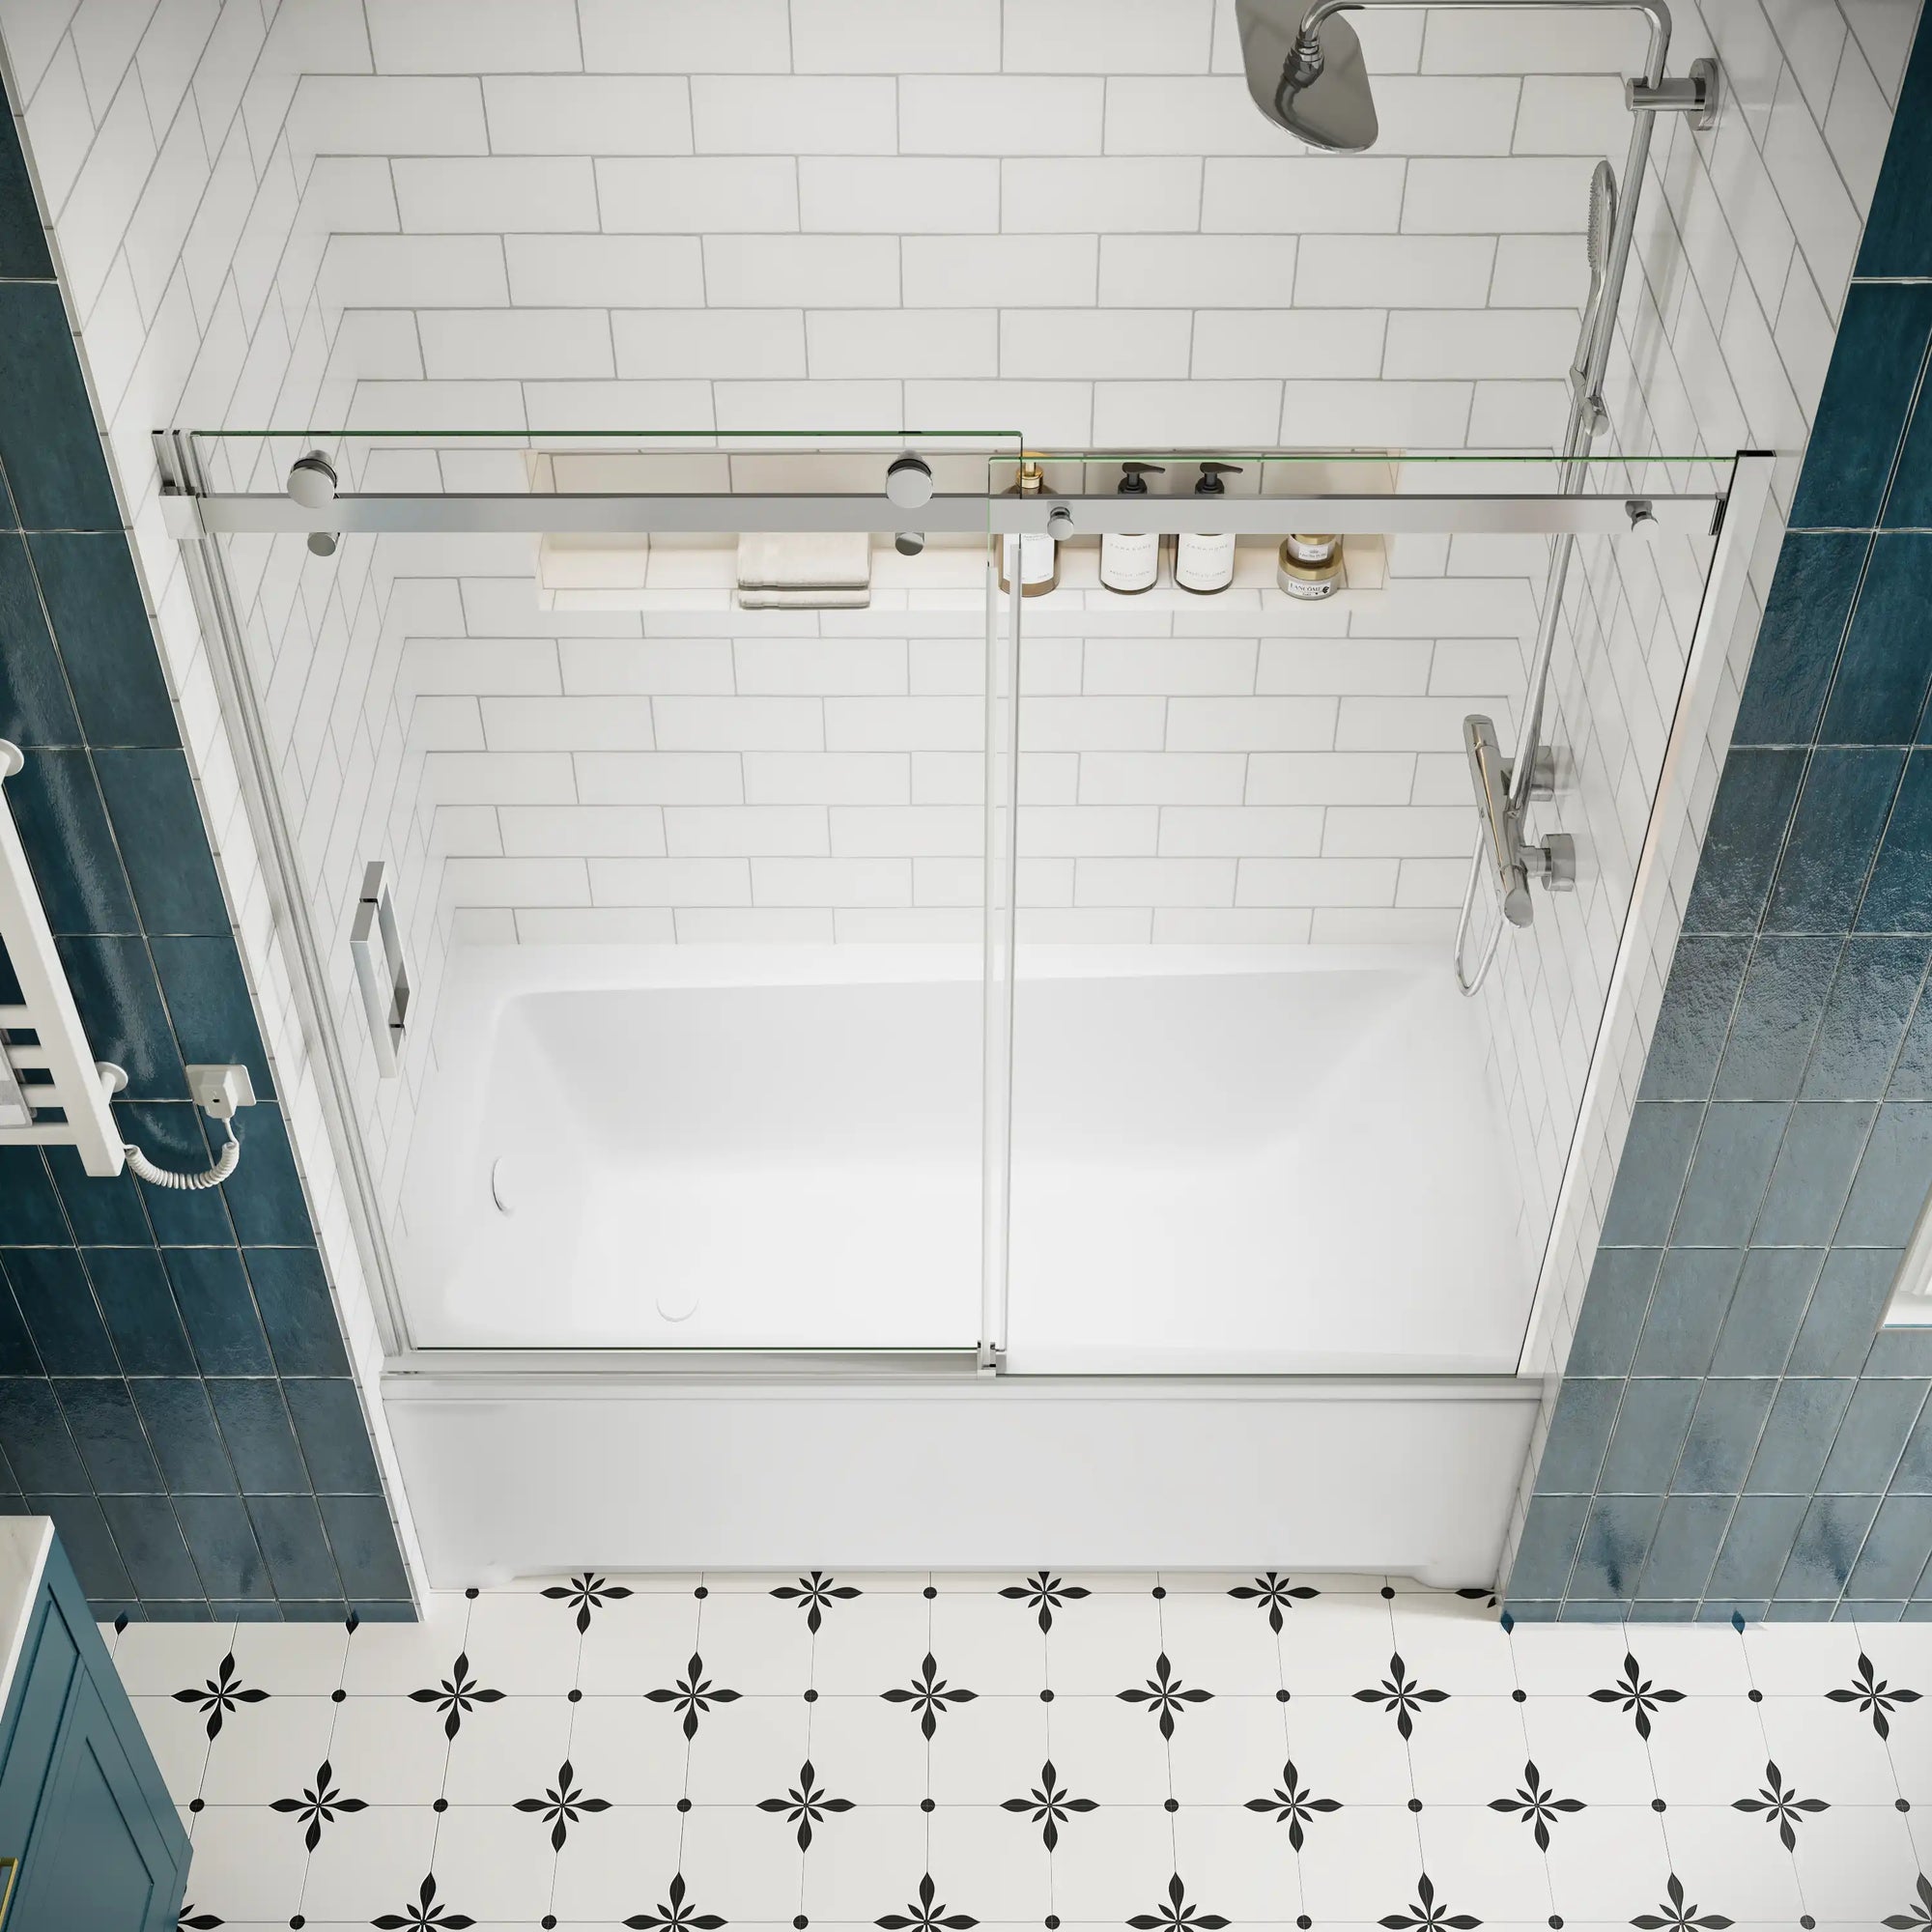
The folding bathtub shower door is a versatile and practical bathroom product, especially suitable for small families in the United States or users who want to save space. It not only maximizes the use of the bathroom area, but also enhances the overall design sense of the bathroom with a stylish and simple appearance. If you like DIY, installing folding doors is also a fun and fulfilling experiment. This product also has the following features:
Easy to clean: the glass surface is waterproof and anti-fouling, and it takes on a new look with a gentle rub, especially suitable for people who live a fast life.
Budget savings: No need for professional installation services, easy to follow the guide.
Suitable for a variety of scenarios: whether it is a small bathroom or a family spare toilet, it can meet the needs.
Next, let's delve into the specific installation steps to help you easily realize your bathroom remodeling dreams!

Step 1: Preparation -- Make sure everything is ready
Measurement and purchase: lay a good foundation to get twice the result with half the effort
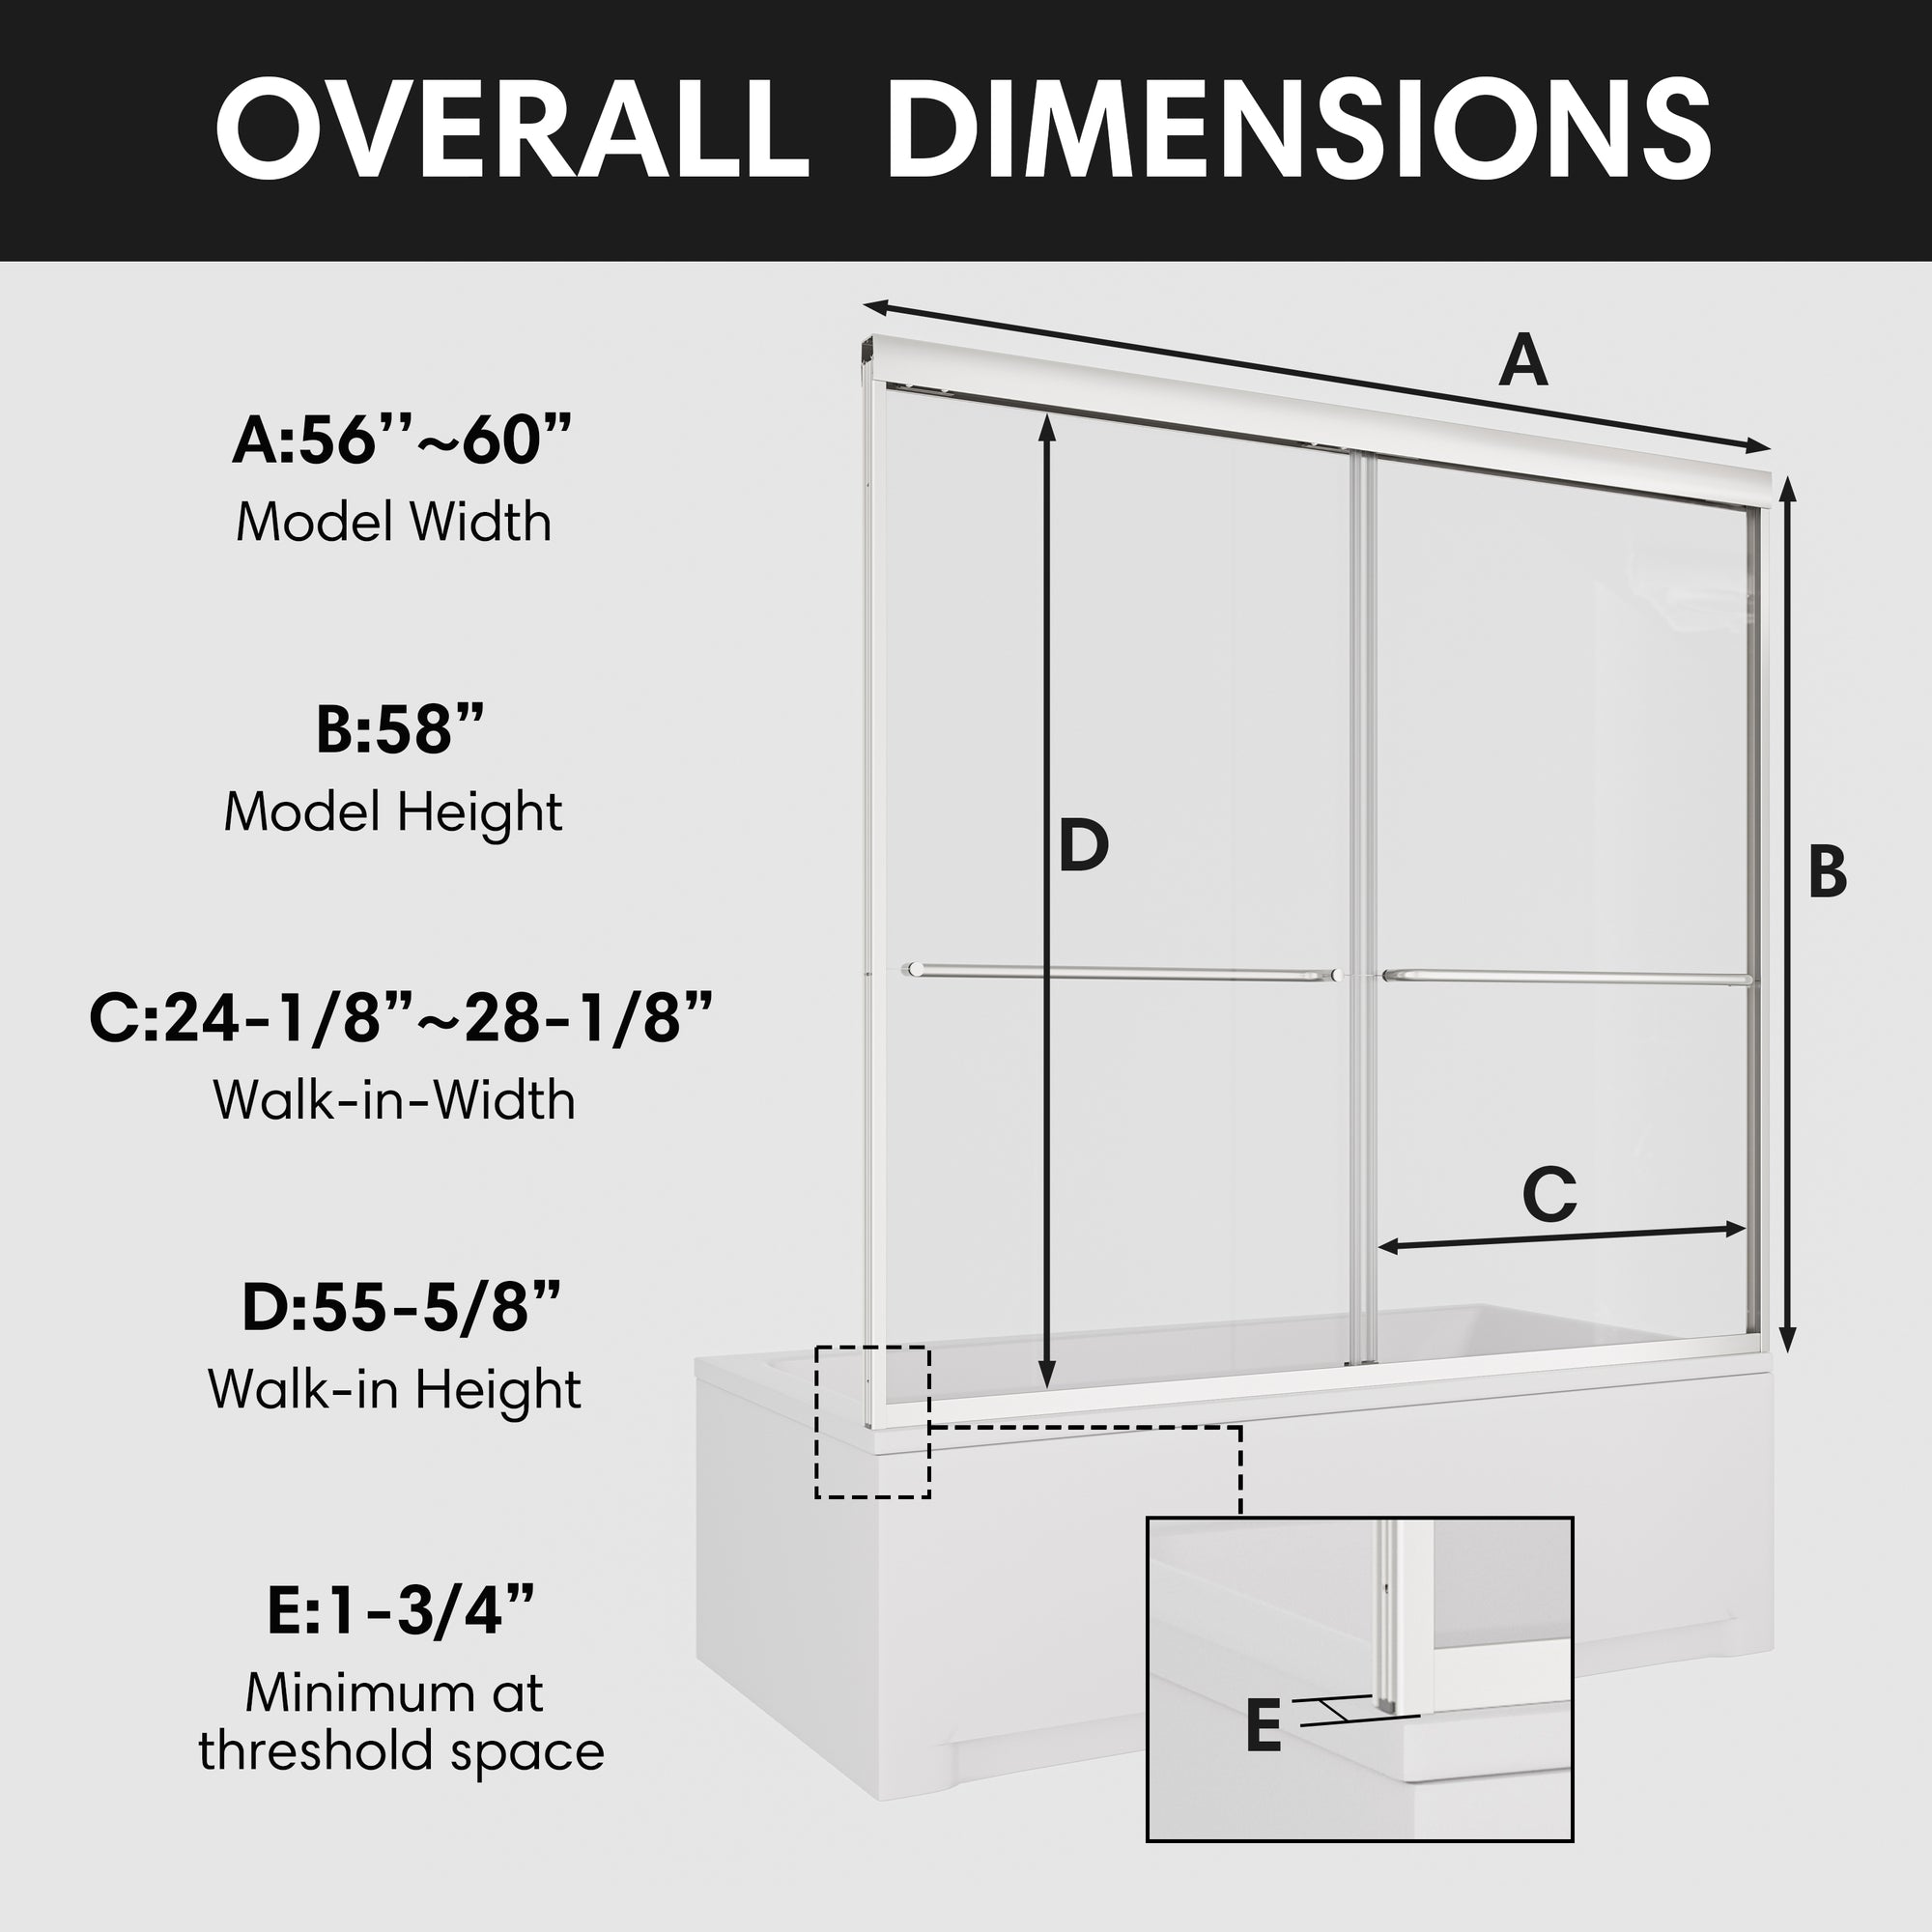
Accurate measurement
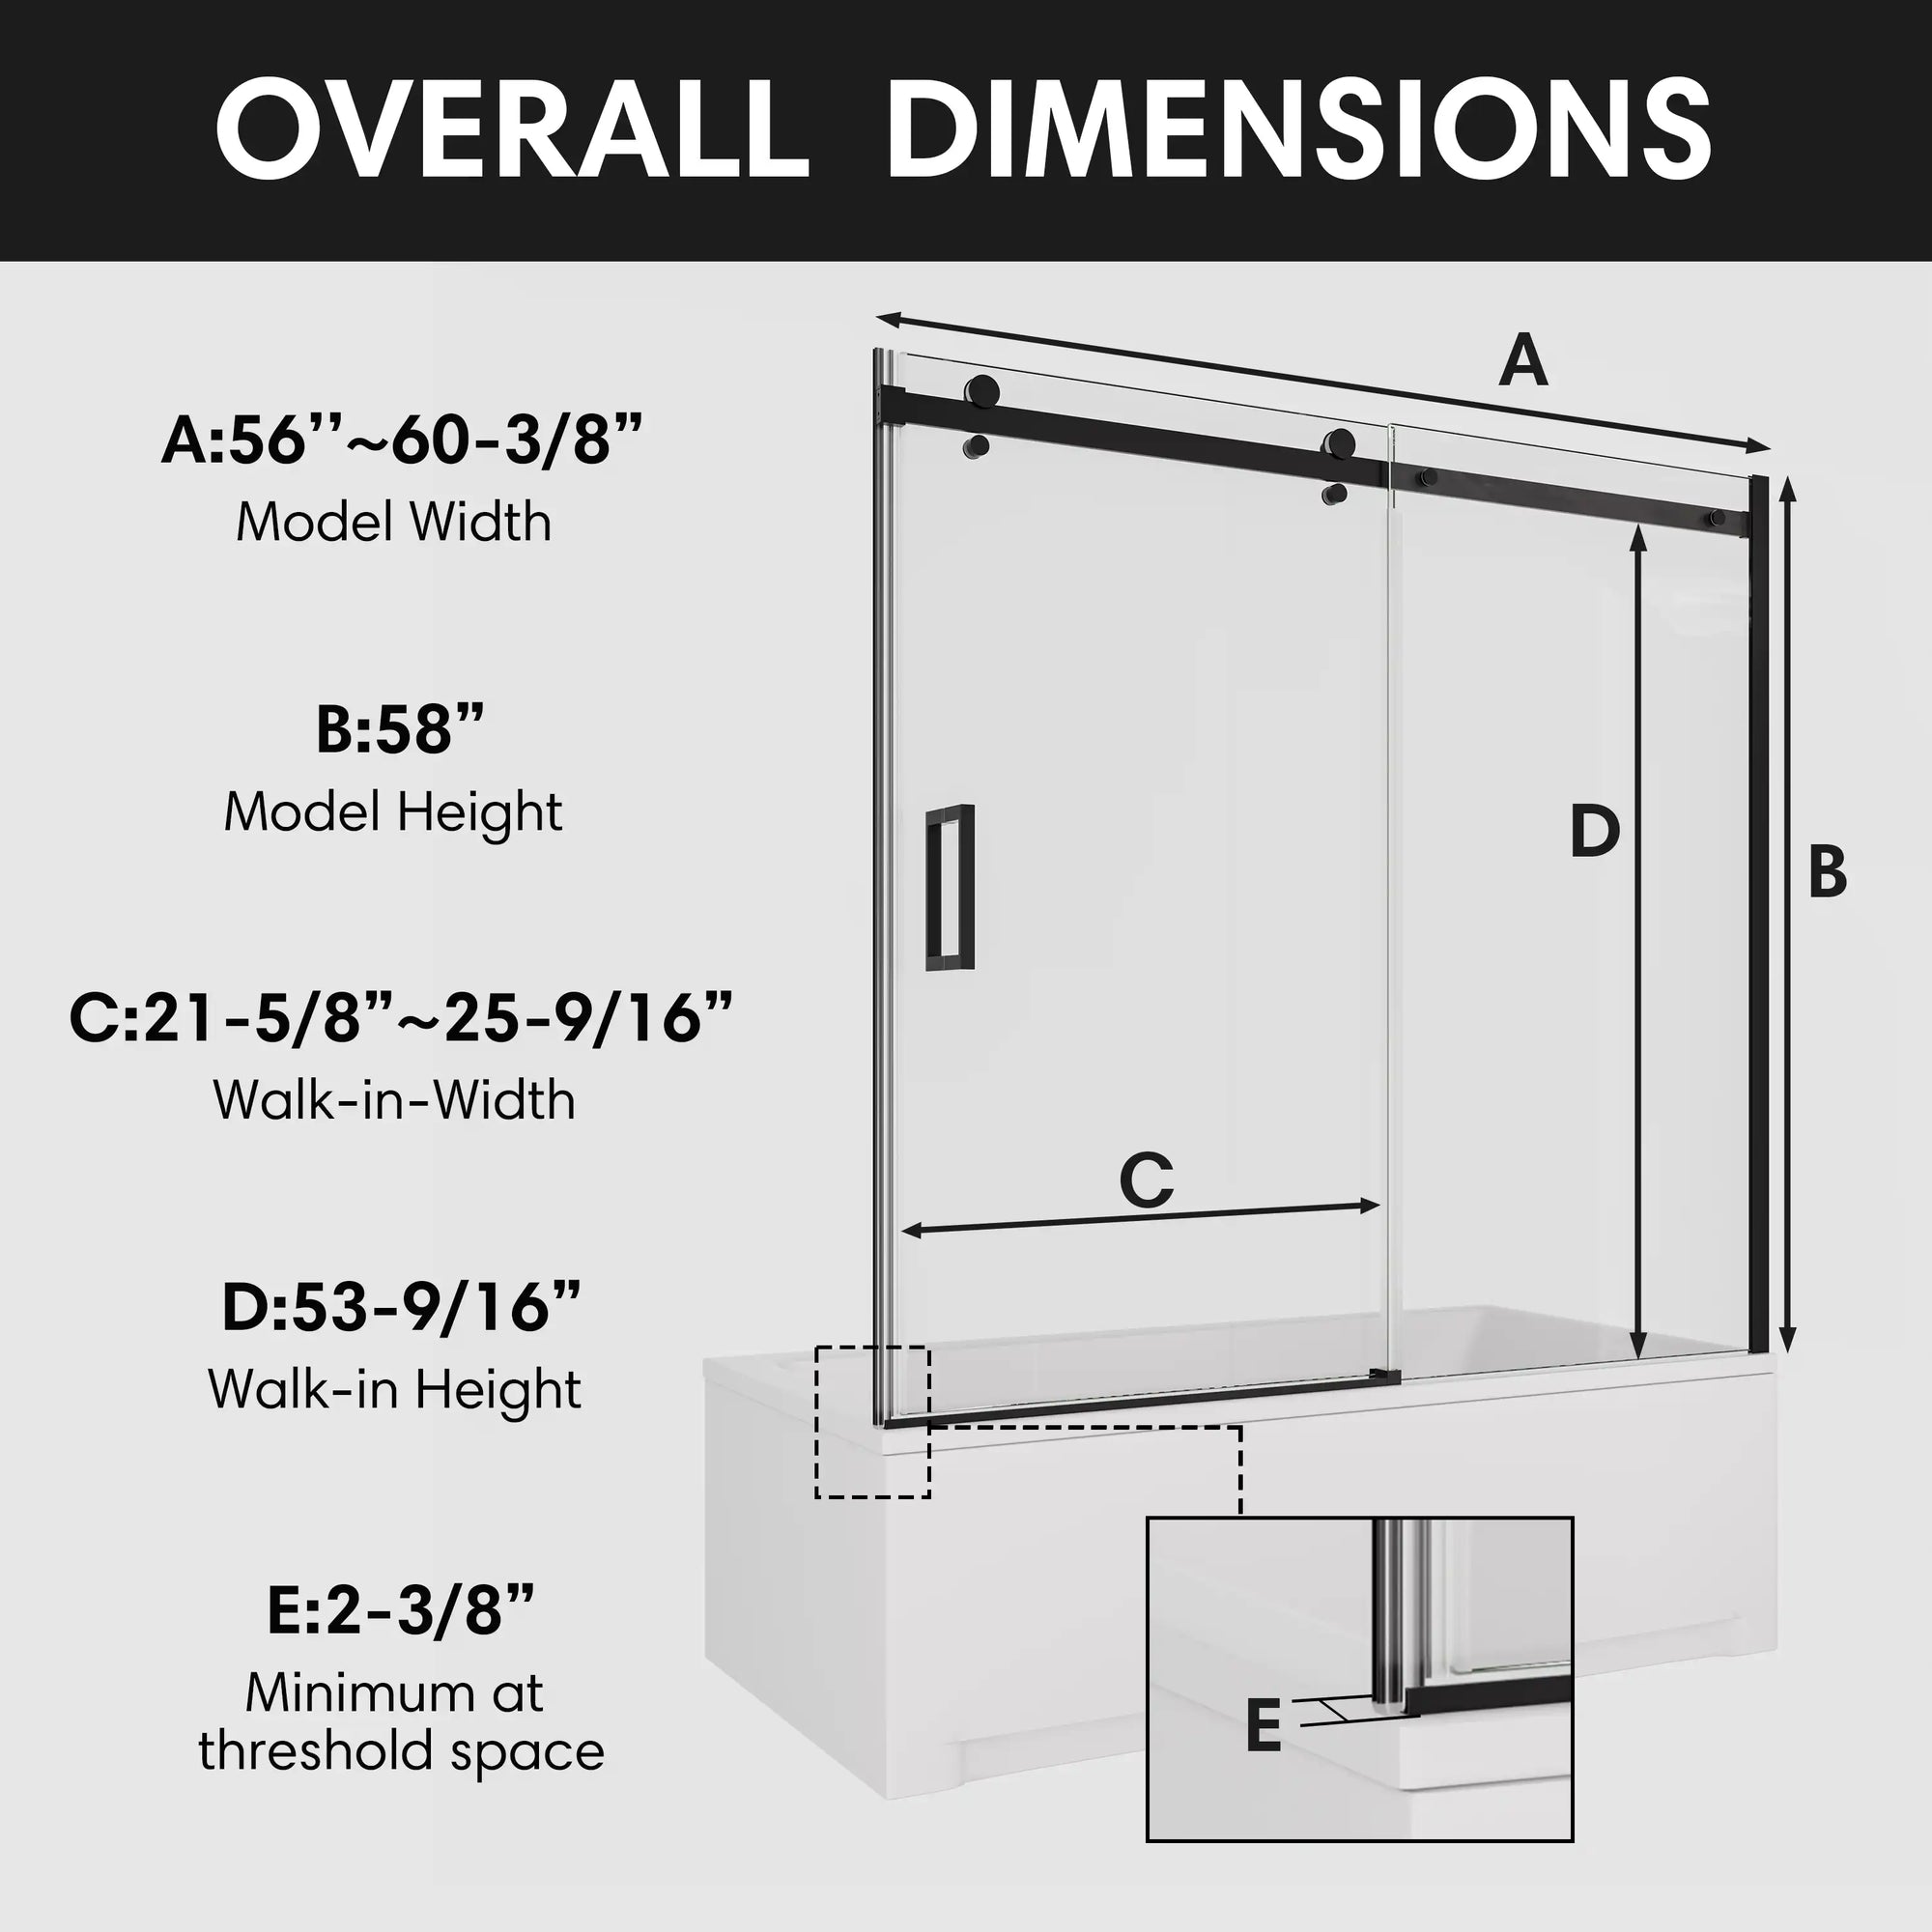
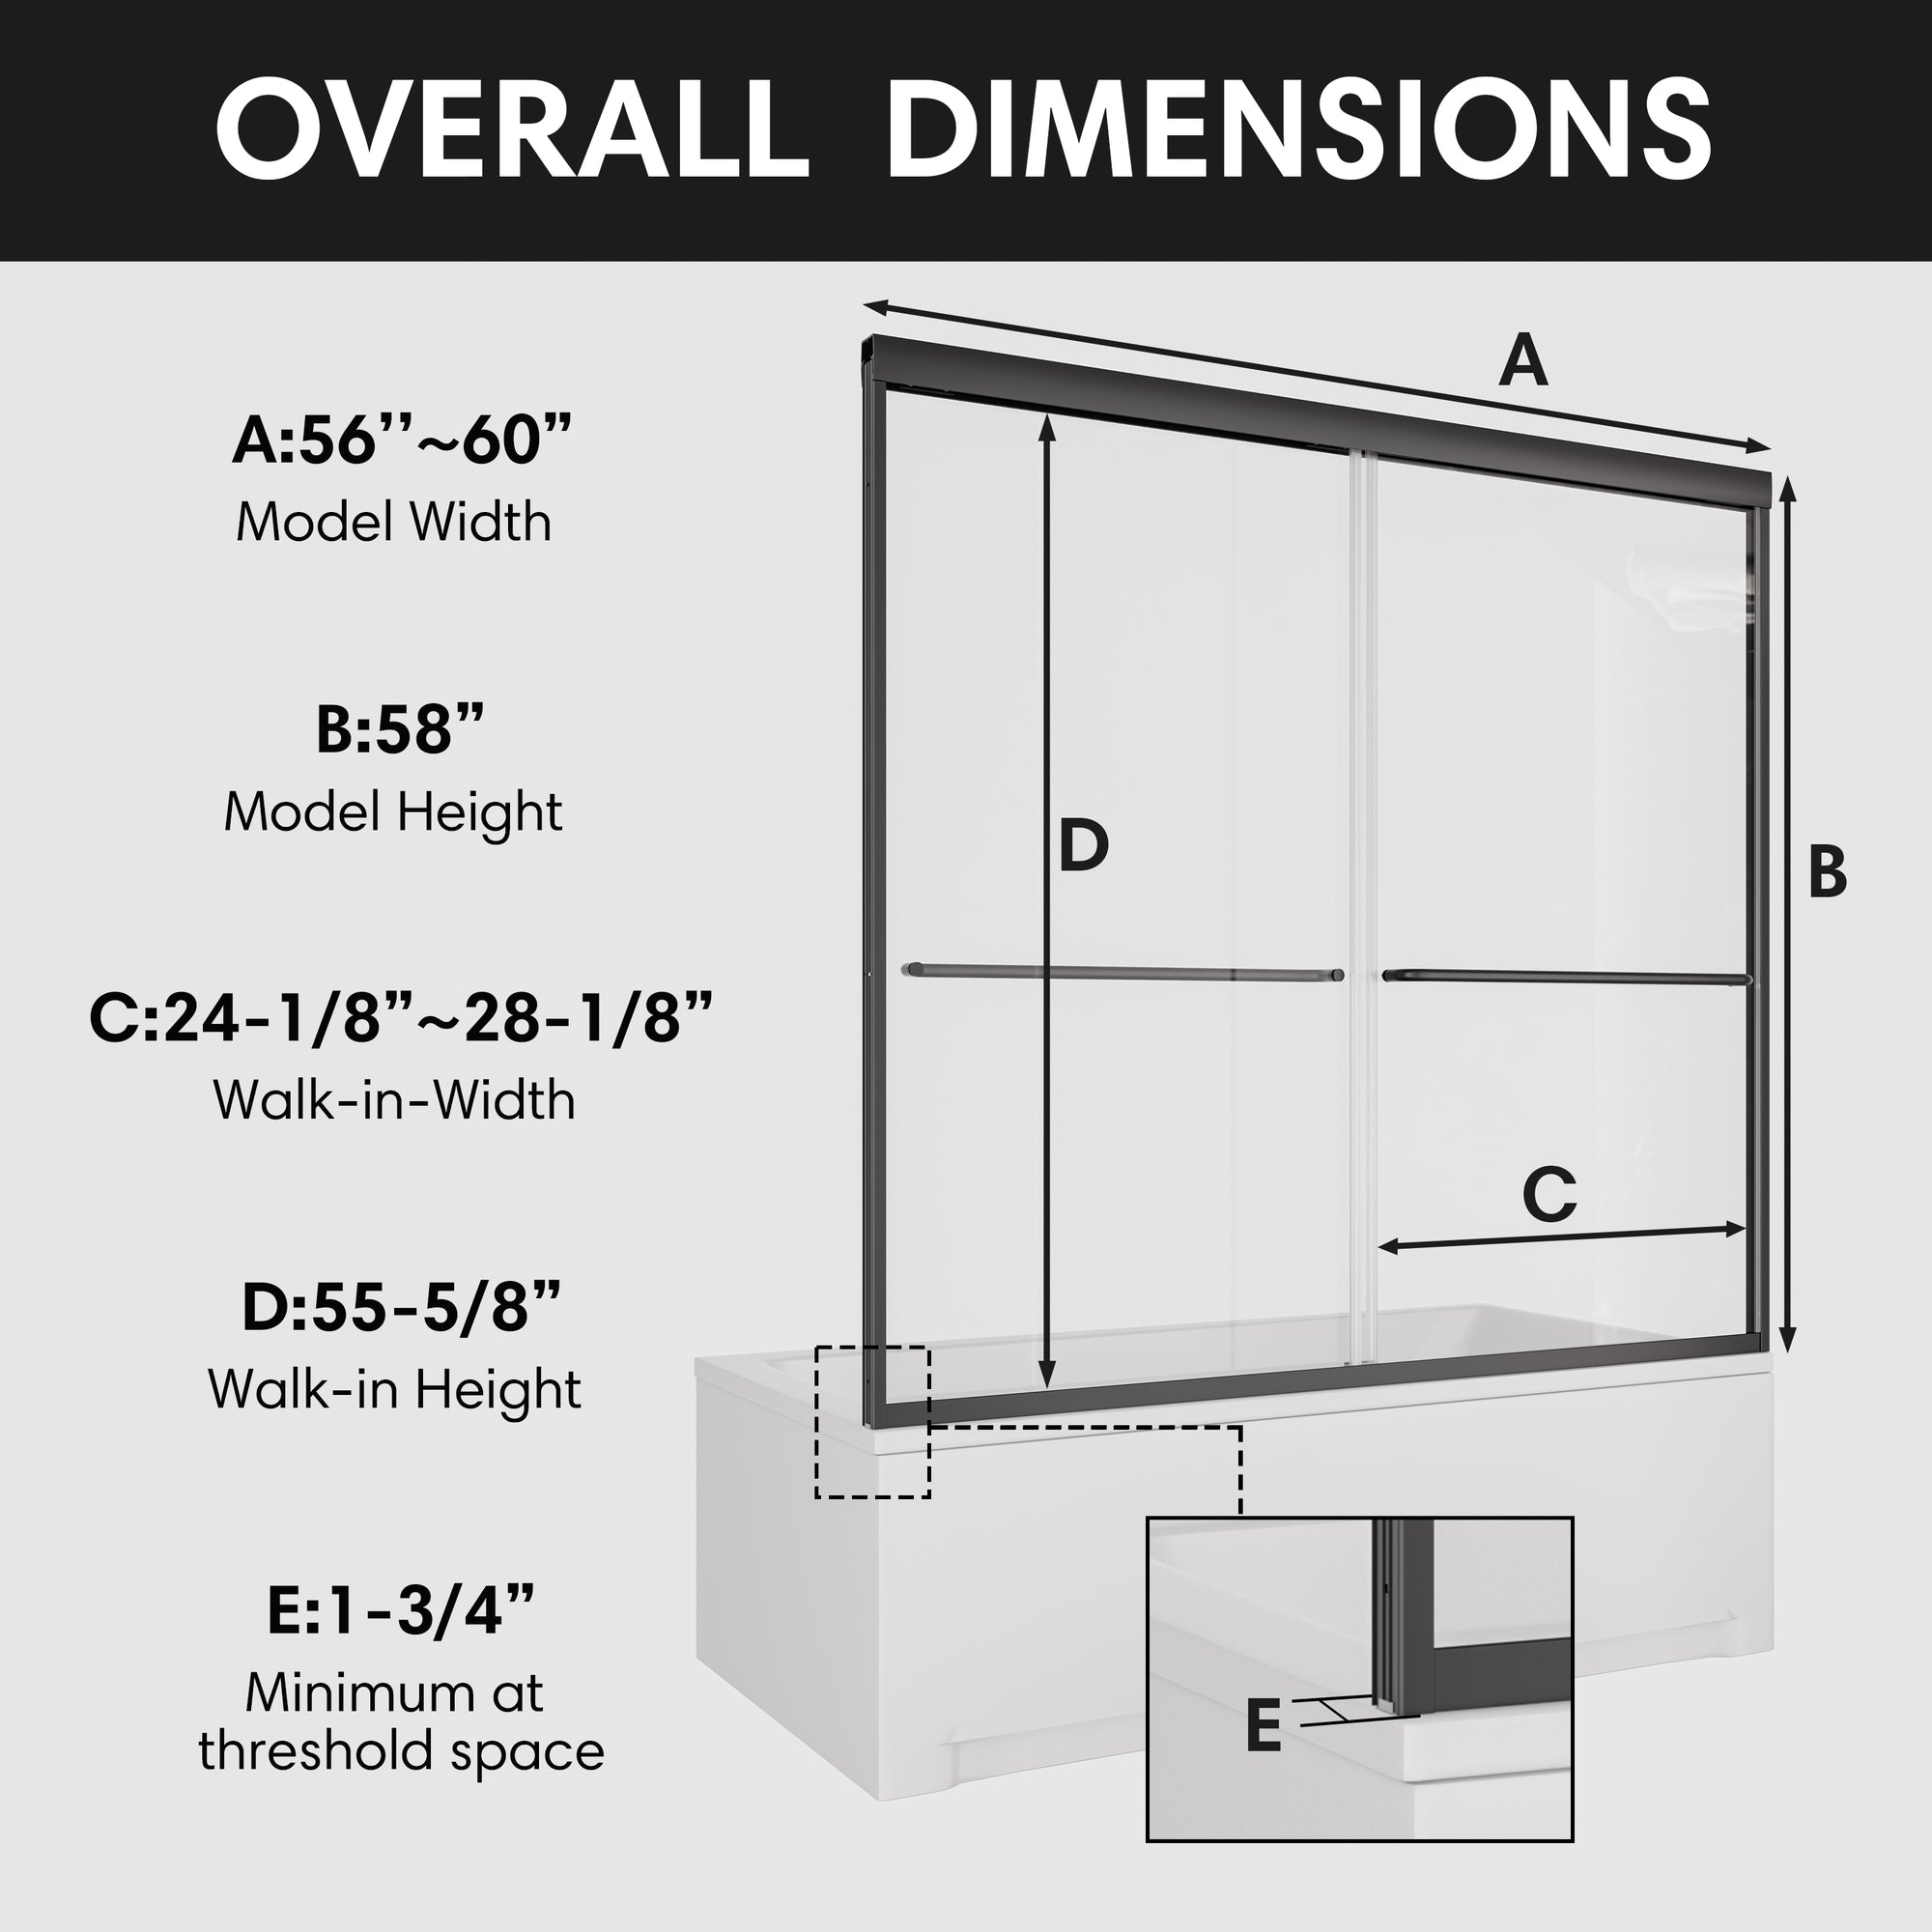
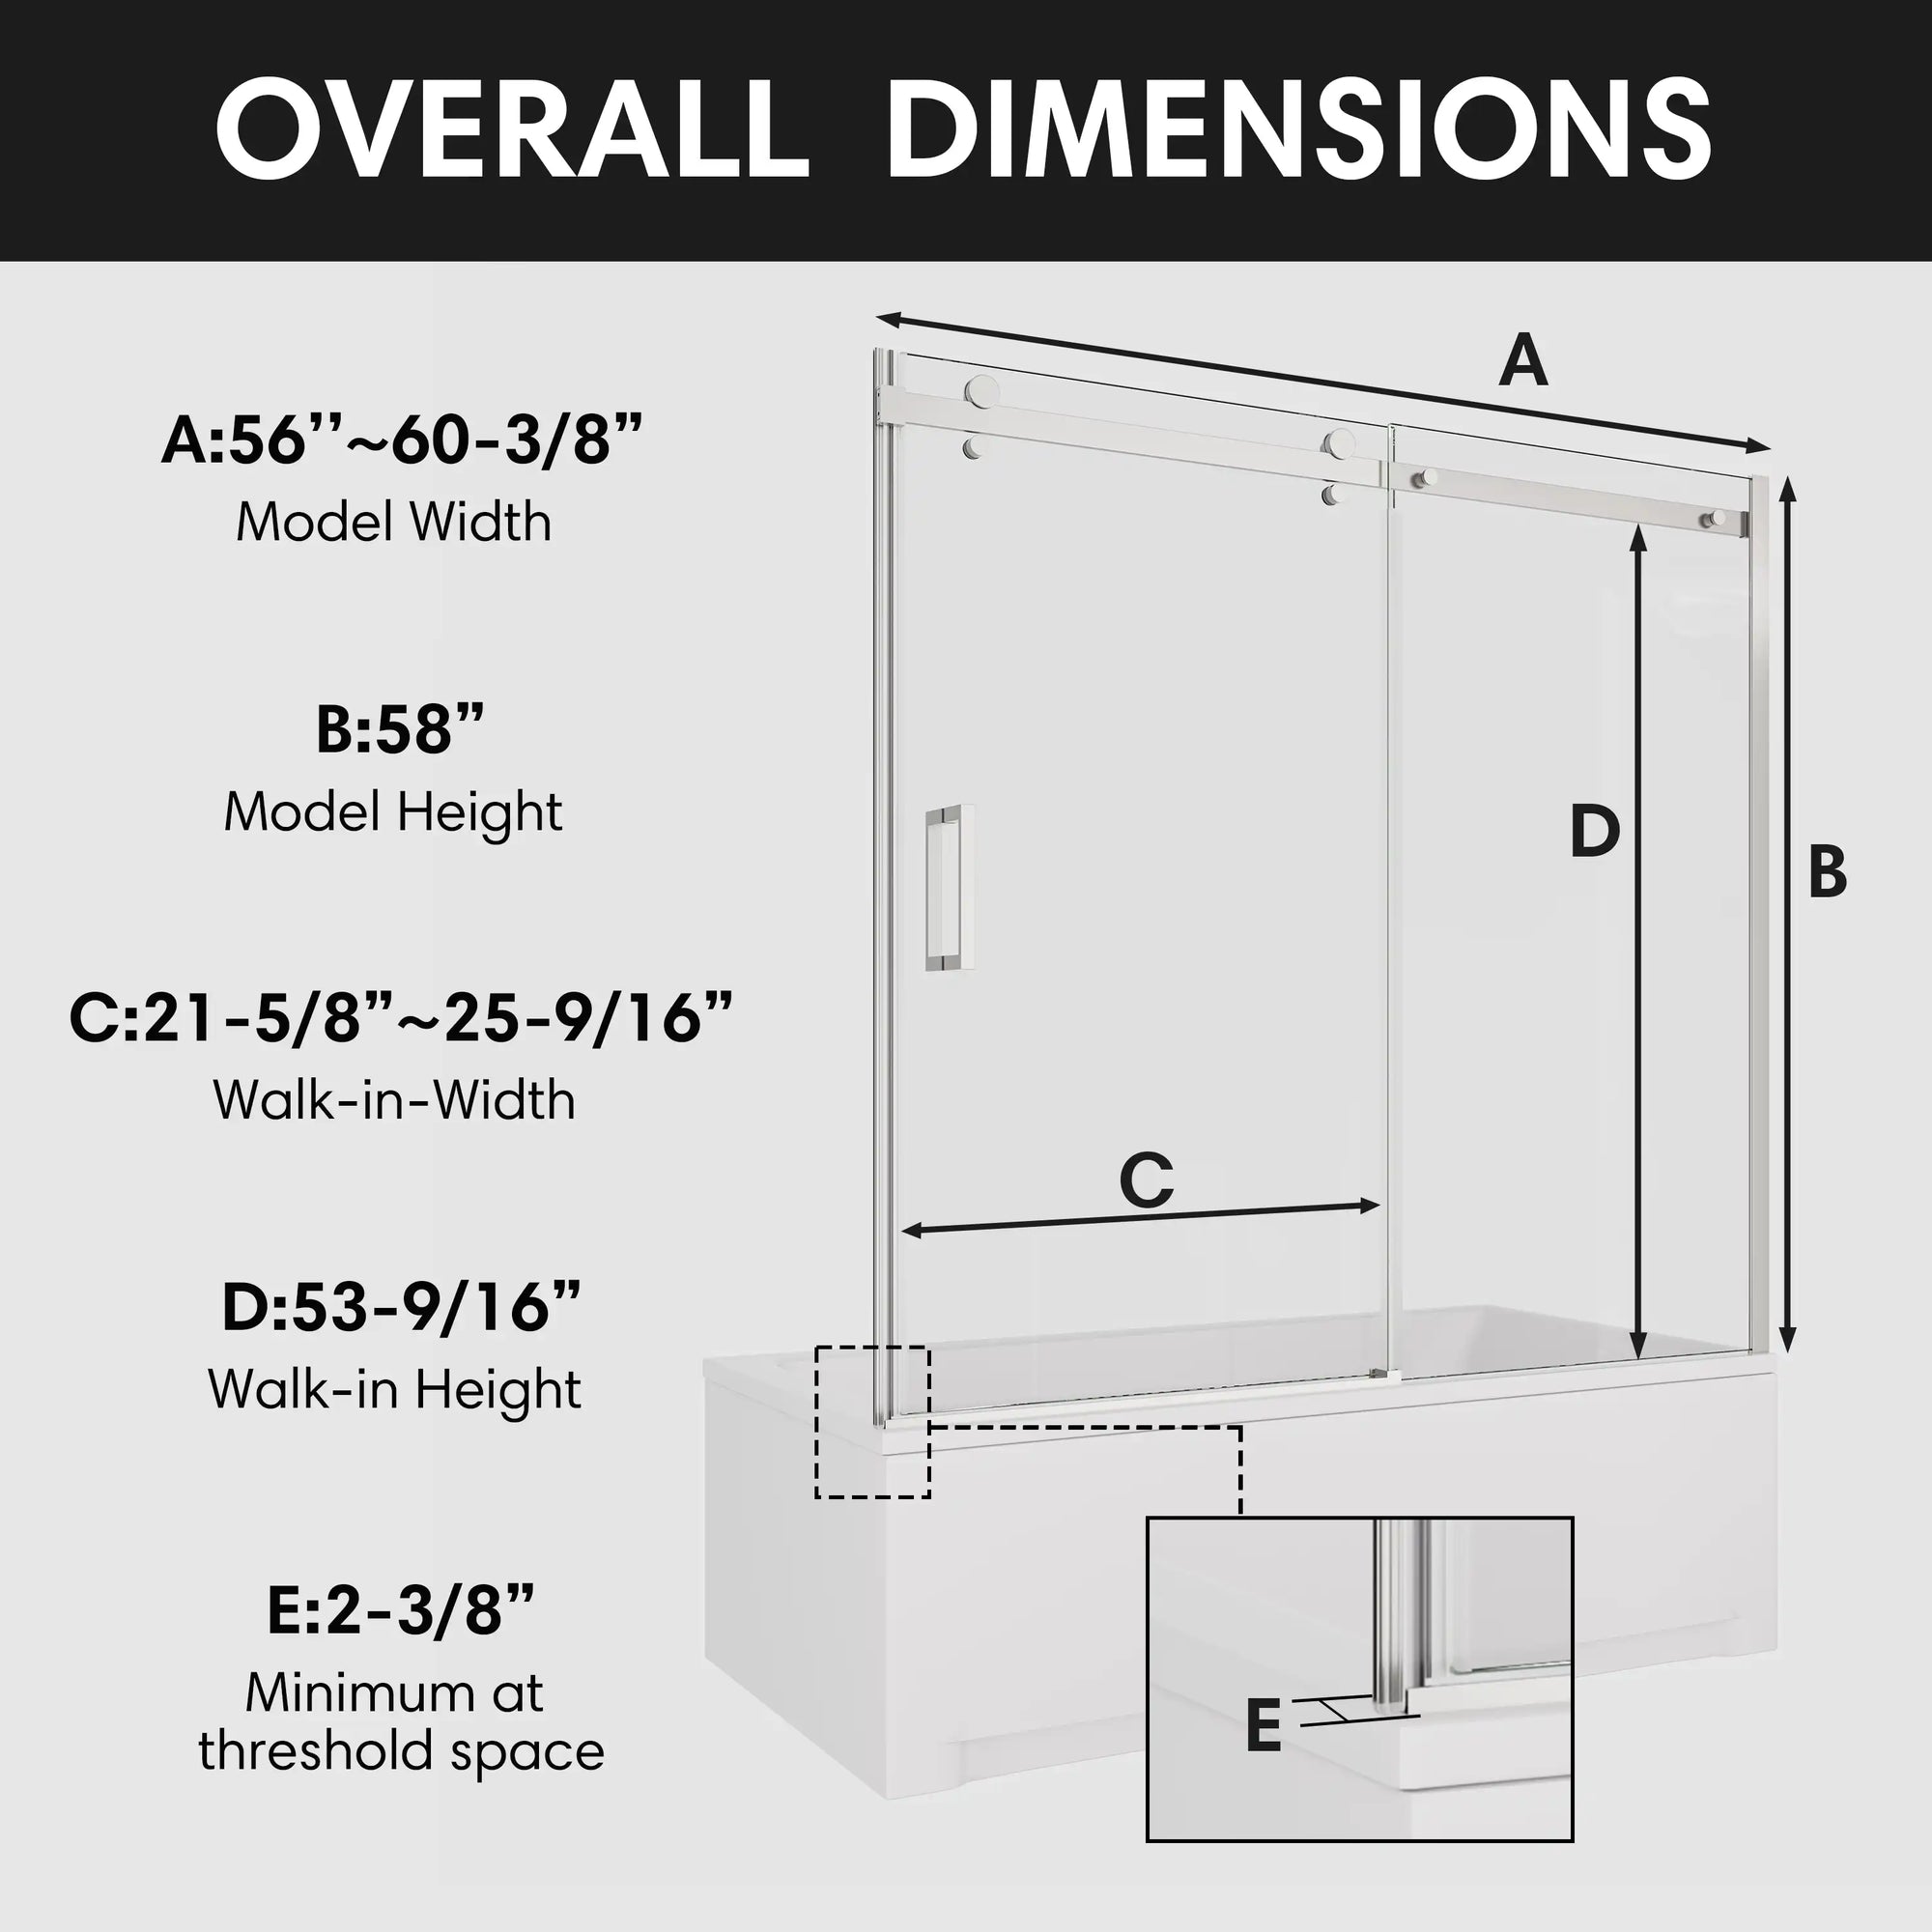
Using a tape measure or a laser rangefinder, measure the width of the edge of the bathtub, the height of the wall, and the distance between the walls, respectively. The flatness of the wall may affect the installation effect, so record the dimensions of multiple locations to ensure that the selected shower door matches accurately.
Tip: When measuring, try to take values from the bottom of the wall, the wall and the top of the wall respectively, and record the minimum value to avoid excessive installation difficulties of the door frame.
Choose the right folding door
Material choice: Tempered glass is the best choice, both durable and safe. If the bathroom is humid, it is recommended to choose a style with waterproof coating to reduce the frequency of cleaning.
Style matching: Modern bathrooms can be made with clear or translucent glass, while rustic bathrooms can be made with frosted glass or textured styles.
Tools and materials: Don't let the key moment slip
Before installation, ensure that the following tools and materials are available:
Tools list: screwdriver, electric drill, level, measuring tape, silicone gun.
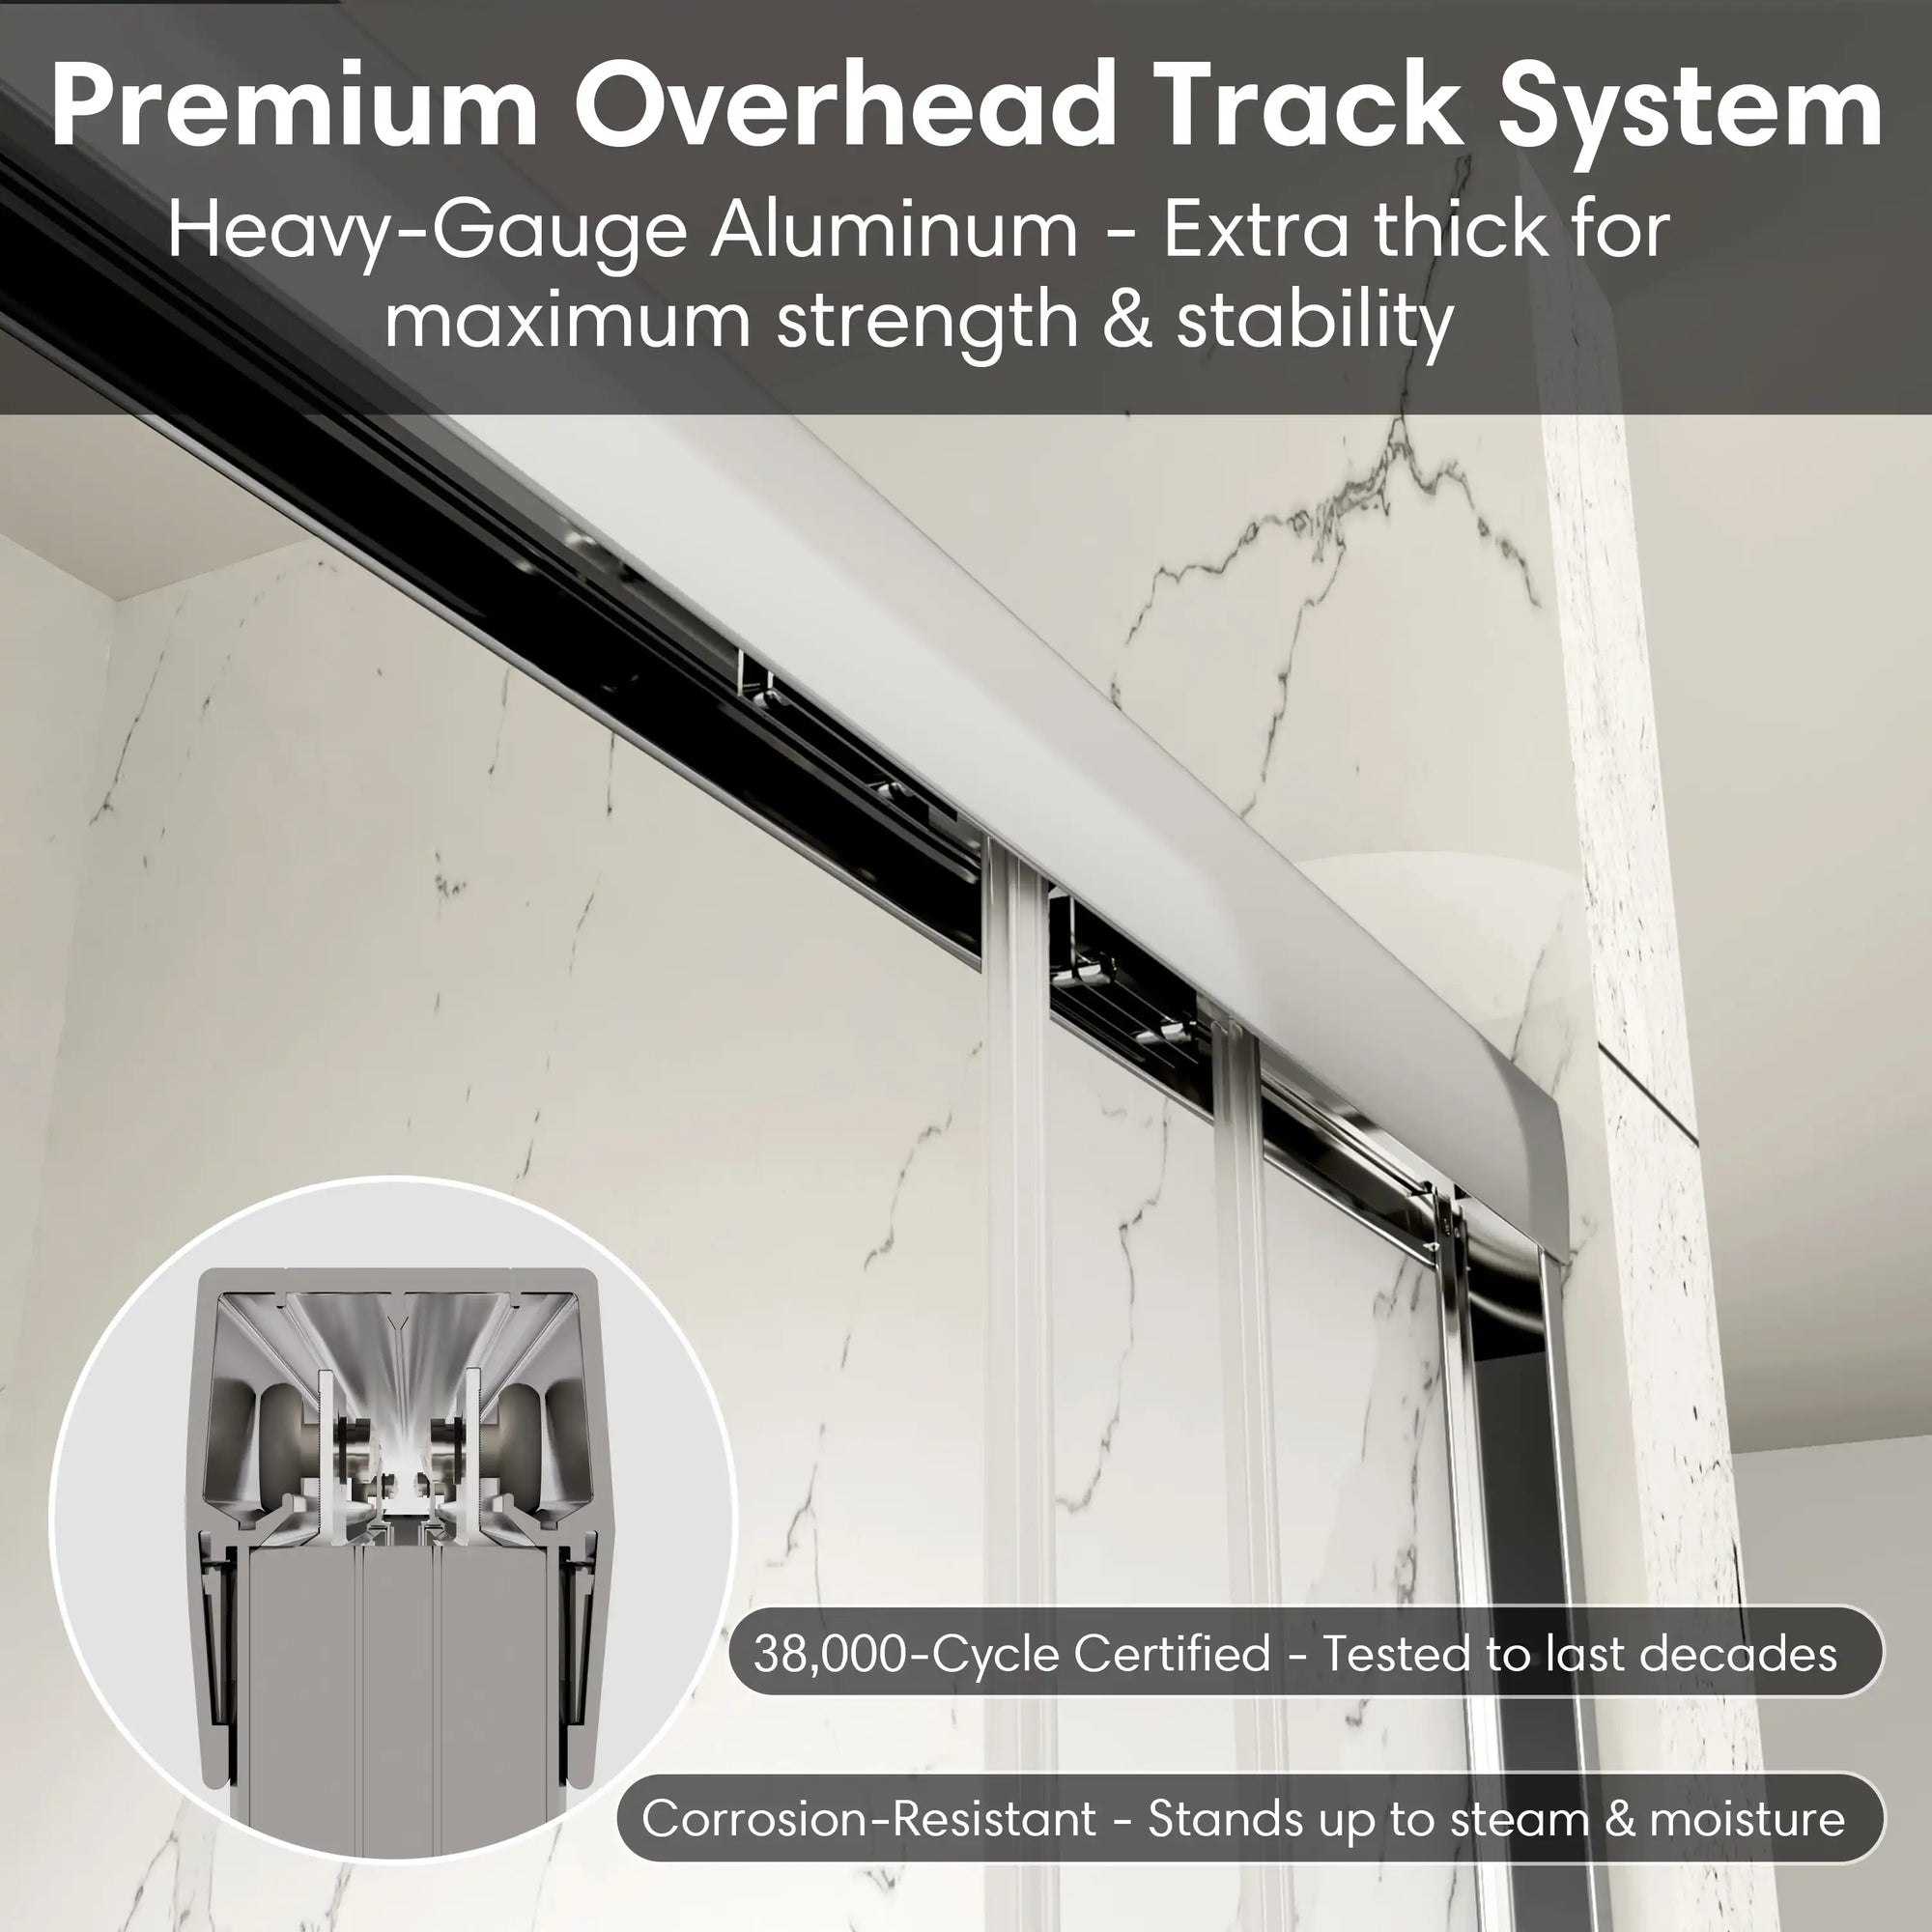
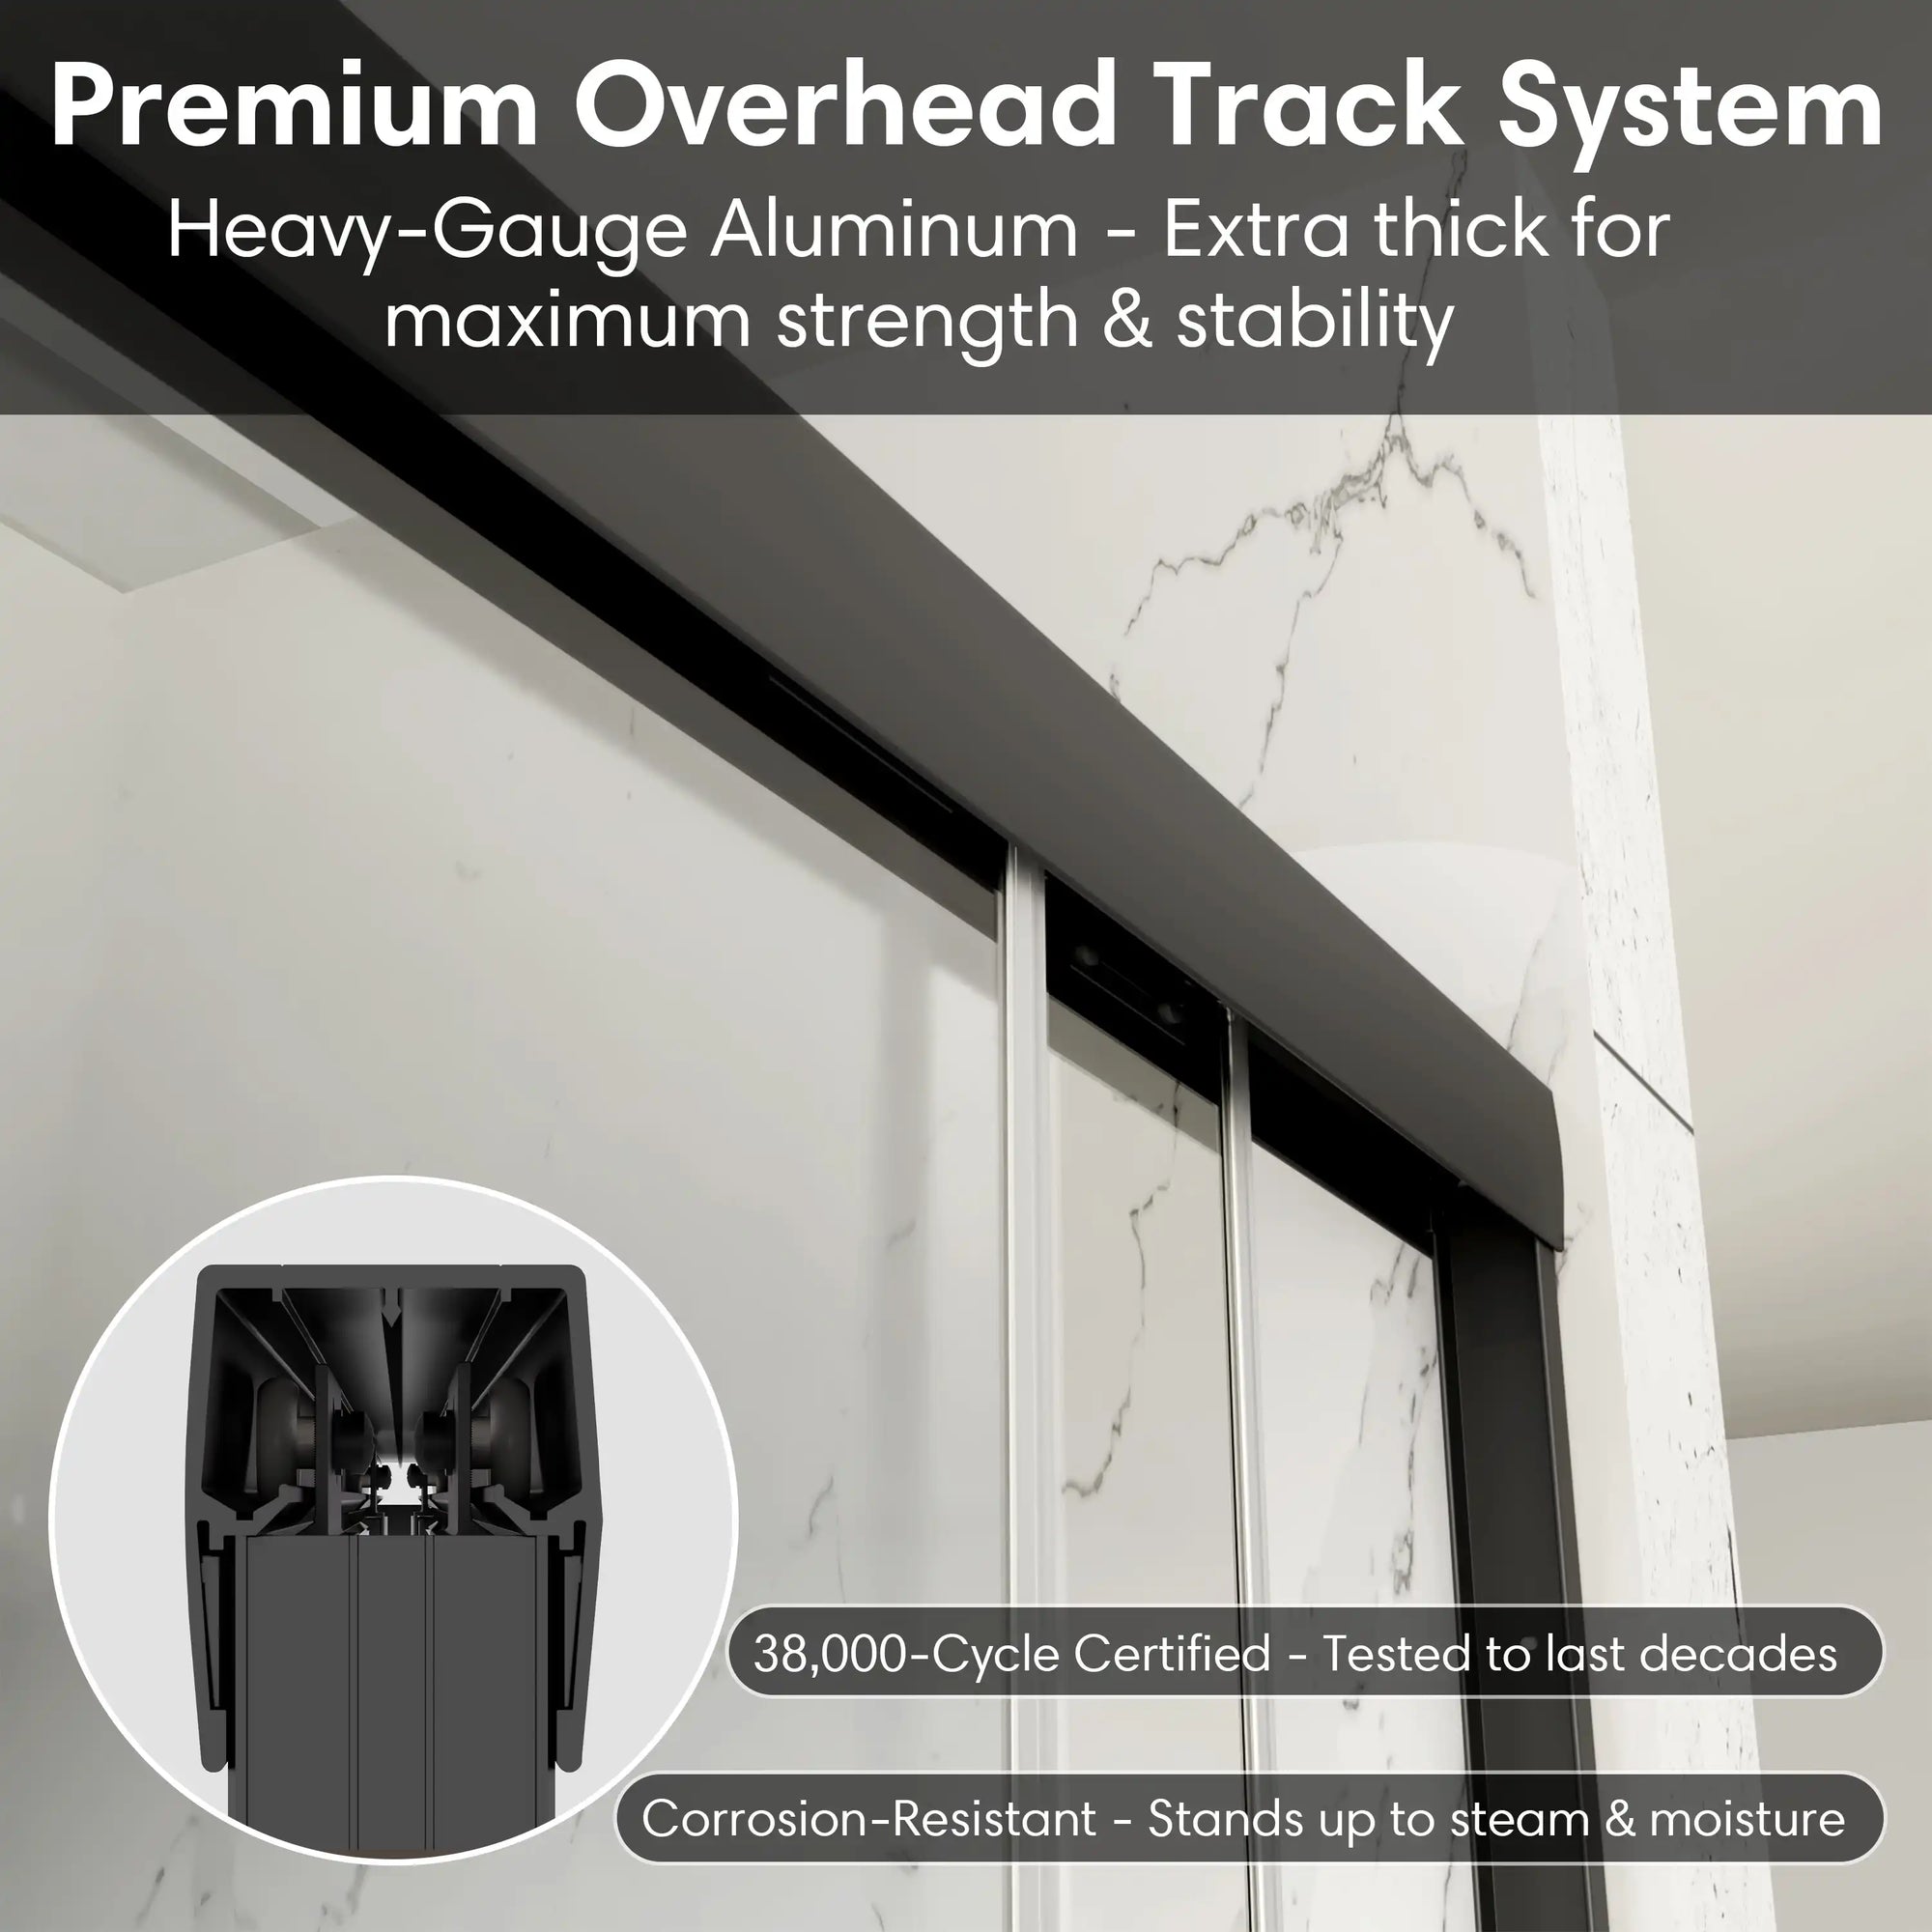
List of materials: Door frame, glass door panel, seal strip, slide rail, hinge, screw fittings.
Spare parts: Extra screws and seals in case of emergency.
Humorous reminder: When DIY installation, the most afraid of "missing key parts, no door for help", so be sure to check in advance.

Step 2: Positioning and marking - Make the door installation more accurate
Mark positioning: in one step
Convert the measurement result into the actual installation point, and mark the location of the fixed point of the door frame on the wall with a pencil.
Use a level to check that all marks are on the same level. This step, though simple, determines the verticality and aesthetics of the door.
Tip: If the wall is uneven, you can compensate by fine-tuning the height of the marked points.
Pre-drilling: Fine handling is key
Use a low speed electric drill to gently drill the marks to avoid damage to the wall or tile.
Add protection: Apply a layer of scotch tape to the drilled area to reduce the risk of cracking the tile.
Humor tip: Don't use electric drill as a toy, "playing holes in the wall" feels cool, but the consequences are very "piercing heart".

Step 3: Install the frame - Strong structure is key
Fixed framework: Stability is the first priority
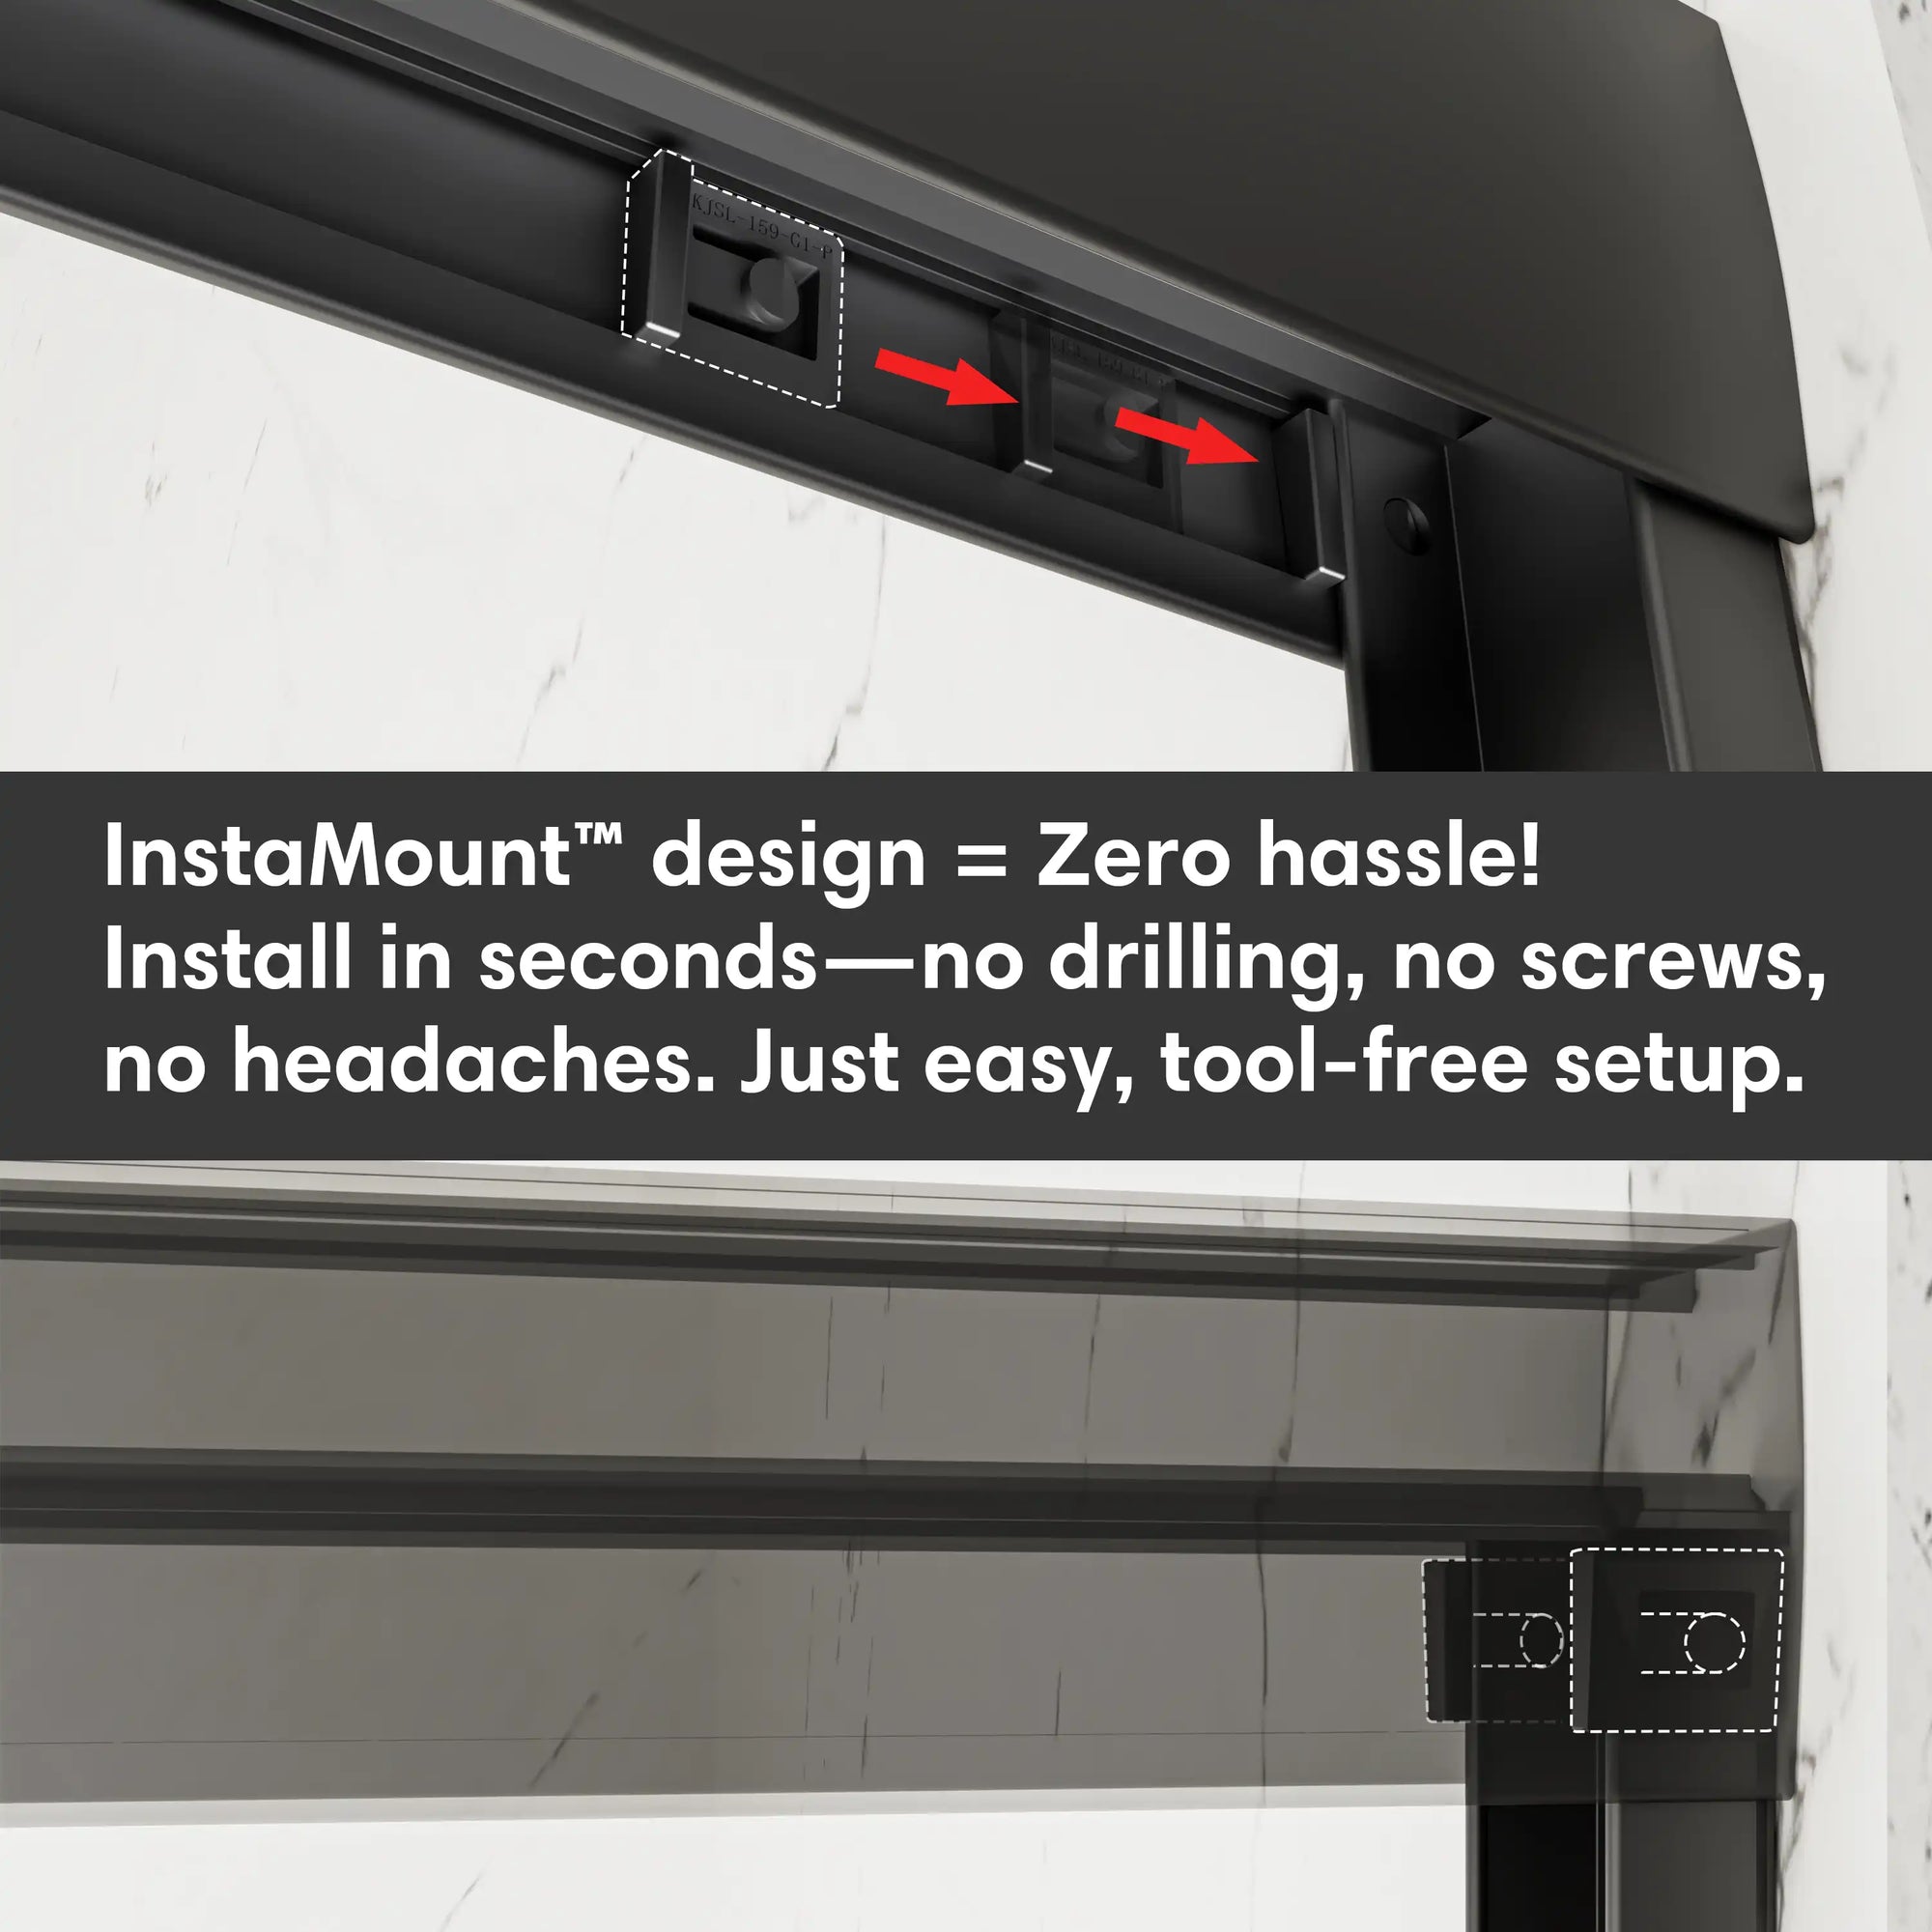
Align the door frame with the drilled position and secure it to the wall with screws. During installation, it is recommended that two people work together, one holding the frame and the other twisting the screws.
Common errors and Solutions:
If you find that the screw is too tight and causes the frame to deform, loosen the screw immediately and readjust it.
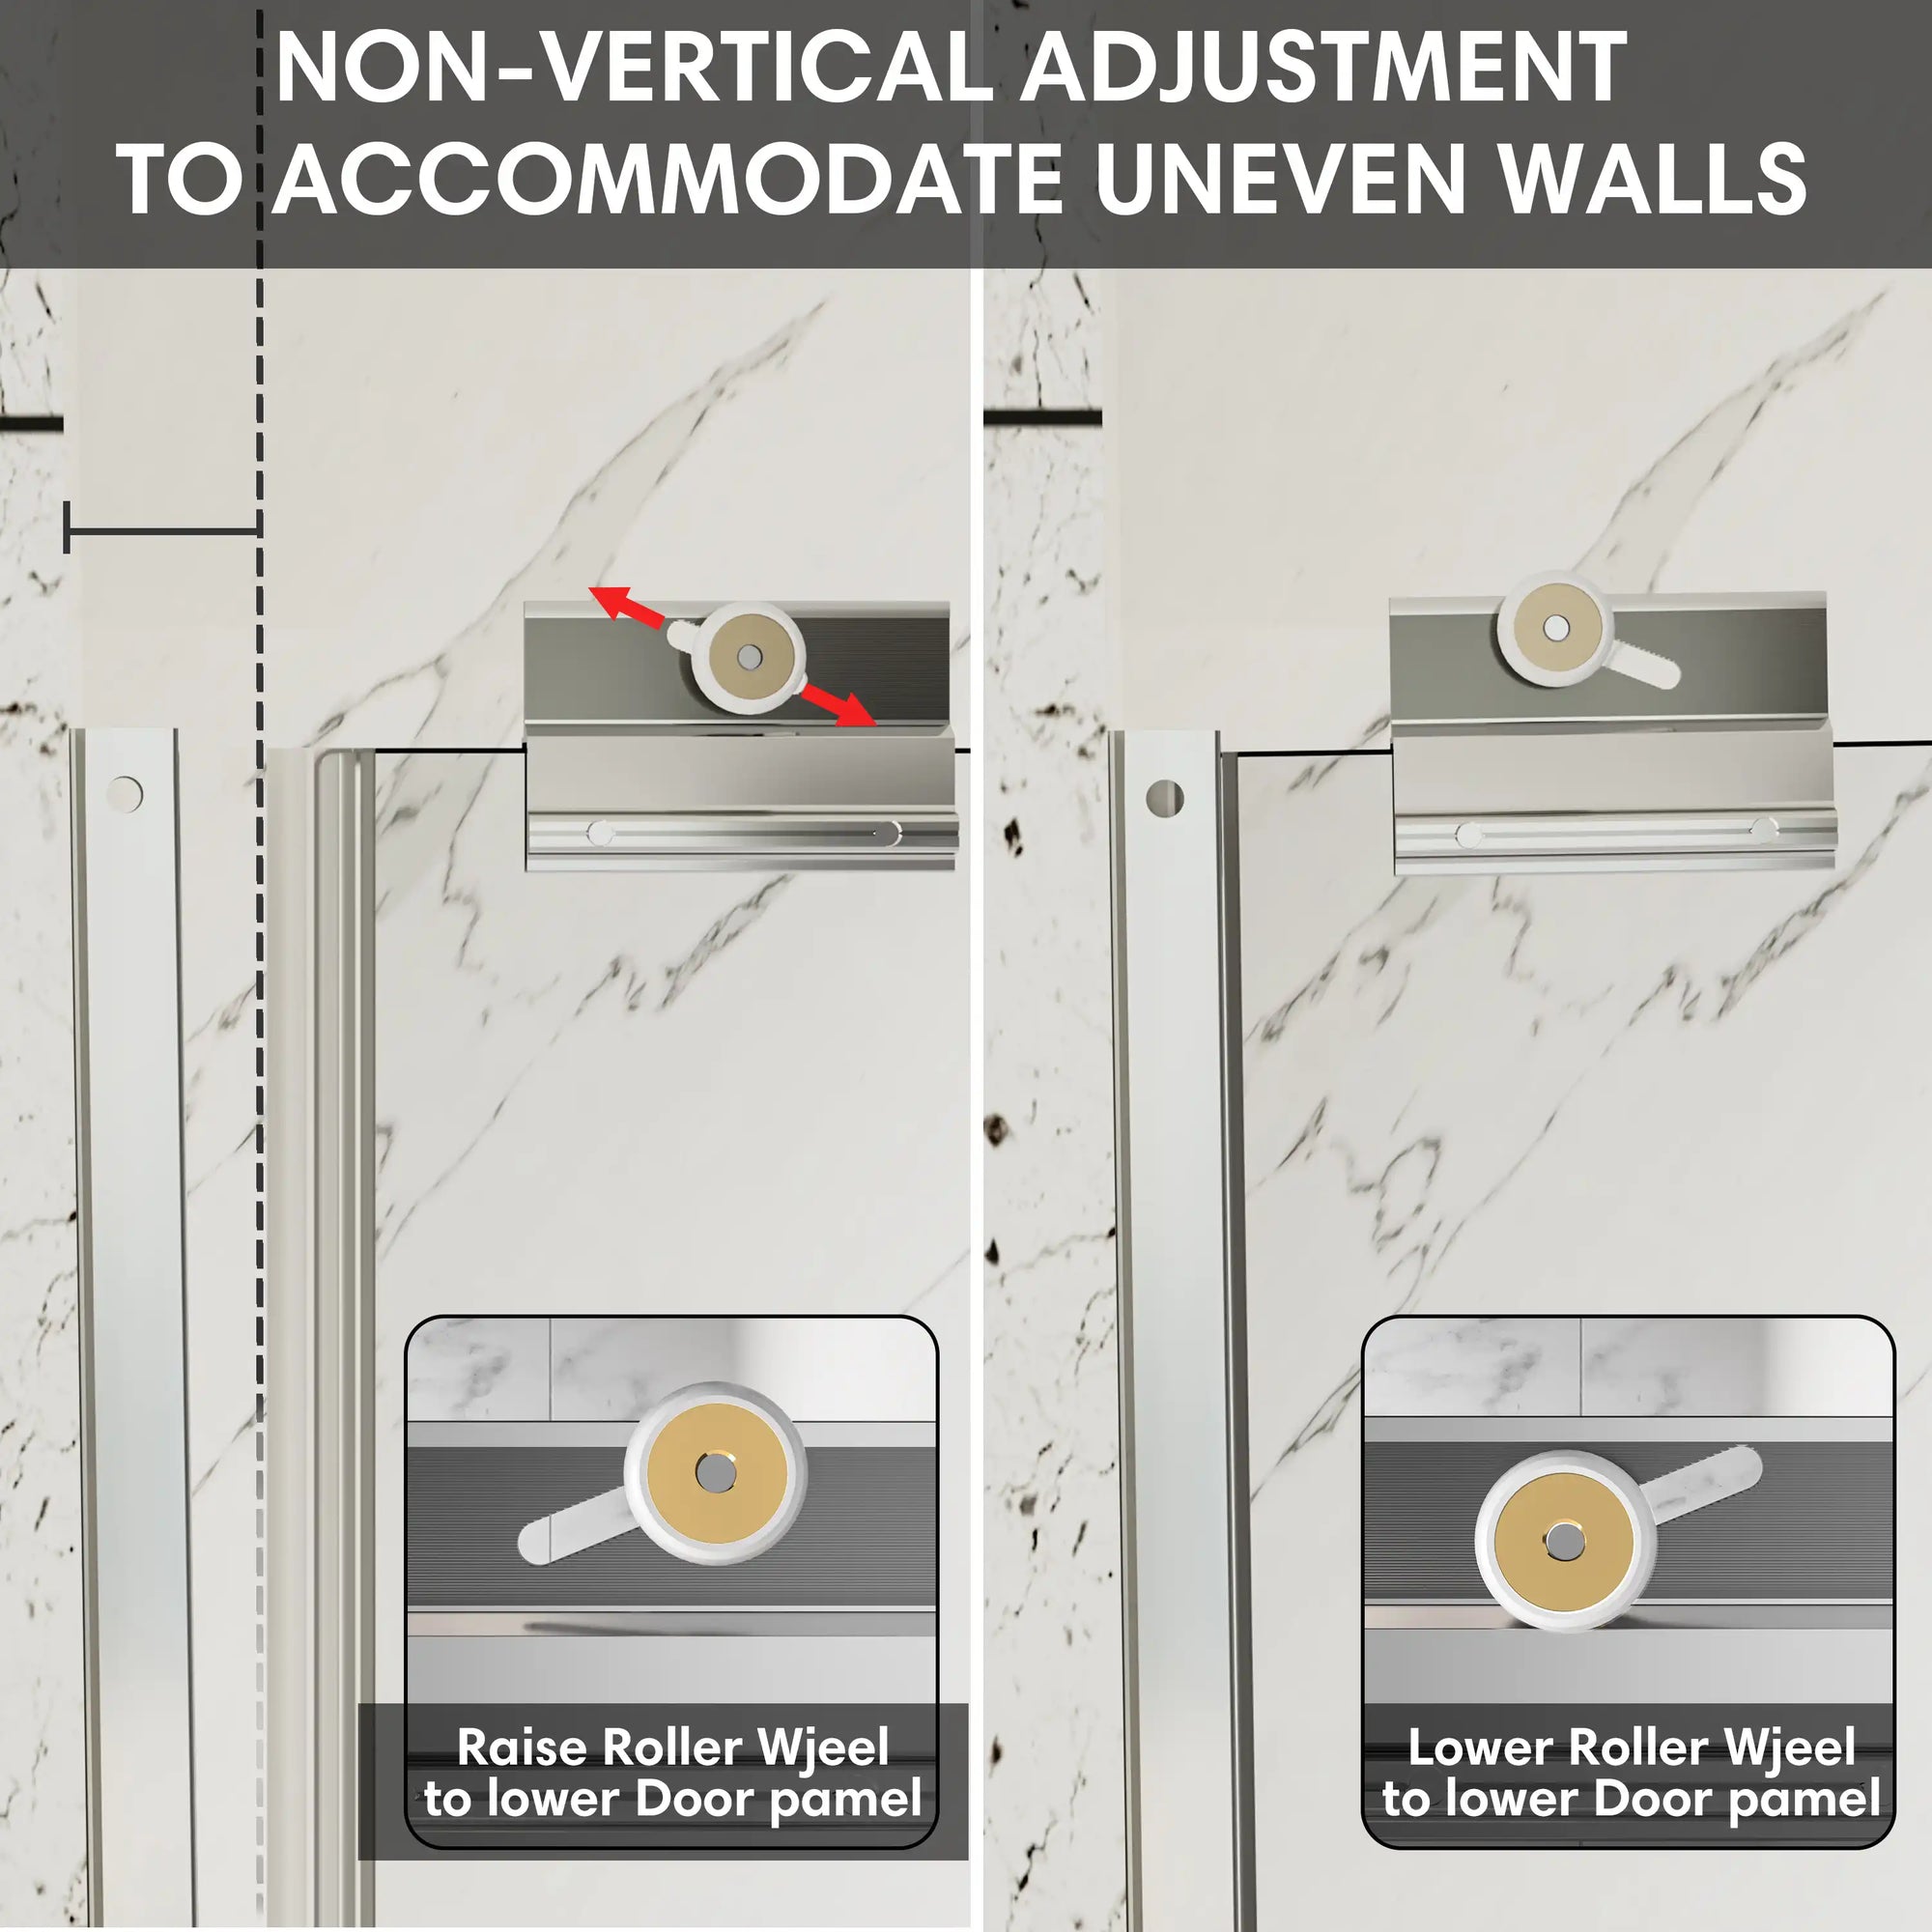
If the wall is tilted, consider using spacers to fill the gaps and ensure the stability of the frame.
Adjust frame flatness: Ensure accurate installation
Use a level to double check that the frame is straight. It can be adjusted gradually by loosening the screws until the frame is perfectly aligned.
Humorous note: A wobbly frame may make your shower door "come with its own dance function" after installation, so make sure it's secure!

Step 4: Install door panels and fittings - the devil is in the details
Door panel fixing: Smooth folding is the focus
Install glass door panels on hinges or slide rails to ensure smooth folding and expansion.
When installing, pay attention to leave a proper gap to avoid collision with the frame when the door panel opens and closes.
Tips: Apply the lubricant gently to the hinge, which can effectively reduce noise and wear.
Seal and waterproofing: prevent water accumulation in the bathroom
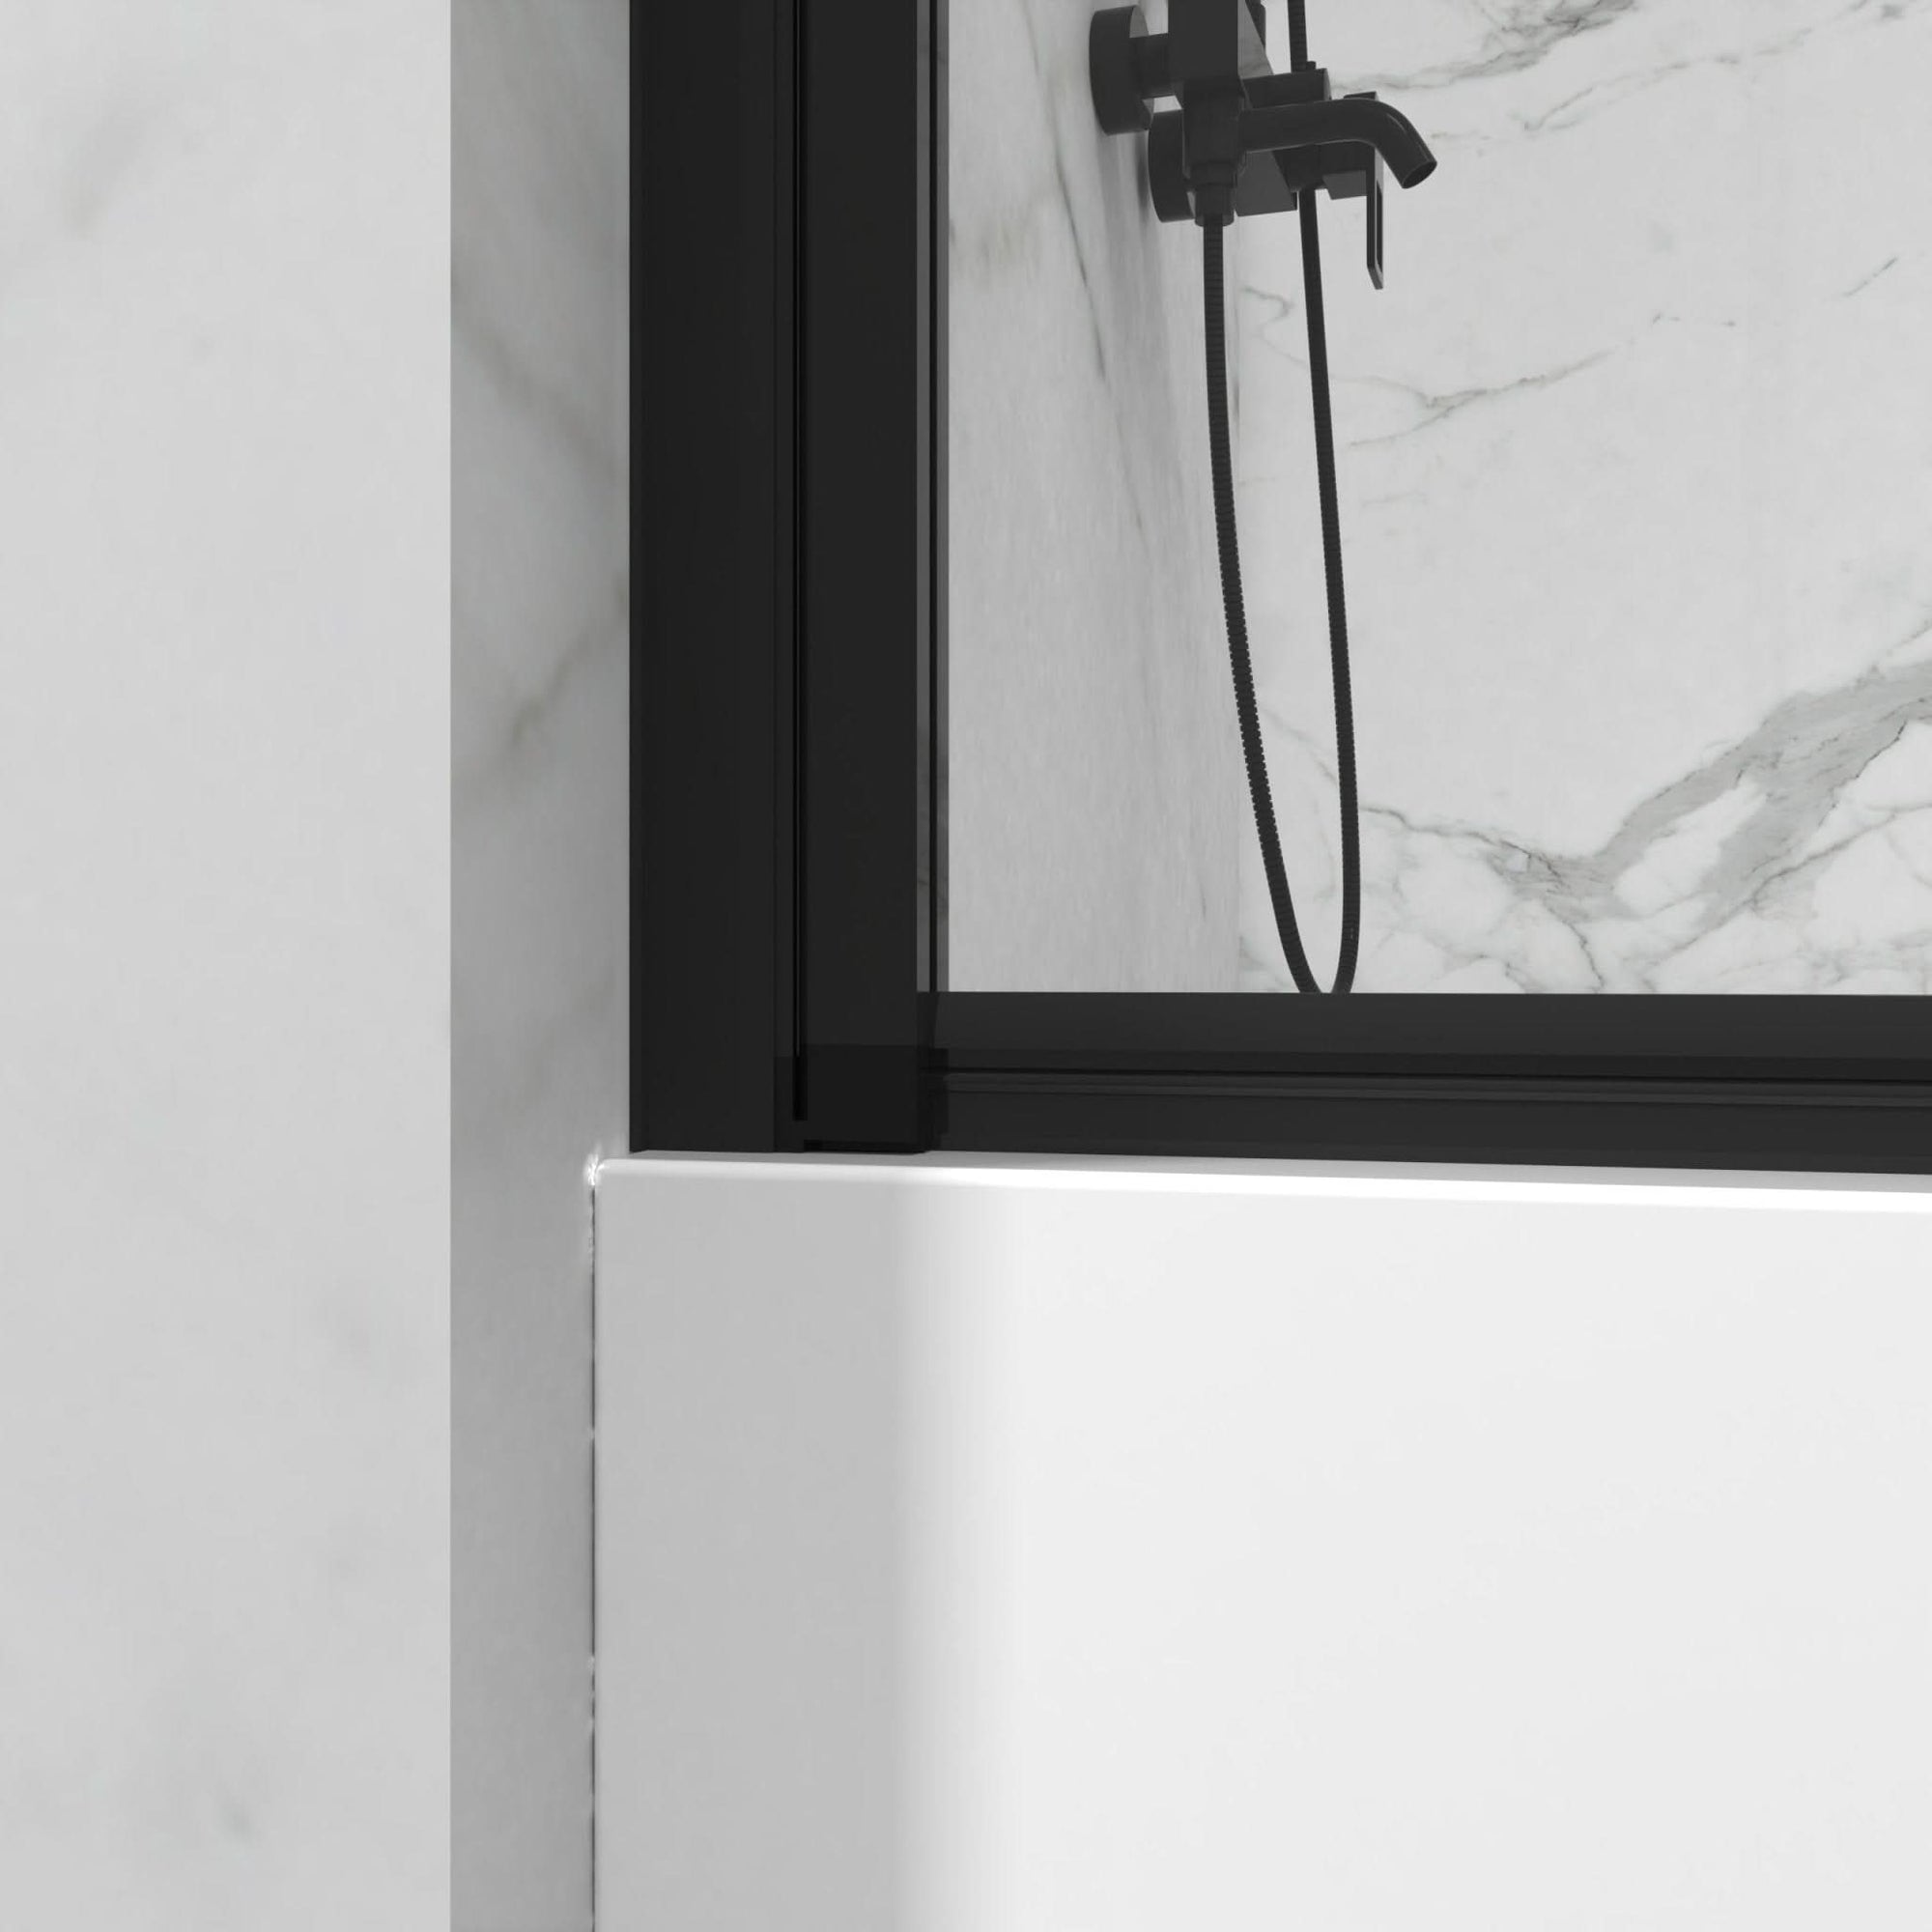
Attach seals to the edges of the frame and door panels to ensure that each section fits tightly.
Use a silicone gun to apply waterproof silicone to the gap between the frame and the wall. When applying, the silicone muzzle can be lubricated with soapy water to make the application more uniform.
"Wearing silicone feels like you're making art, but in the end it just needs to be 'waterproof.'"

Step 5: Test and adjust - Make sure you're comfortable with it
Comprehensive inspection: "Opening Test" for shower doors
Open and close the shower door several times to ensure smooth folding and no noise. If a block is found, the hinges and rails can be checked for fixing.
Check the waterproof effect: Use a kettle to simulate a shower and pour water over the edge of the door frame to see if there is leakage.
Small test: Put a paper towel under the door, the leak will be obviously wet, easy to locate the problem.
Final adjustment: Details make perfect
Make sure that each screw is tightened, but not too much, so as not to affect the stability of the door frame.
If the door panel is slightly tilted, it can be corrected by adjusting the position of the hinges.
Humorous summary: The installation of the shower door is like keeping a pet, which needs careful adjustment at the beginning, but once it is adjusted, it will be obediently "obedient".

Conclusion
Congratulations on your DIY shower door installation! It not only saves installation costs, but also gives the bathroom a new life in an instant. This DIY makeover may be a challenge, but it is more of an enjoyment. Don't forget to take pictures, share the fruits of your labor on social media, and share your "home improvement skills" with more people.
Through this study, you will not only master the skills of installing shower doors, but also lay a good foundation for home improvement DIY. Next time, isn't it time to challenge the whole bathroom renovation
FAQ
1.How long does it take to install shower doors?
It takes an average of 2-3 hours, but if this is your first operation, it is recommended to reserve a morning or afternoon.
2.How to deal with scale on glass doors?
Spray the glass with a solution of white vinegar and water 1:1, let it sit for a few minutes and wipe it with a soft cloth, bright as new.
3.How to avoid door panel shift after installation?
Check screw tightness regularly, and add additional fixing accessories between the door frame and the wall to increase stability.
Popular Articles:
Frameless Shower Door Price Range Guide: Economy to High-End Choice
Why Everyone is Talking About Corner Tubs with Shower Enclosures in 2025?
Don’t Replace It Yet! How to Adjust Glass Shower Door Pivot Hinges to Save Money
