Table of Contents
- Best Paint for Shower Door Frame (Quick Answer for U.S. Homes)
- How to Choose the Right Paint for Your Shower Door Frame
- Step-by-Step: How to Paint a Shower Door Frame
- Common Problems and How to Fix Them
- Choosing the Right Brands and Tools (U.S. Market Focus)
- FAQ: Best Paint for Shower Door Frames in U.S. Homes
- Conclusion
- Related Articles
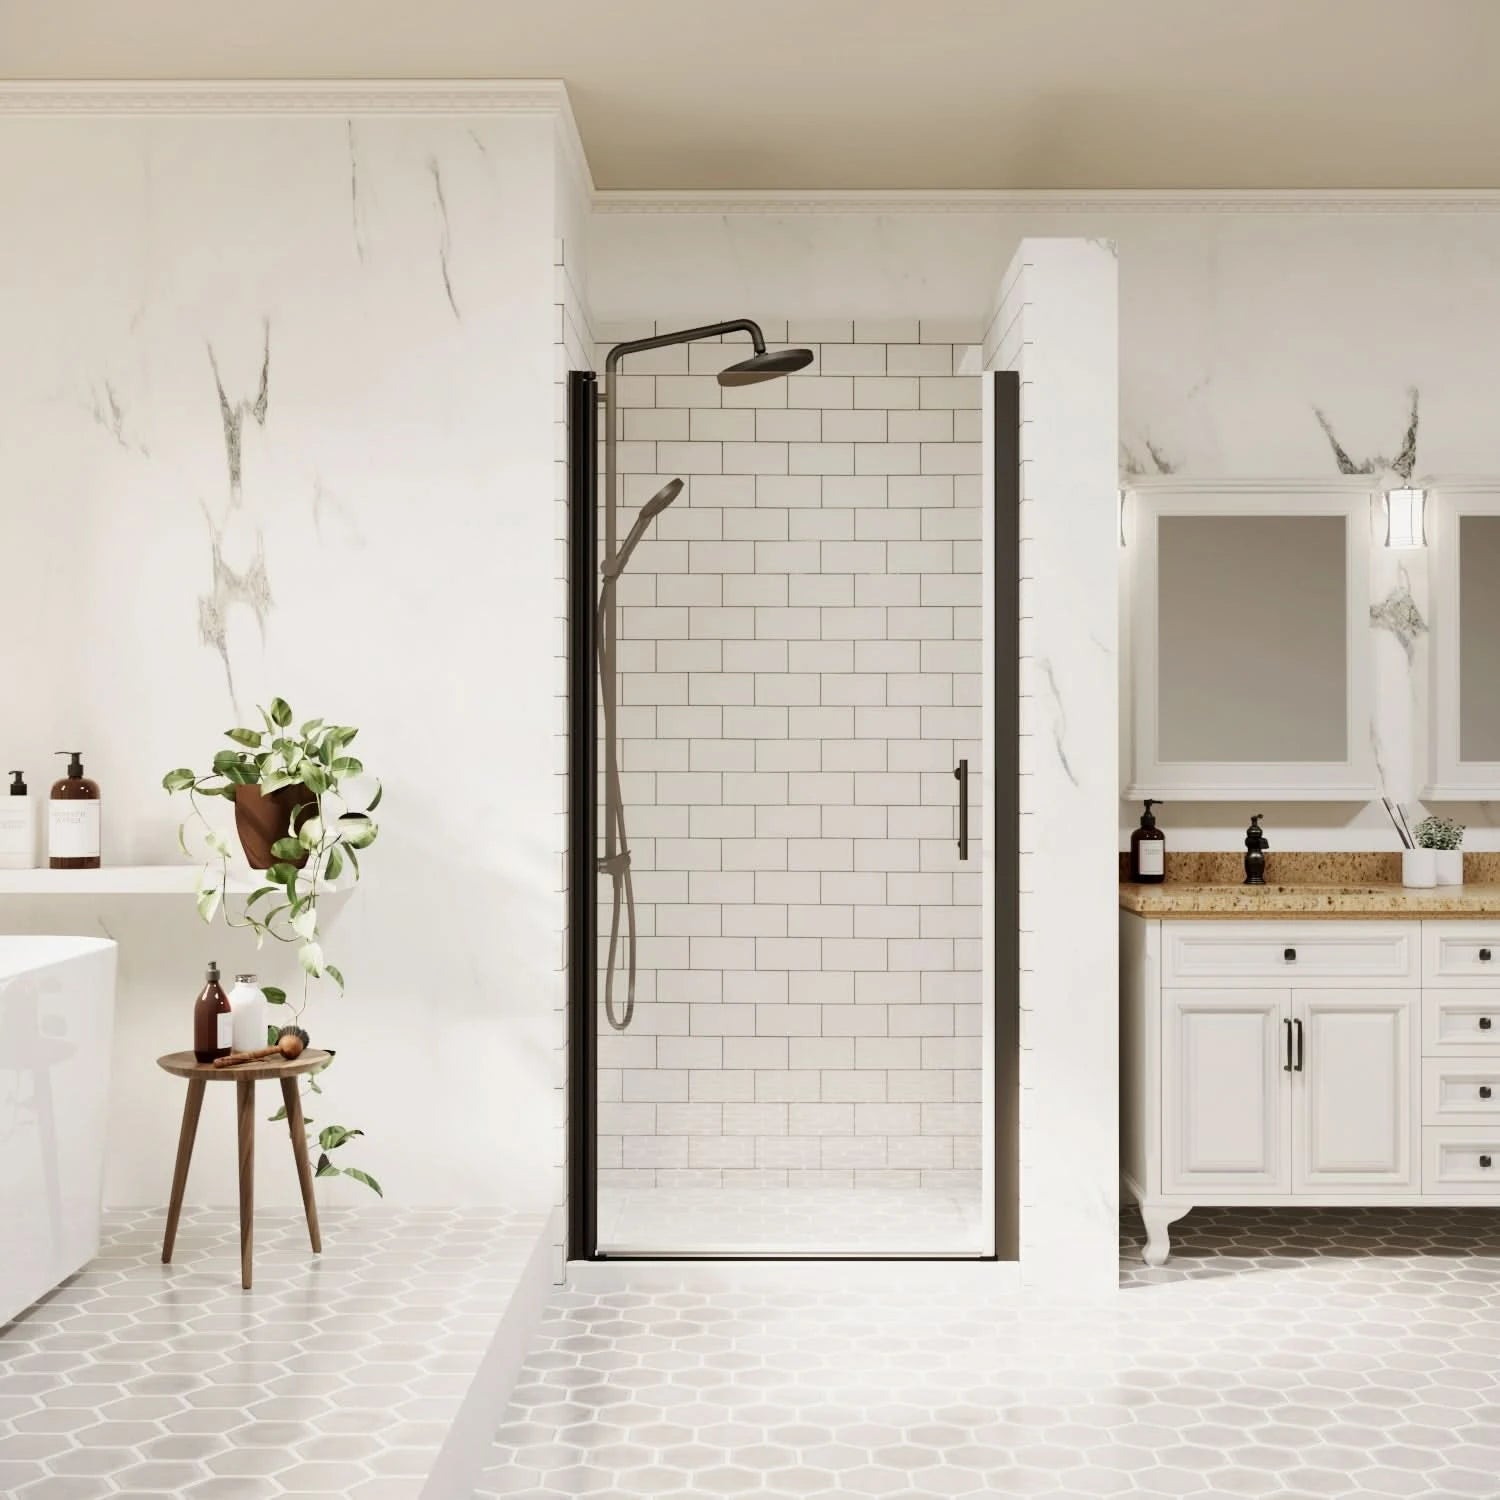
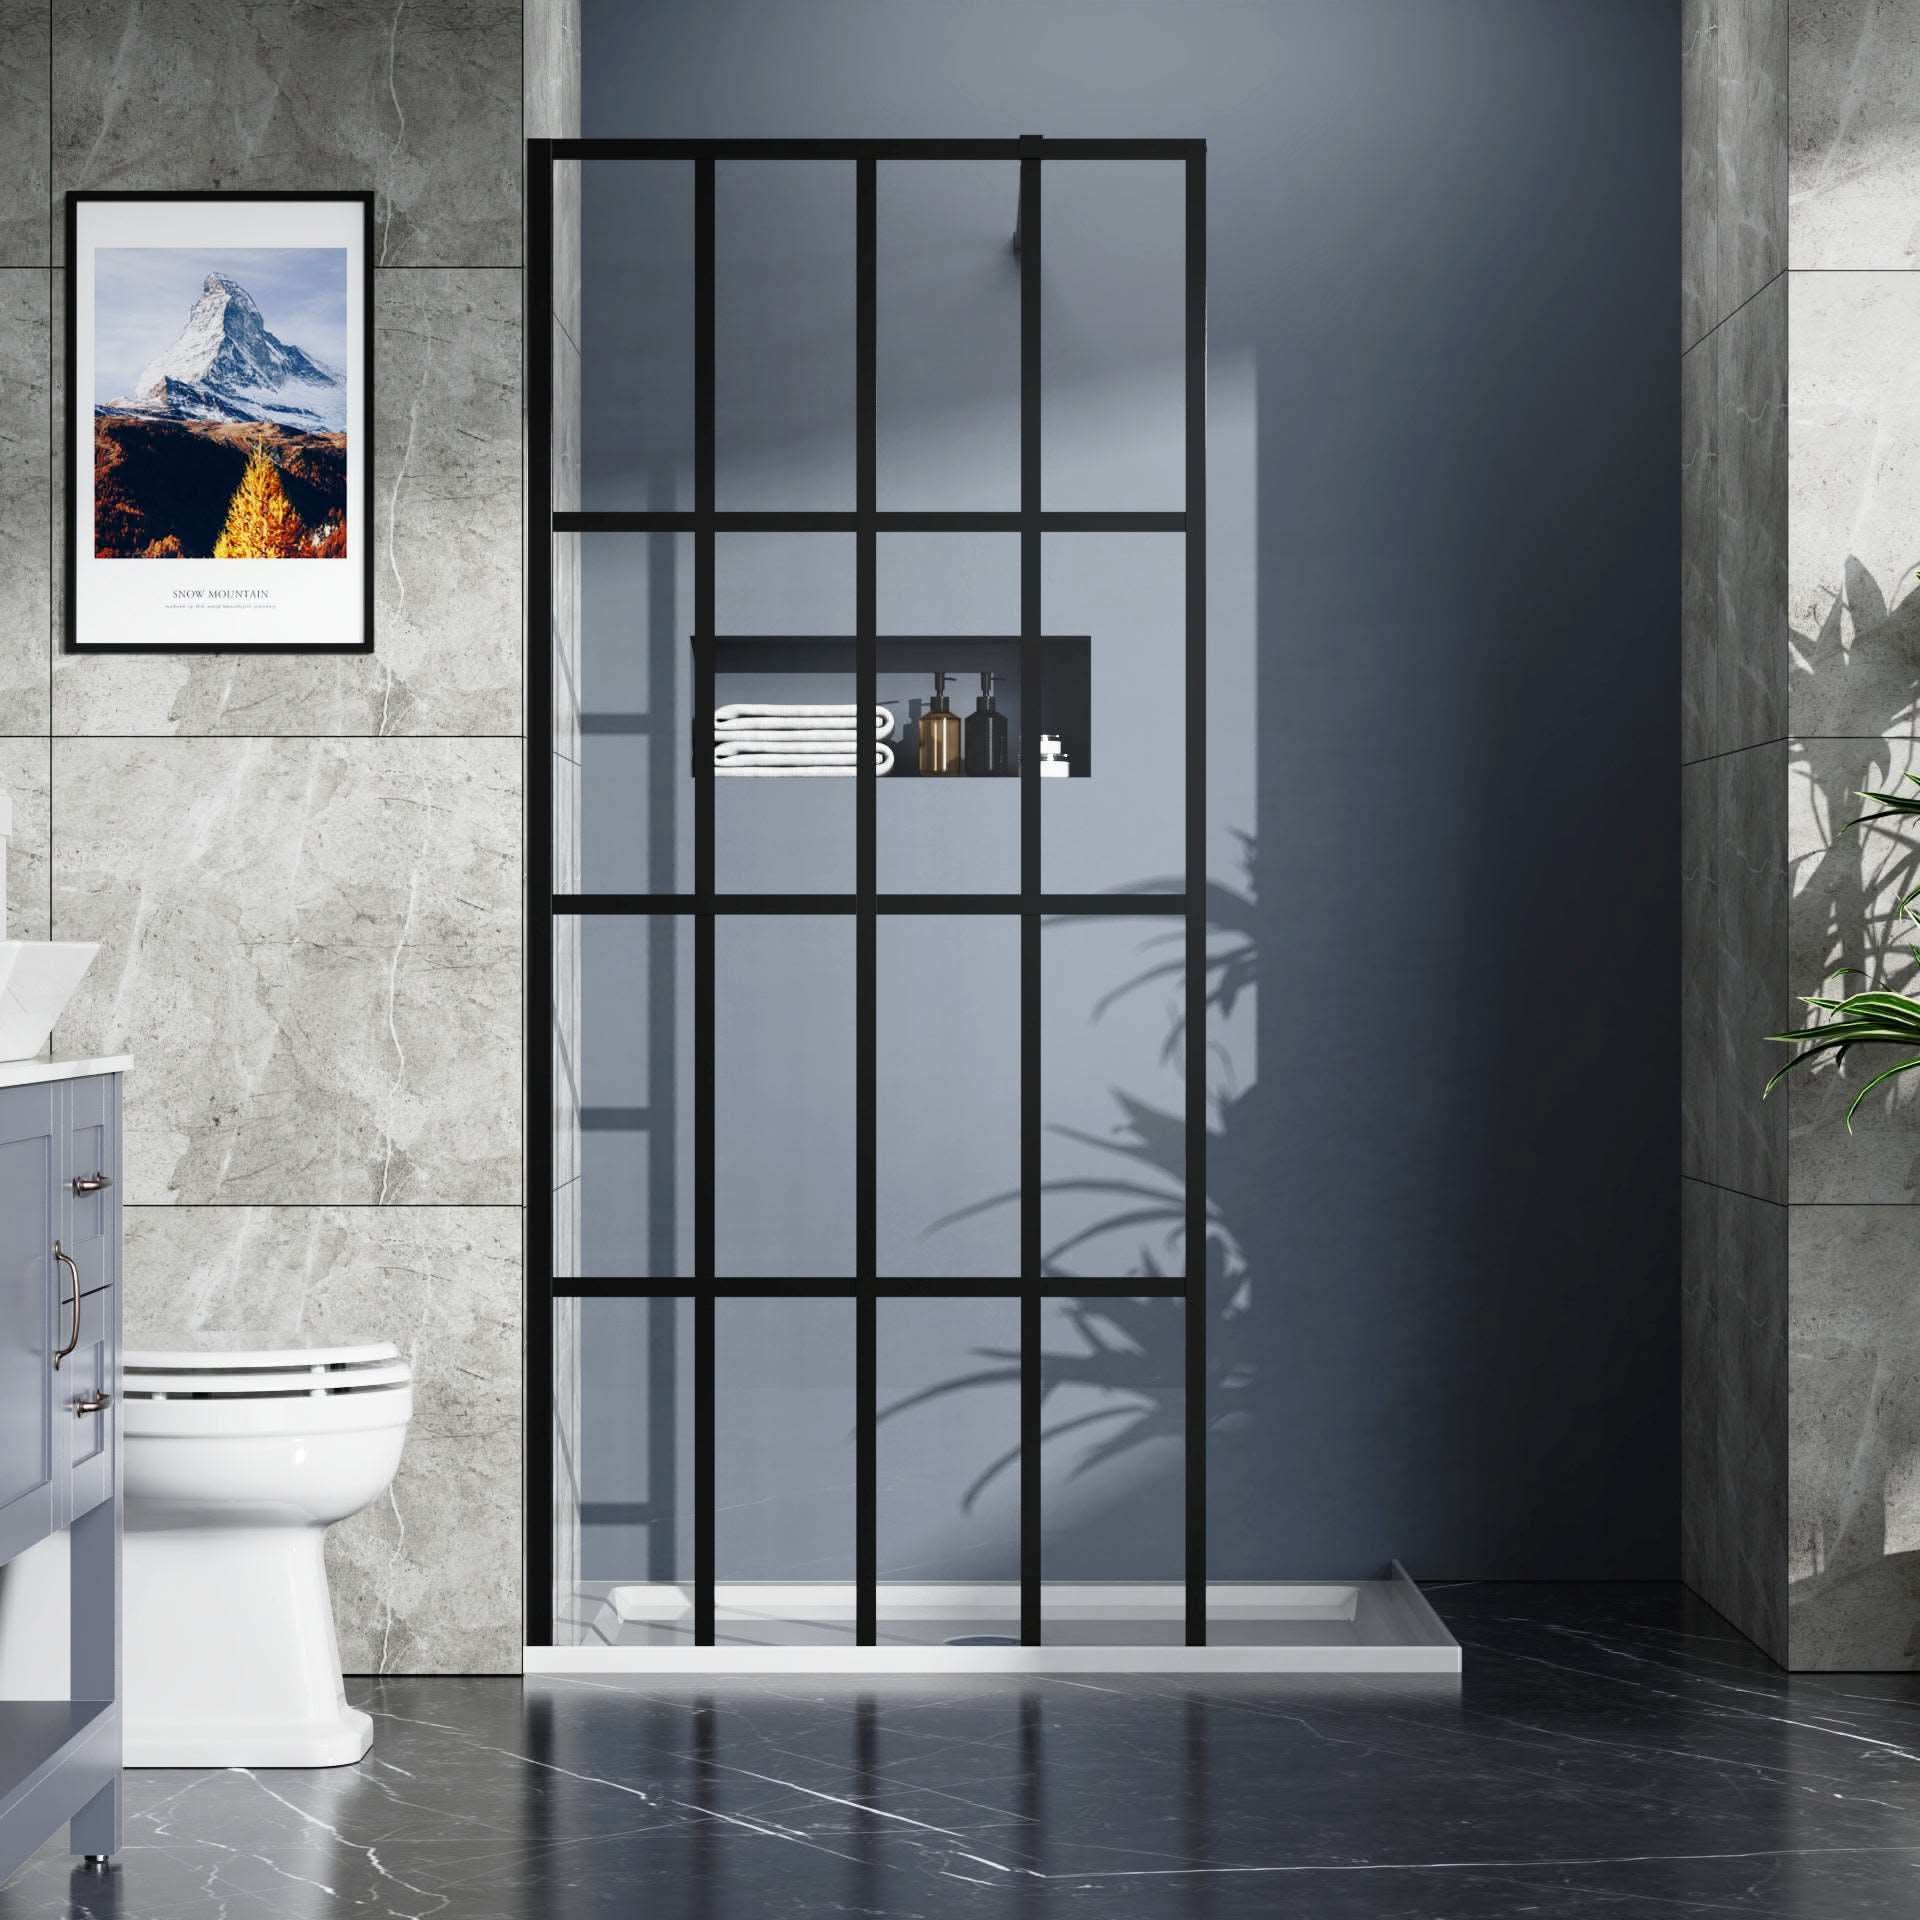
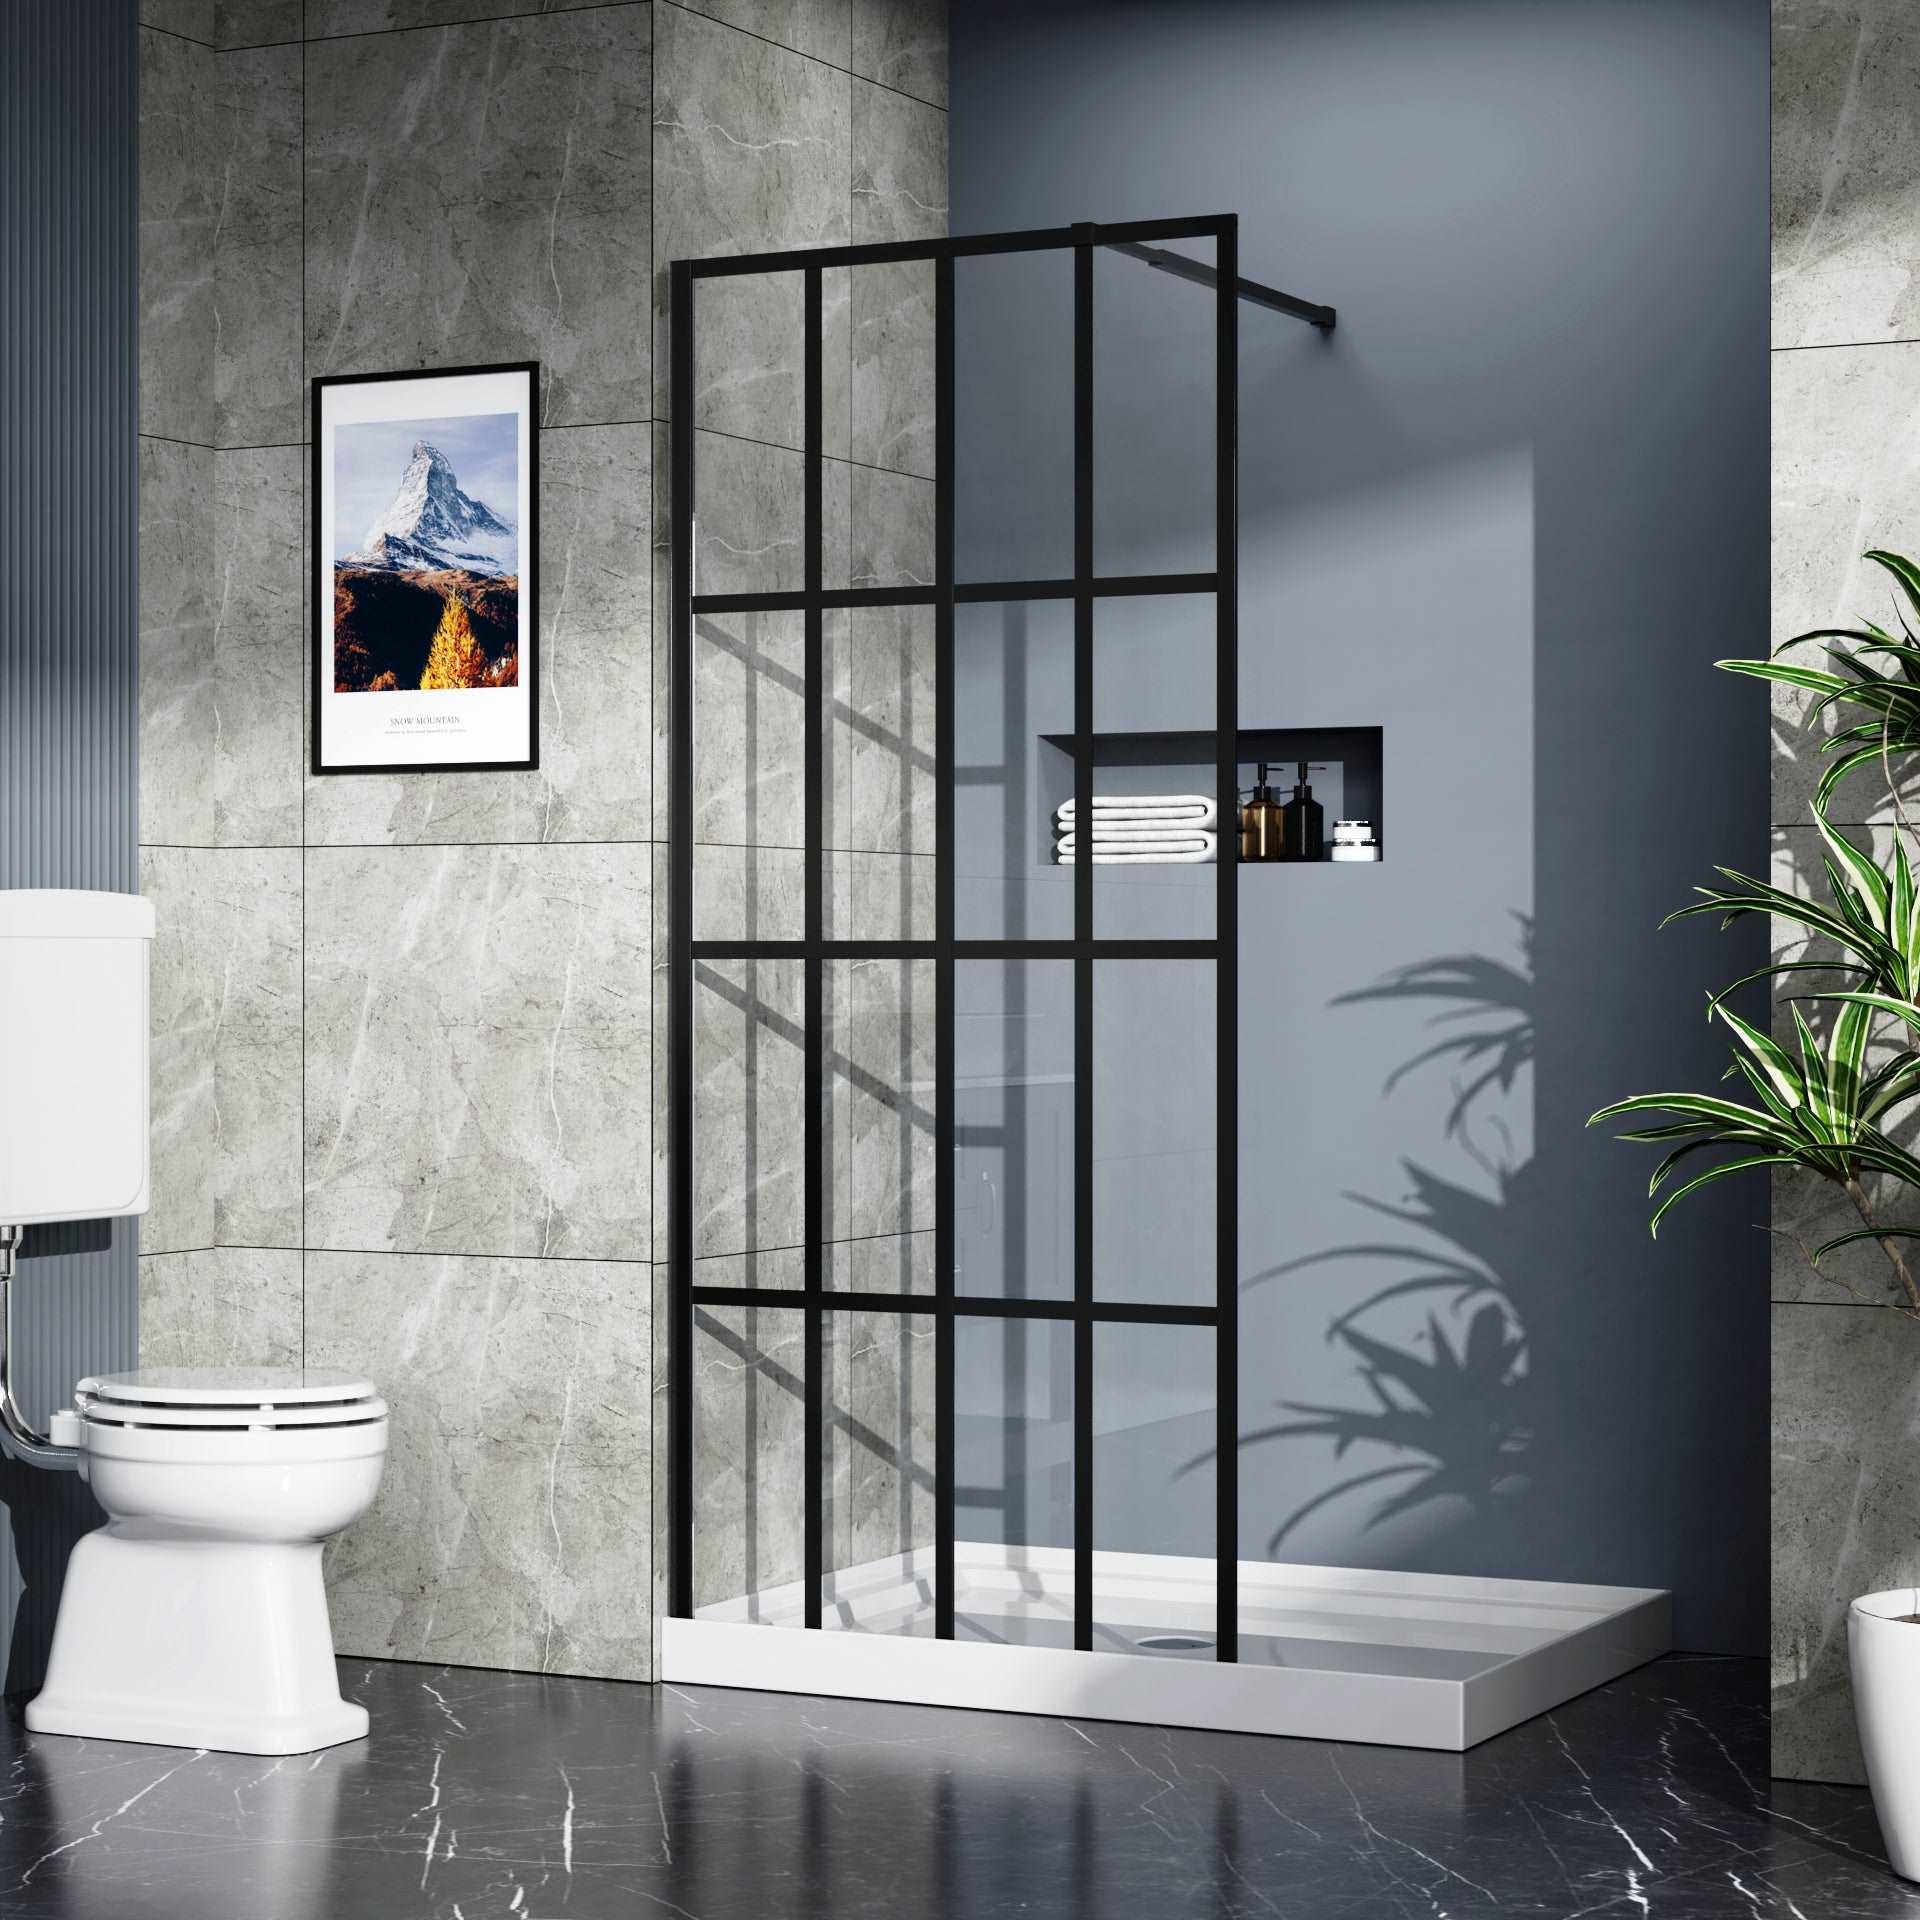
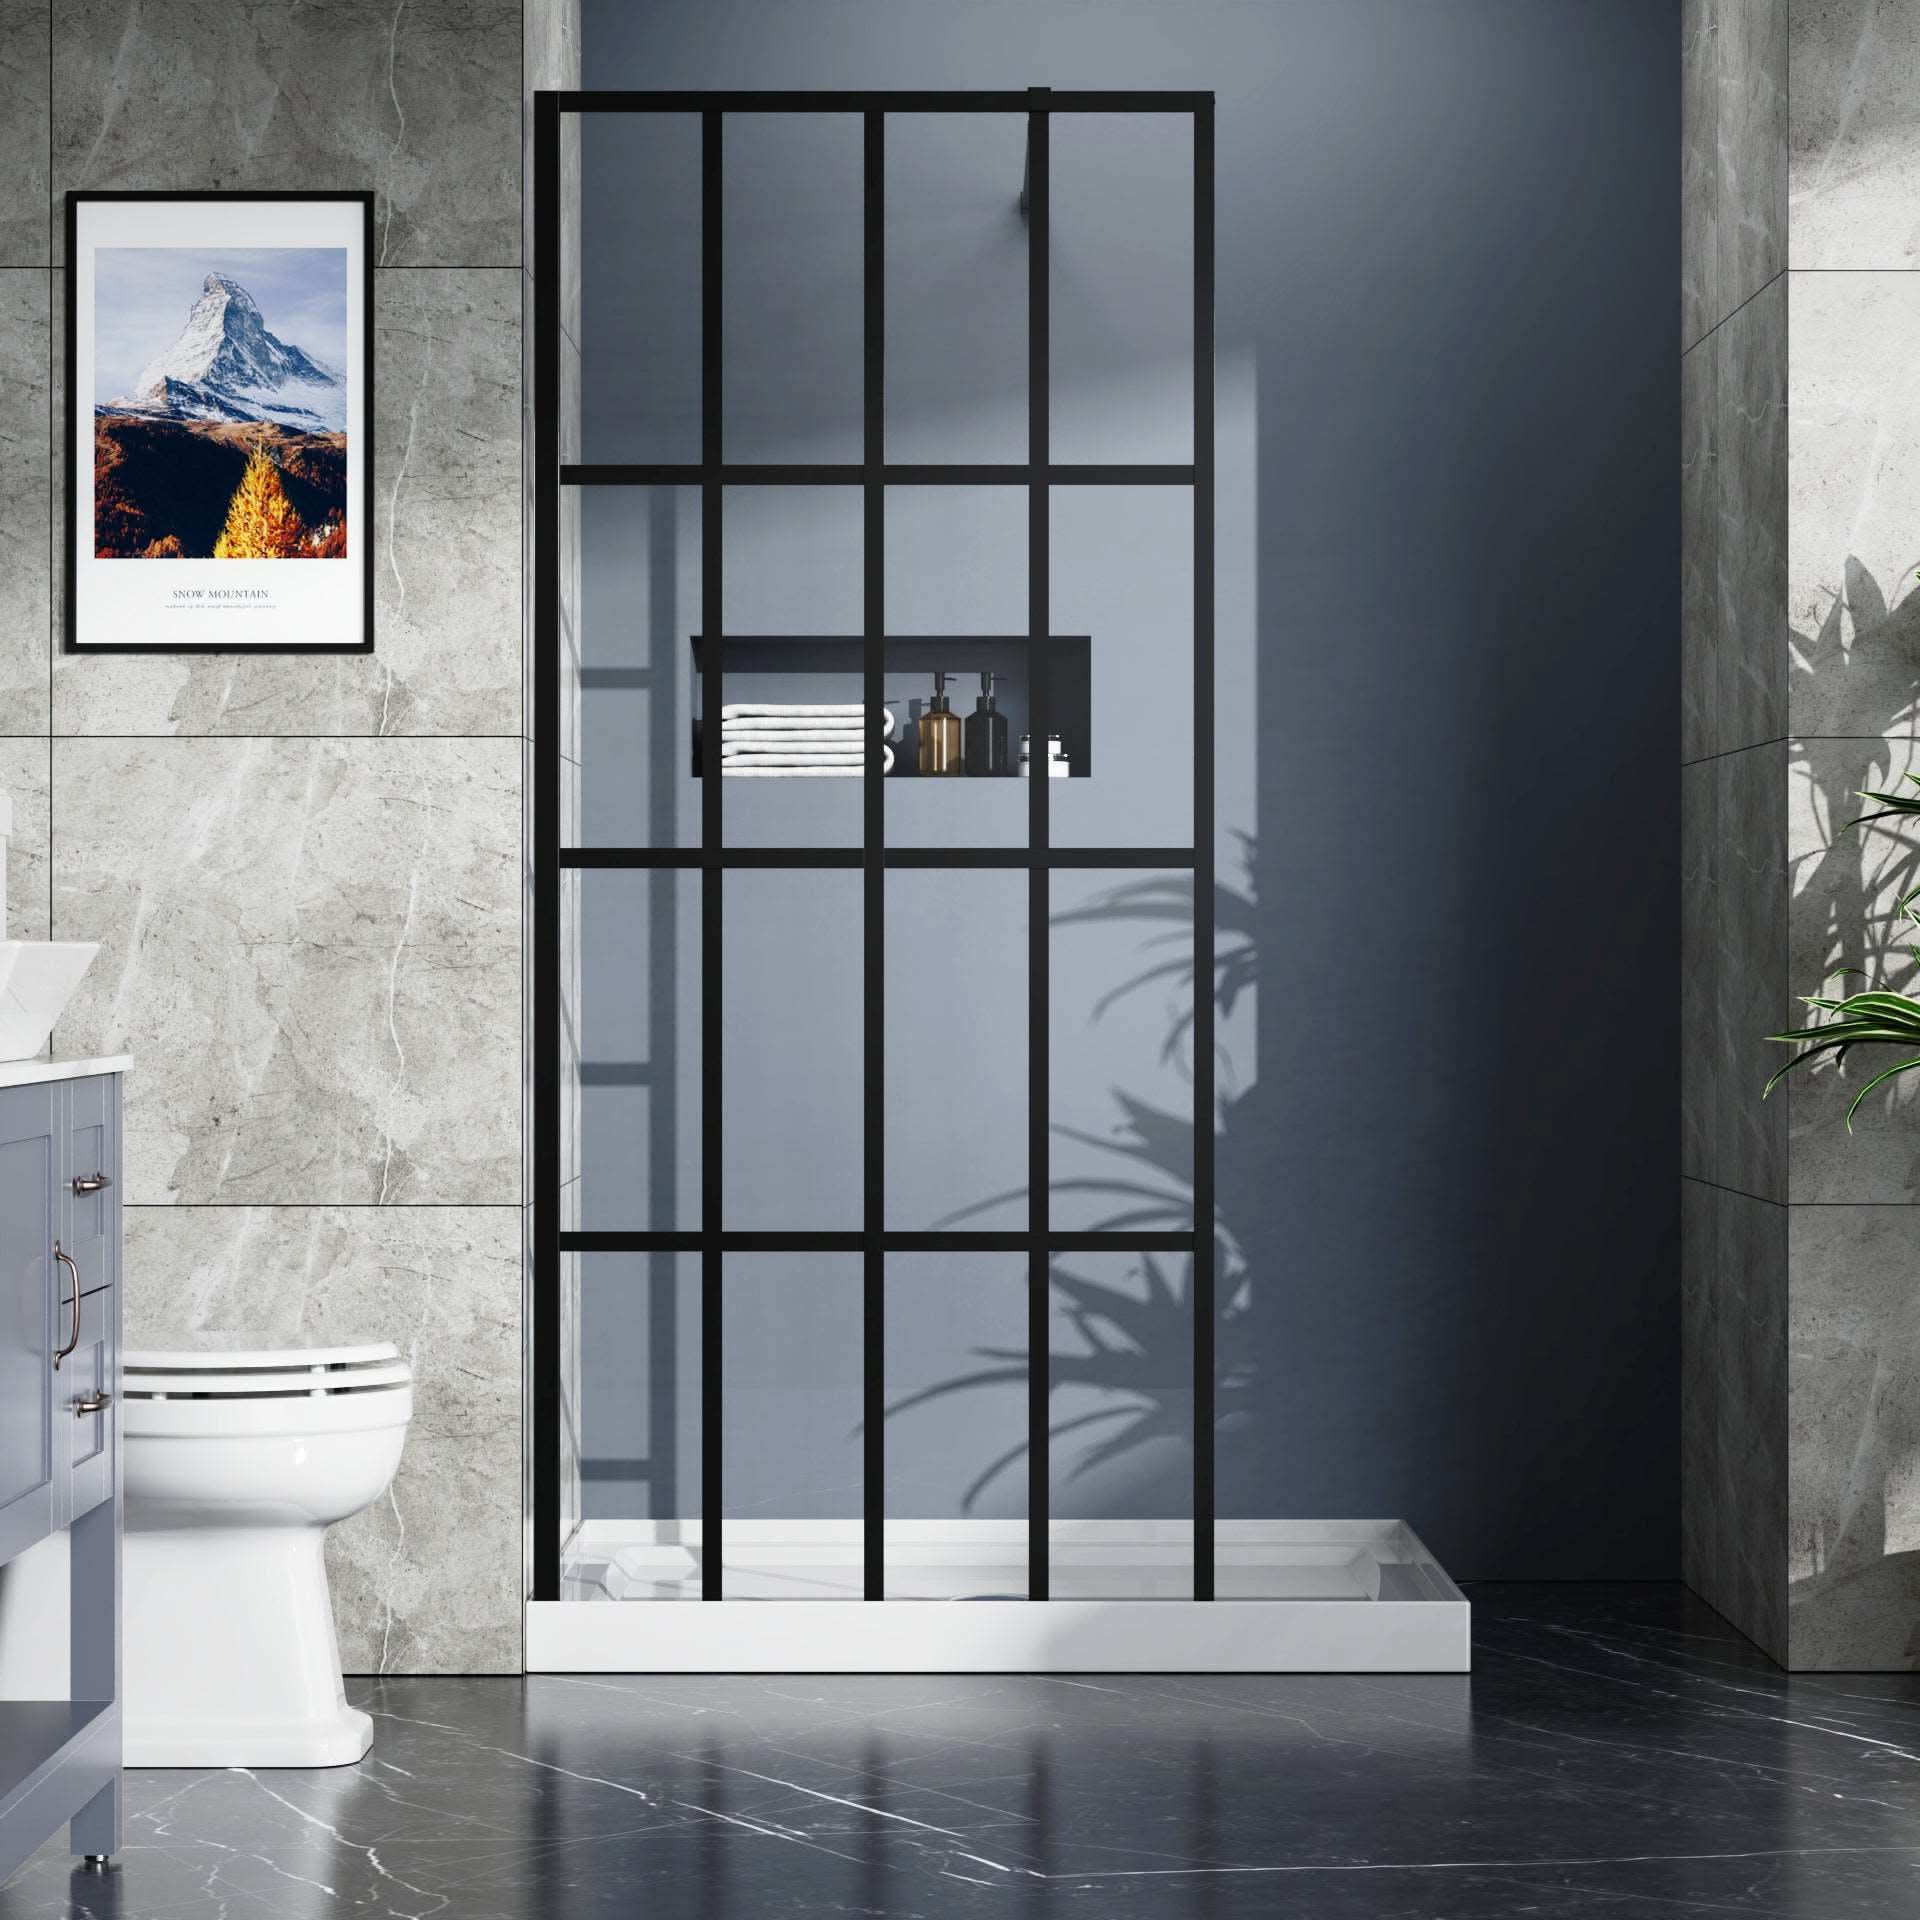
Step into your bathroom and take a look at your shower door frame. Is the finish starting to chip, look outdated, or show signs of rust? Replacing the entire frame can cost hundreds of dollars, but choosing the best paint for a shower door frame gives you the same fresh, modern look for a fraction of the price.
Here's the problem many U.S. homeowners face: most standard paints simply don't survive in a humid bathroom. They peel, bubble, or fade within months. The right product, however—whether a waterborne acrylic-alkyd enamel for sleek aluminum, or an appliance epoxy for maximum toughness—can protect against daily steam, splashes, and constant cleaning. Think of it like upgrading your bathroom hardware without ripping anything out.
In this guide, you'll get a clear, no-nonsense breakdown of the best paint types available in the U.S. market, which primers actually stick to tricky surfaces like anodized aluminum or powder-coated metal, and the exact steps to make the finish last for years. Whether you want matte black to match modern faucets or brushed-gold warmth for a spa feel, you'll find the answer here—plus a step-by-step method so you don't waste time or money on trial and error.
Best Paint for Shower Door Frame (Quick Answer for U.S. Homes)
If you're in the U.S. and wondering what the best paint for a shower door frame really is, the short answer is this: choose a paint that can survive constant steam, daily cleaning, and the occasional splash of soap or shampoo. Regular wall paint won't cut it here—it peels, bubbles, and fades too quickly. What you need is a finish that bonds tightly to metal or vinyl and cures into a hard, water-resistant shell.
For most homeowners, the sweet spot is a waterborne acrylic-alkyd enamel such as Benjamin Moore ADVANCE® or Sherwin-Williams ProClassic®. These paints look and feel like the tough enamel you'd find on kitchen cabinets, yet they're low-odor and easy to clean up with soap and water. That balance of durability and convenience is why they're considered the go-to choice for aluminum or steel shower frames.
But what if your bathroom takes a beating—kids using the shower three times a day, or constant scrubbing to keep water spots away? In that case, step up to an appliance epoxy enamel like Rust-Oleum Appliance Epoxy. Think of it as armor plating for your frame: ultra-hard, moisture-resistant, and designed for the same punishment your refrigerator or washing machine finish handles every day. The trade-off is a stronger chemical smell during application, but the longevity is unmatched.
Not every frame is bare metal, though. Many modern showers come with powder-coated or anodized aluminum frames that are glossy and slick. Paint won't stick to them without help. That's where a bonding primer like Zinsser® Bulls Eye 1-2-3 Plus comes in—it creates a microscopic grip on the surface so your topcoat doesn't flake off in a few weeks. It's an extra step, but it's the difference between a finish that lasts months versus years.
For vinyl or PVC trims, your priority is flexibility. Plastic expands and contracts with temperature changes, so you'll want a maximum-adhesion primer topped with a 100% acrylic enamel. This combo keeps the coating intact without cracking or peeling. As for wood frames, which are less common in showers, they need to be sealed with a stain-blocking primer before painting—and even then, it's best to keep them out of direct spray.
🔒 Quick tip:
- Go with acrylic-alkyd enamel if you want a balance of easy use and durability.
- Choose epoxy enamel if you want the toughest, longest-lasting finish.
- Always use the right primer if your frame is glossy, powder-coated, or plastic.
In other words, the "best paint" isn't one product for everyone—it depends on what your frame is made of and how heavily your bathroom is used. But once you pick the right system, you're not just changing color; you're protecting your shower door from rust, chips, and years of wear.
How to Choose the Right Paint for Your Shower Door Frame
Choosing the best paint for a shower door frame isn't simply about browsing a color chart. A bathroom is one of the harshest environments in your home: steam builds up within minutes of a hot shower, condensation runs down the metal or vinyl trim, and the frame itself is constantly touched, wiped, or scrubbed. Any paint that can't resist moisture, cleaning products, and heat fluctuation will fail quickly. That's why selecting the right system—primer plus topcoat—is as important as the color you end up with.
Durability Under Bathroom Conditions
Unlike living room walls, a shower door frame deals with daily steam cycles. When warm air hits a cooler frame, condensation forms and sits on the surface. That's where ordinary acrylic wall paint breaks down—it softens, blisters, or starts to peel.
- Acrylic-alkyd enamels are engineered to resist this problem. They dry to a dense, cabinet-grade finish that's washable and less likely to chip. A typical cure time is 5–7 days, which means patience pays off—you get a coating that performs more like oil paint without the heavy fumes.
- Epoxy enamels go further. Once cured, they behave almost like the baked-on coating of a kitchen appliance: highly resistant to water, detergents, and even the scrape of a squeegee. The trade-off is a stronger odor during application and stricter recoat windows.
🔒 Expert tip:
Think about how often your bathroom is used. A guest bathroom with light traffic can get by with acrylic-alkyd enamel. A busy family shower is usually worth the jump to epoxy enamel.
Adhesion Is Non-Negotiable
Paint doesn't fail because the topcoat is "weak"—it fails because it never stuck properly in the first place. Shower frames vary: bare aluminum, powder-coated, anodized, stainless, PVC, even wood trims in older homes. Each needs a different primer strategy.
- Bare aluminum naturally forms a thin oxide layer that resists coatings. A self-etching primer chemically bonds through that layer, ensuring paint won't flake.
- Powder-coated or anodized frames are glossy and slick. Sanding alone isn't enough. A bonding primer like Zinsser® 1-2-3 Plus is designed to cling to non-porous surfaces, creating a surface your enamel can lock onto.
- Vinyl/PVC trims expand and contract with temperature changes. Without a flexible bonding primer, even the toughest enamel will crack.
- Wood frames, though less common in modern showers, must be sealed against swelling. A stain-blocking primer closes off the pores and prevents tannins from bleeding into the finish.
🔒 Common mistake:
Skipping primer or choosing the wrong one. Even a premium enamel will peel off a powder-coated surface in weeks if it’s not properly primed.
Finish and Style Considerations
Function comes first, but style matters too. The sheen you choose affects both appearance and cleaning:
- Satin or semi-gloss finishes are easiest to wipe down and don't highlight every fingerprint.
- Flat finishes may look soft and contemporary, but they show streaks and water spots almost instantly.
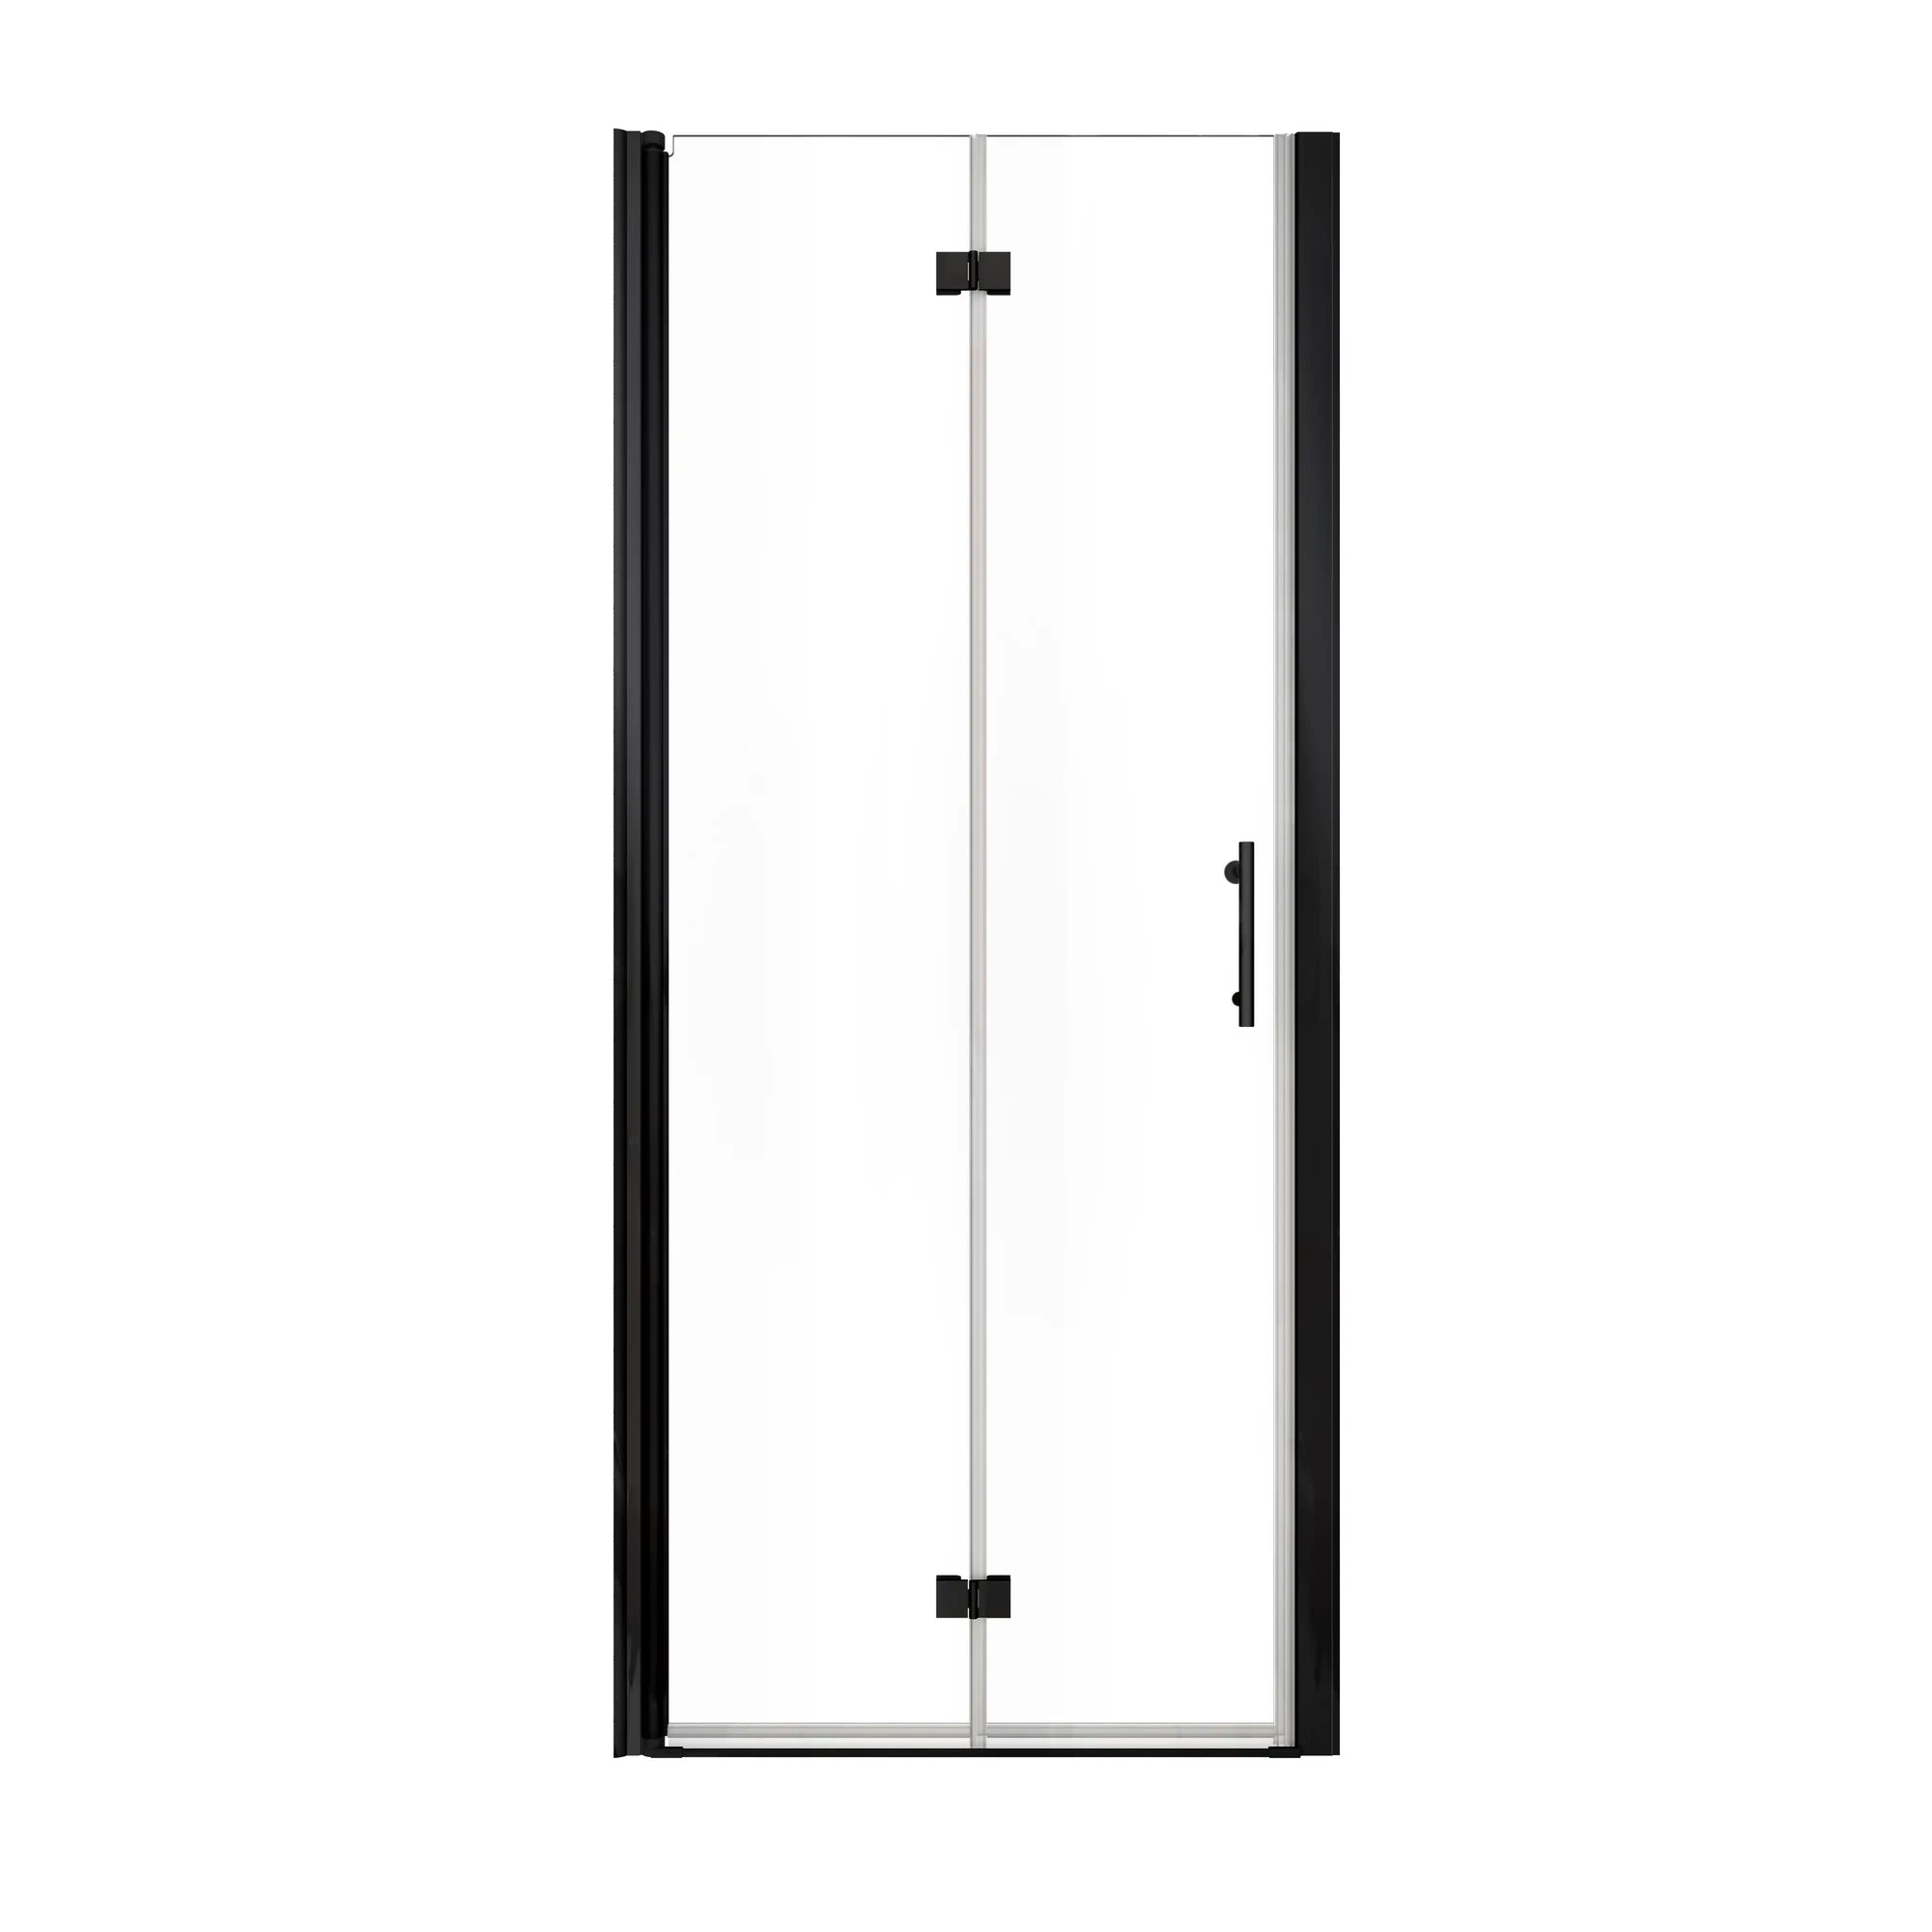
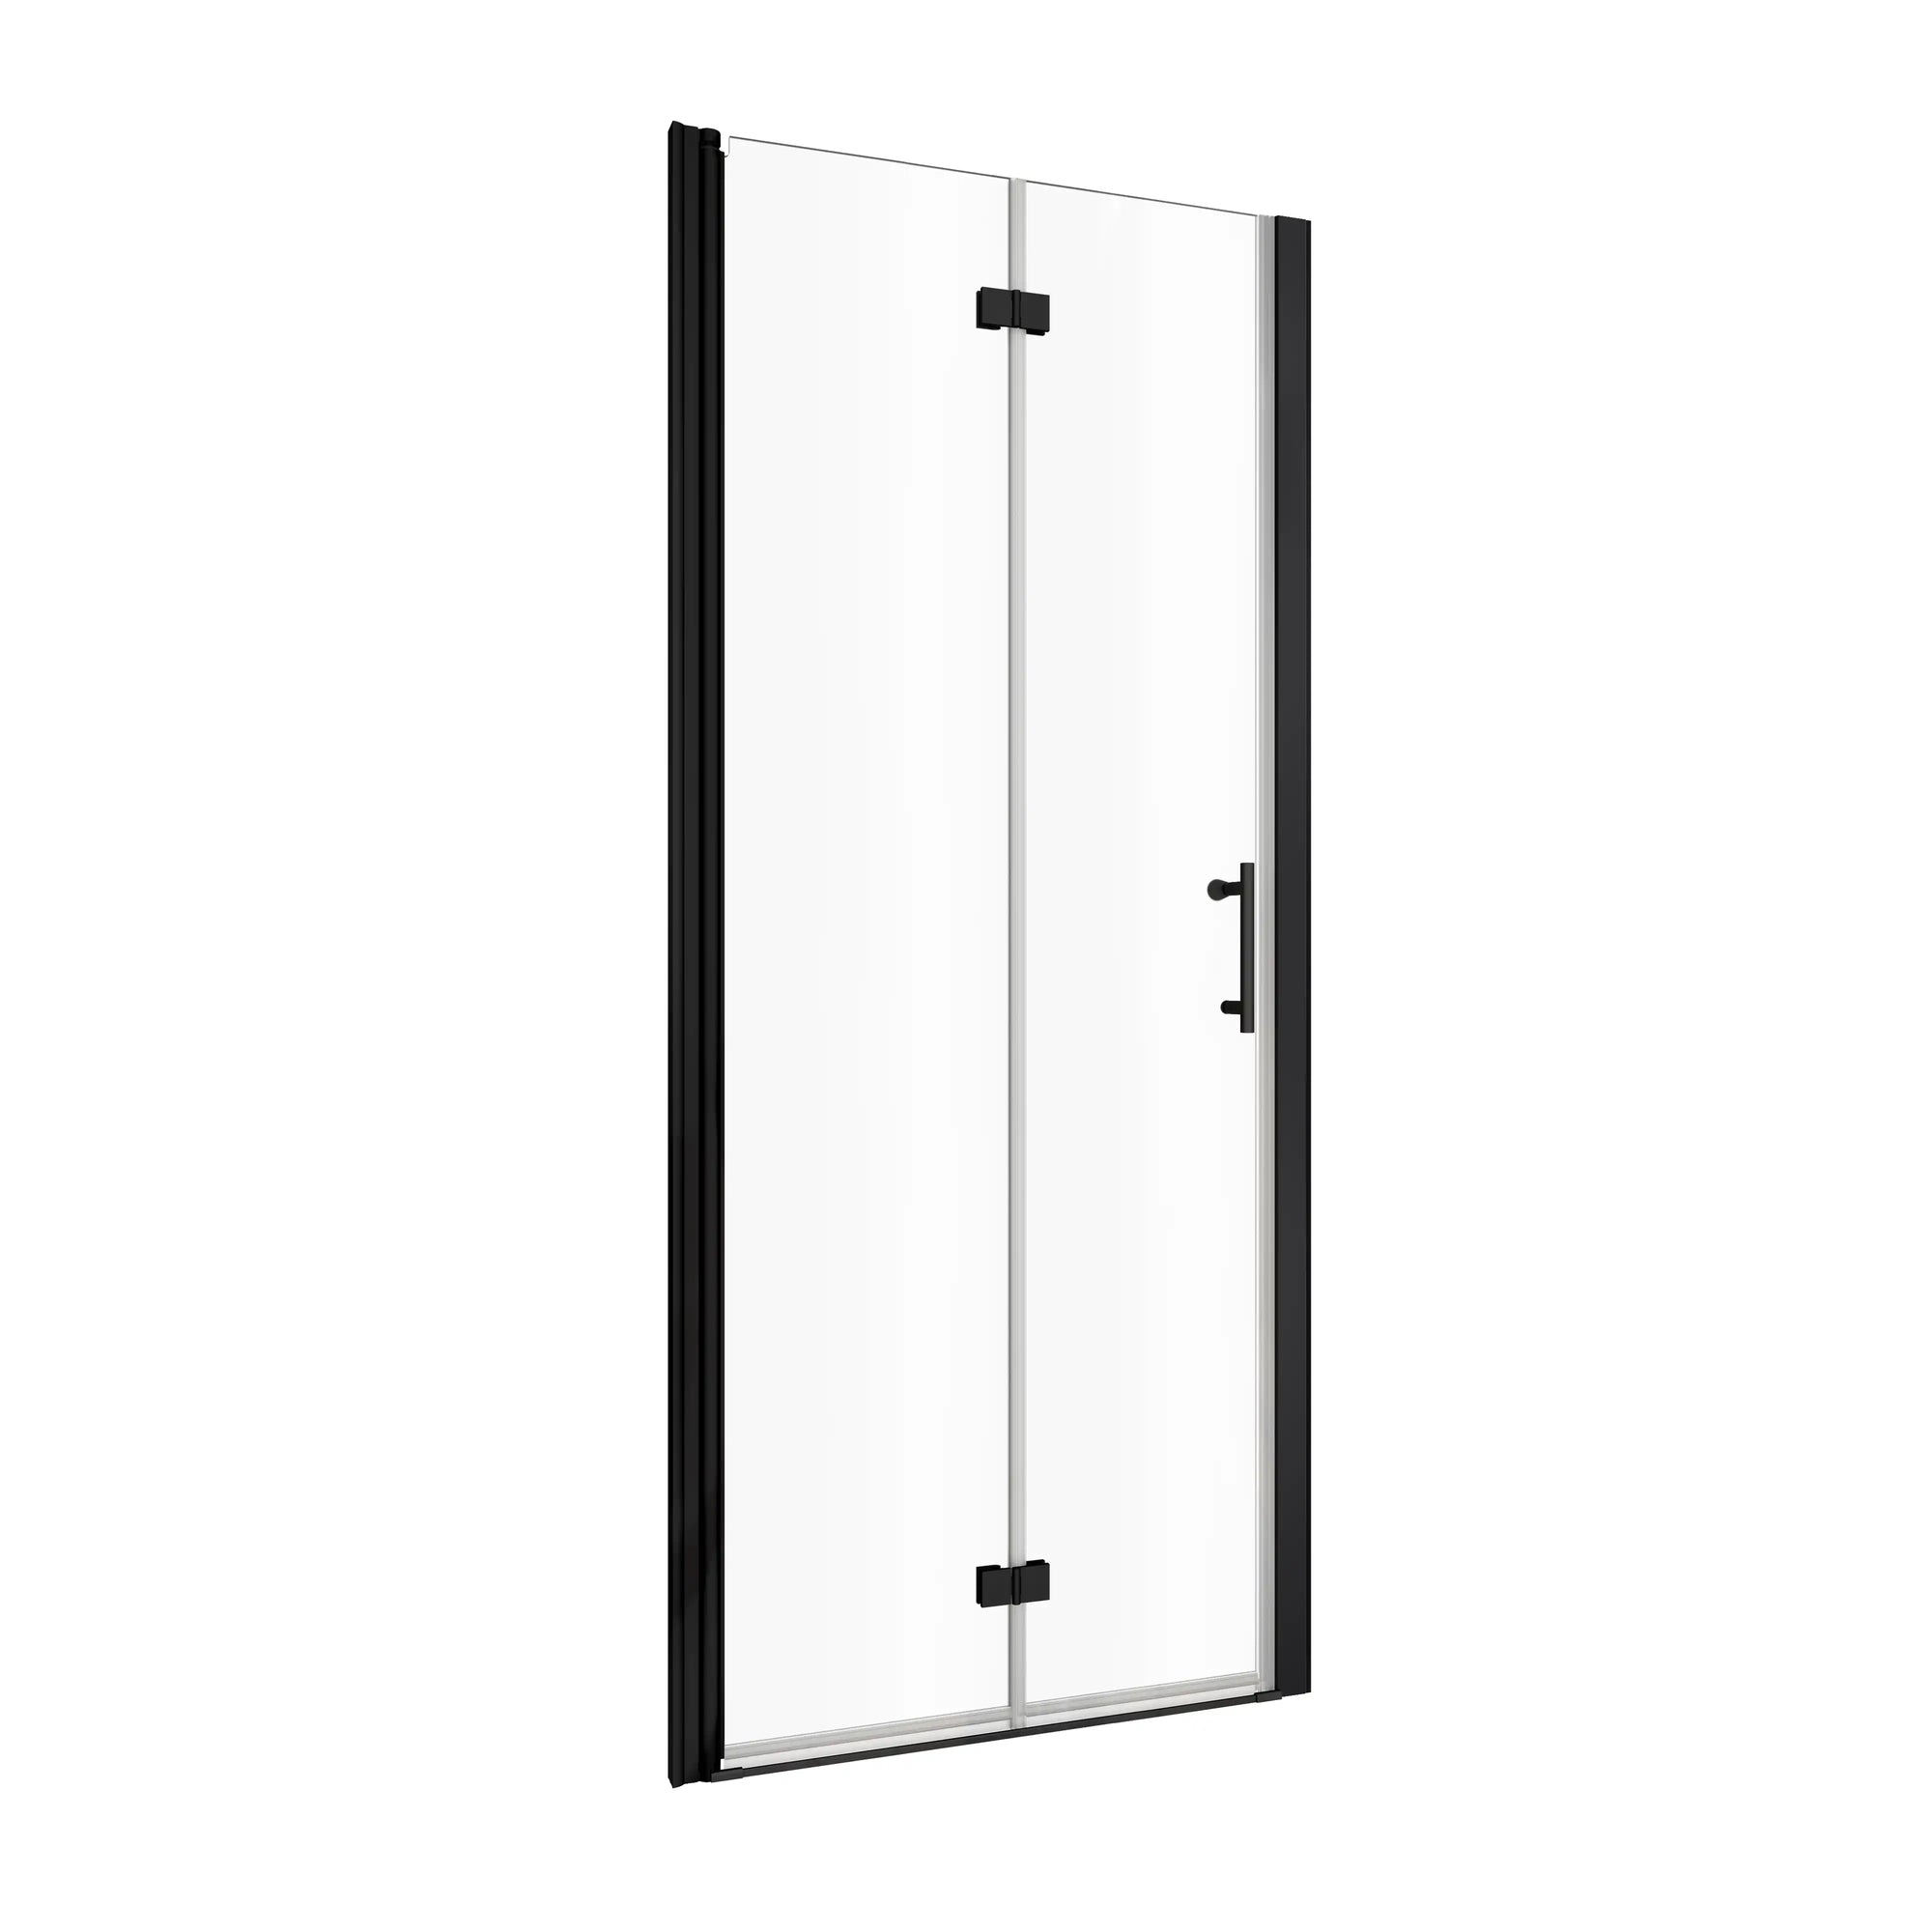
As for color, U.S. bathrooms are trending toward matte black frames that echo modern faucets and showerheads, or brushed gold for a spa-like feel. If you want something timeless, brushed nickel and chrome-inspired tones still work well. Matching the frame with cabinet hardware is a simple way to make the whole bathroom look intentionally designed.
Safety, Comfort, and Indoor Air Quality
Bathrooms are small, enclosed spaces. Using the wrong paint can make the room unlivable for days. This is where VOC (volatile organic compound) levels matter.
- Waterborne acrylic-alkyd enamels typically have lower VOCs, meaning fewer fumes and easier cleanup with water.
- Epoxy enamels often rely on solvents, which create a stronger smell during application and curing. Good ventilation and a few days of keeping the door open are necessary.
If you live with children, pets, or anyone sensitive to fumes, this factor alone might push you toward waterborne formulas.
Balancing Budget and Longevity
Price is usually the last concern, but it ties into how often you want to redo the job.
- Basic acrylic wall paint: cheapest, but expect failure within months in a shower.
- Acrylic-alkyd enamel: moderate cost, multi-year performance when prepped properly.
- Epoxy enamel: slightly higher cost and more effort, but may last twice as long in heavy-use bathrooms.
🔒 Pros & Cons at a Glance:
- Acrylic-alkyd enamel → ✔ Durable, low odor, versatile | ✘ Longer cure time (can't shower immediately)
- Epoxy enamel → ✔ Hardest, most water-resistant | ✘ Strong odor, stricter application conditions
- Basic acrylic paint → ✔ Cheap, easy to find | ✘ Not suited for bathrooms, short-lived
Step-by-Step: How to Paint a Shower Door Frame
Repainting a shower door frame is one of those projects that looks simple on the surface but often goes wrong because of skipped prep or rushed drying. Below is a complete, no-shortcuts method that U.S. homeowners can follow for a finish that not only looks good but holds up under daily steam, scrubbing, and splashes.
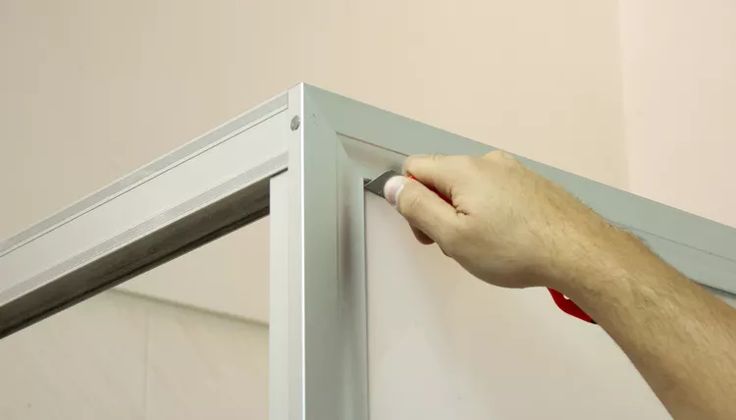
1. Strip Out Old Caulk and Deep Clean
Silicone caulk is the invisible enemy of paint. Even the thinnest film of residue can cause "fish-eye" spots where paint refuses to level. Start by cutting out the old caulk with a sharp utility knife, then use a silicone remover or rubbing alcohol to dissolve what's left.
Once the caulk is gone, scrub the entire frame with a degreaser or trisodium phosphate (TSP) solution. This removes soap scum, oils from hands, and invisible shower product residues.
⚒️ Why it matters:
Trying to paint over old caulk or soap film is like painting over wax paper—the finish simply won’t bond. Proper cleaning is the single biggest difference between a frame that looks freshly painted for years versus one that peels in weeks.
2. Sand and Smooth the Surface
Even glossy powder-coated frames can be painted—if you give them "tooth.” Use 220–320 grit sandpaper and lightly scuff the entire surface until it loses its factory shine. Pay extra attention to corners and edges, where peeling usually starts. For stubborn areas, a sanding sponge works better than plain paper because it conforms to curves.
🚫 Common mistake:
Many DIYers think cleaning is enough and skip sanding. But primer and paint need microscopic scratches to grab onto. Without this step, even the best bonding primer can eventually let go.
3. Choose and Apply the Correct Primer
Primer is not "optional"—it's the anchor. Which primer you need depends on the frame material:
- Bare aluminum or steel: Use a self-etching primer. It chemically cuts through the oxide layer and fuses with the metal.
- Powder-coated or anodized aluminum: Use a bonding primer like Zinsser® Bulls Eye 1-2-3 Plus or BONDZ®. These are designed for slick, factory finishes.
- Vinyl or PVC: Use a maximum-adhesion primer formulated for plastics (otherwise the paint will peel in sheets).
- Wood trims: Use a stain-blocking primer that seals pores and prevents tannins from bleeding through.
💡 Pro tip:
Don’t rush primer drying. Most bonding primers need at least 4–6 hours before topcoating; some benefit from an overnight cure.
4. Apply Thin, Even Coats of Paint
Now comes the satisfying part. Whether you've chosen an acrylic-alkyd enamel or epoxy enamel, the rule is the same: thin, stretched coats beat thick, heavy ones.
- First coat: expect 70–80% coverage.
- Second coat: evens out the surface.
- Optional third coat: adds depth and maximum protection.
Use a high-quality angled brush for edges and a 4-inch foam roller for the flat runs. This combo gives you a smooth finish without brush marks.
🚫 Common mistake:
Trying to get full coverage in one coat. This leads to drips, sags, and a surface that takes forever to cure. Thin coats dry harder and last longer.
5. Respect Drying and Curing Times
Paint has two "clocks": drying (when it feels touch-dry) and curing (when it reaches full hardness).
- Acrylic-alkyd enamel: Dry to touch in 6–8 hours, recoat in 16, fully cured in 5–7 days.
- Epoxy enamel: May feel dry in 4–6 hours, but needs up to a week for full chemical cure.
💡 User scenario:
If this is your only bathroom, plan ahead. You don’t want to finish painting at night and then need a shower the next morning. Many homeowners schedule the project before a long weekend away so the paint cures undisturbed.
6. Re-Caulk for a Waterproof Seal
Once the paint is cured, reapply fresh silicone caulk around the edges where the frame meets tile or glass. Choose a bathroom-grade, mold-resistant silicone. Smooth it with a caulk tool or even a wet finger for a clean finish.
💡 Why it matters:
This isn’t just cosmetic. The new caulk prevents water from sneaking behind the frame, which is the #1 cause of hidden mold and paint lifting.
By following this process—removing caulk, cleaning like a pro, sanding thoroughly, priming correctly, painting in thin coats, and waiting for proper cure—you're not just "covering up old metal.” You're creating a multi-layer protective system that looks like it came that way from the factory. The payoff is a finish that resists steam, scrubbing, and daily use far longer than a quick weekend touch-up.

Common Problems and How to Fix Them
Even with the right paint in hand, small missteps can cause frustration. Maybe you've just finished painting, only to see bubbles appear after the first hot shower. Or perhaps a week later, the frame starts peeling around the edges. Don't panic—these issues are common, and they all have clear solutions.
When Paint Starts Peeling Too Soon
Picture this: you proudly finish the job on Saturday, but by Wednesday, little flakes of paint start appearing on the bathroom floor. Most of the time, this isn't the paint's fault—it's a prep issue. Soap residue, leftover silicone, or skipping primer leaves the surface too slick for paint to grip.
Fix: Sand back the failing spots, prime properly with the right bonding primer, and touch up with fresh coats. Once the surface is cleaned and prepped correctly, the paint will stay put.
Bubbles After the First Shower
Nothing feels worse than stepping into your newly painted bathroom, turning on the hot water, and noticing tiny blisters forming. This happens when moisture sneaks under paint that hasn't fully cured.
Fix: Let the area dry completely, sand the bubbles smooth, and repaint in thin coats. More importantly, give the finish time—"dry to touch" is not the same as "ready for steam.” Planning around a weekend trip or a guest bathroom can buy you the time your paint needs.
Patchy or Uneven Color
Sometimes the finish just doesn't look right. You can see roller lines or lighter patches, especially in bright lighting. Often this comes from rushing coats or using paint from different batches.
Fix: Lightly sand the uneven areas, stir your paint thoroughly, and reapply in long, even strokes. A small foam roller is often the secret weapon for metal frames—it lays paint smoothly without brush marks.
The Caulk Won't Stick
Fresh paint looks great, but when you try to reapply silicone, it pulls away in messy beads. That usually means the surface still had dust or wasn't fully cured.
Fix: Wait until the paint has hardened, then wipe the surface with rubbing alcohol before caulking. The new bead will seal tightly and protect your work from moisture.
Rust Creeping Through
On older steel frames, you may notice reddish stains pushing through the finish. This is rust, and if untreated, it will keep spreading under the paint.
Fix: Sand back to bare metal, treat the rust with a converter, and use a rust-inhibiting primer before repainting. With this extra step, you stop the problem at the source.
🔰 The takeaway:
Most painting “disasters” aren’t disasters at all—they’re signs of skipped prep or rushing the curing process. Slow down, respect the drying times, and you’ll end up with a finish that resists steam, scrubbing, and daily use for years.
Choosing the Right Brands and Tools (U.S. Market Focus)
Selecting the best paint for a shower door frame isn't only about the formula—it's also about trusting reliable brands and using the right tools for application. In the U.S. market, a handful of manufacturers stand out because their products consistently perform in humid, high-use bathrooms.
When it comes to enamel finishes, two of the most reliable options are Benjamin Moore and Sherwin-Williams. Their waterborne acrylic-alkyd lines (such as Benjamin Moore ADVANCE® or Sherwin-Williams ProClassic®) are widely recommended because they combine cabinet-grade durability with indoor safety. These paints level smoothly, resist yellowing, and are available in a wide range of sheens, making them adaptable to modern matte black as well as softer satin finishes.
For situations where maximum toughness is required—such as busy family bathrooms or frames that are scrubbed frequently—Rust-Oleum is often the go-to. Their appliance epoxy sprays and brush-on formulas are designed for surfaces exposed to constant cleaning and moisture. While they require more ventilation during application, the hardened finish is one of the longest lasting on metal frames.
Primers are just as important as topcoats, and here Zinsser has built a strong reputation in the U.S. market. Products like Bulls Eye 1-2-3 Plus or BONDZ® provide the adhesion that tricky substrates such as powder-coated aluminum and PVC require. Skipping this step is the most common cause of failure, so investing in the right primer is as critical as choosing the paint itself.
The tools you use also affect the outcome. A small high-density foam roller is ideal for long, flat runs of the frame, producing a smooth, brush-mark-free finish. For edges and corners, a quality angled sash brush gives better control. Masking off adjacent glass and tile with painter's tape and protective film saves time on cleanup and prevents accidents.
🔰 Tips
While it may be tempting to buy cheaper brushes or skip primer, the long-term performance of your painted frame depends heavily on product quality. Professional-grade supplies don’t just make the job easier—they directly impact durability in a humid bathroom.
FAQ: Best Paint for Shower Door Frames in U.S. Homes
1. Can I use regular wall paint on a shower door frame?
No. Standard wall paint isn't designed for constant moisture or metal adhesion. It may look fine for a few weeks but will peel or bubble quickly. For U.S. bathrooms, enamel or epoxy paints designed for trim, cabinets, or appliances are the right choice.
2. How long should I wait before using the shower after painting the frame?
It depends on the product. Acrylic-alkyd enamels usually need 5–7 days to fully cure, while epoxy enamels can take a week or more. Even if the surface feels dry within hours, exposing it to steam too soon will cause blistering. Planning the project when you can leave the bathroom unused for several days is the safest approach.
3. What primer works best for powder-coated or aluminum frames?
Adhesion is the main challenge. Bonding primers such as Zinsser Bulls Eye 1-2-3 Plus or BONDZ® are designed for slick, factory-coated metals. Without a primer like this, even the best topcoat will eventually peel.
4. How long does a painted shower door frame typically last?
With proper prep and the right paint, a shower door frame can hold its finish for several years. Acrylic-alkyd enamels usually perform well for 2–4 years in average use. Epoxy enamels can last longer, especially in high-moisture households, but longevity always depends on ventilation, cleaning habits, and whether curing time was respected.
5. Is it safe to paint indoors if I have kids or pets?
Yes, but only with the right products and precautions. Waterborne enamels are lower in VOCs and safer for indoor use, though the room should still be ventilated. Solvent-based epoxies release stronger fumes during application and curing, so good airflow and limiting access to the bathroom are essential.
Conclusion
Painting a shower door frame may seem like a small detail, but in a U.S. bathroom it can make a noticeable difference. The right paint does more than refresh color—it protects against steam, cleaning products, and daily wear. By selecting a durable formula such as acrylic-alkyd enamel or appliance epoxy, preparing the surface correctly, and allowing time for proper curing, you can achieve a finish that looks professional and lasts for years.
This project is not about cutting corners. Skipping primer or rushing drying time almost always leads to peeling, bubbling, or wasted effort. On the other hand, when you invest a little more care in prep and product choice, you extend the life of your frame and avoid premature replacement costs.
In the end, the best paint for a shower door frame is the one that fits both the material of your frame and the way your household uses the bathroom. With the right combination of paint, primer, and patience, your shower door can remain both functional and stylish for the long term.
Related Articles
Looking for more bathroom upgrade ideas? These related guides dive deeper into shower door care, design, and long-term maintenance.
- "Best Sliding Shower Glass Doors 2025: Top 5 Affordable Picks"
- "How To Remove A Swinging Shower Door: A Step-by-step Guide"
- "Hotel Housekeepers' Secrets: Keeping Glass Shower Doors Crystal Clear"
- "15+ Types of Shower Doors Explained: Pros, Cons & Best Fit for Your Bathroom"
- "How to Replace a Standing Shower Door: A Step-by-Step Guide for a Hassle-Free Upgrade"
- "Shower Door Doesn't Fit? Uneven Walls? This Adjustable Shower Door Has You Covered."

