Table of Contents
- Understanding Shower Door Seals and Why They Matter
- The Different Types of Shower Door Seals
- How to Choose the Right Seal for Your Shower
- How to Install a Shower Door Seal
- Troubleshooting: Why Your New Seal Still Leaks
- Maintaining Your Shower Door Seal
- Frequently Asked Questions
- Related Articles
Water escaping from your shower enclosure might seem like nothing more than a nuisance — a wet bath mat here, a slippery tile there — but over time, it can lead to real problems: mold, mildew, floor damage, and even costly repairs. The unsung hero that prevents all this? Your shower door seal.
This comprehensive guide is designed to help you understand the types of shower door seals available, choose the one that fits your bathroom setup perfectly, install it correctly, and solve common problems that lead to leaks. We'll also cover maintenance techniques that will keep your seal working longer, plus insider tips gathered from real-world experiences.
1. Understanding Shower Door Seals and Why They Matter
A shower door seal — sometimes called a sweep — is a flexible strip, usually made from PVC, silicone, vinyl, or polycarbonate, that attaches to the edges of a shower door. Its job is simple but essential: keep water where it belongs — inside your shower enclosure.
When you install the right seal, you're not just stopping leaks. You're also:
- Protecting hygiene by preventing standing water outside the shower that encourages mold growth.
- Reducing cleaning time because there's less splashing on bathroom floors and walls.
- Preserving bathroom fixtures by keeping water away from hinges, frames, and wall joints.
- Improving comfort by eliminating those annoying puddles that greet you after every shower.
It's worth noting that modern seal designs go beyond a basic strip. Some feature rubber squeegee-style lips that wipe away water as the door moves, while others have magnetic strips that pull panels tightly together for a perfect watertight fit — ideal for frameless glass doors.

2. The Different Types of Shower Door Seals
When you first hear the term shower door seal, it's easy to assume they're all the same. In reality, the market offers a surprising variety of seal types, each designed for specific positions on the shower door and for different leakage scenarios. Knowing the types of shower door seals — and more importantly, what each one actually does — will help you make a confident, informed choice that avoids costly trial and error.
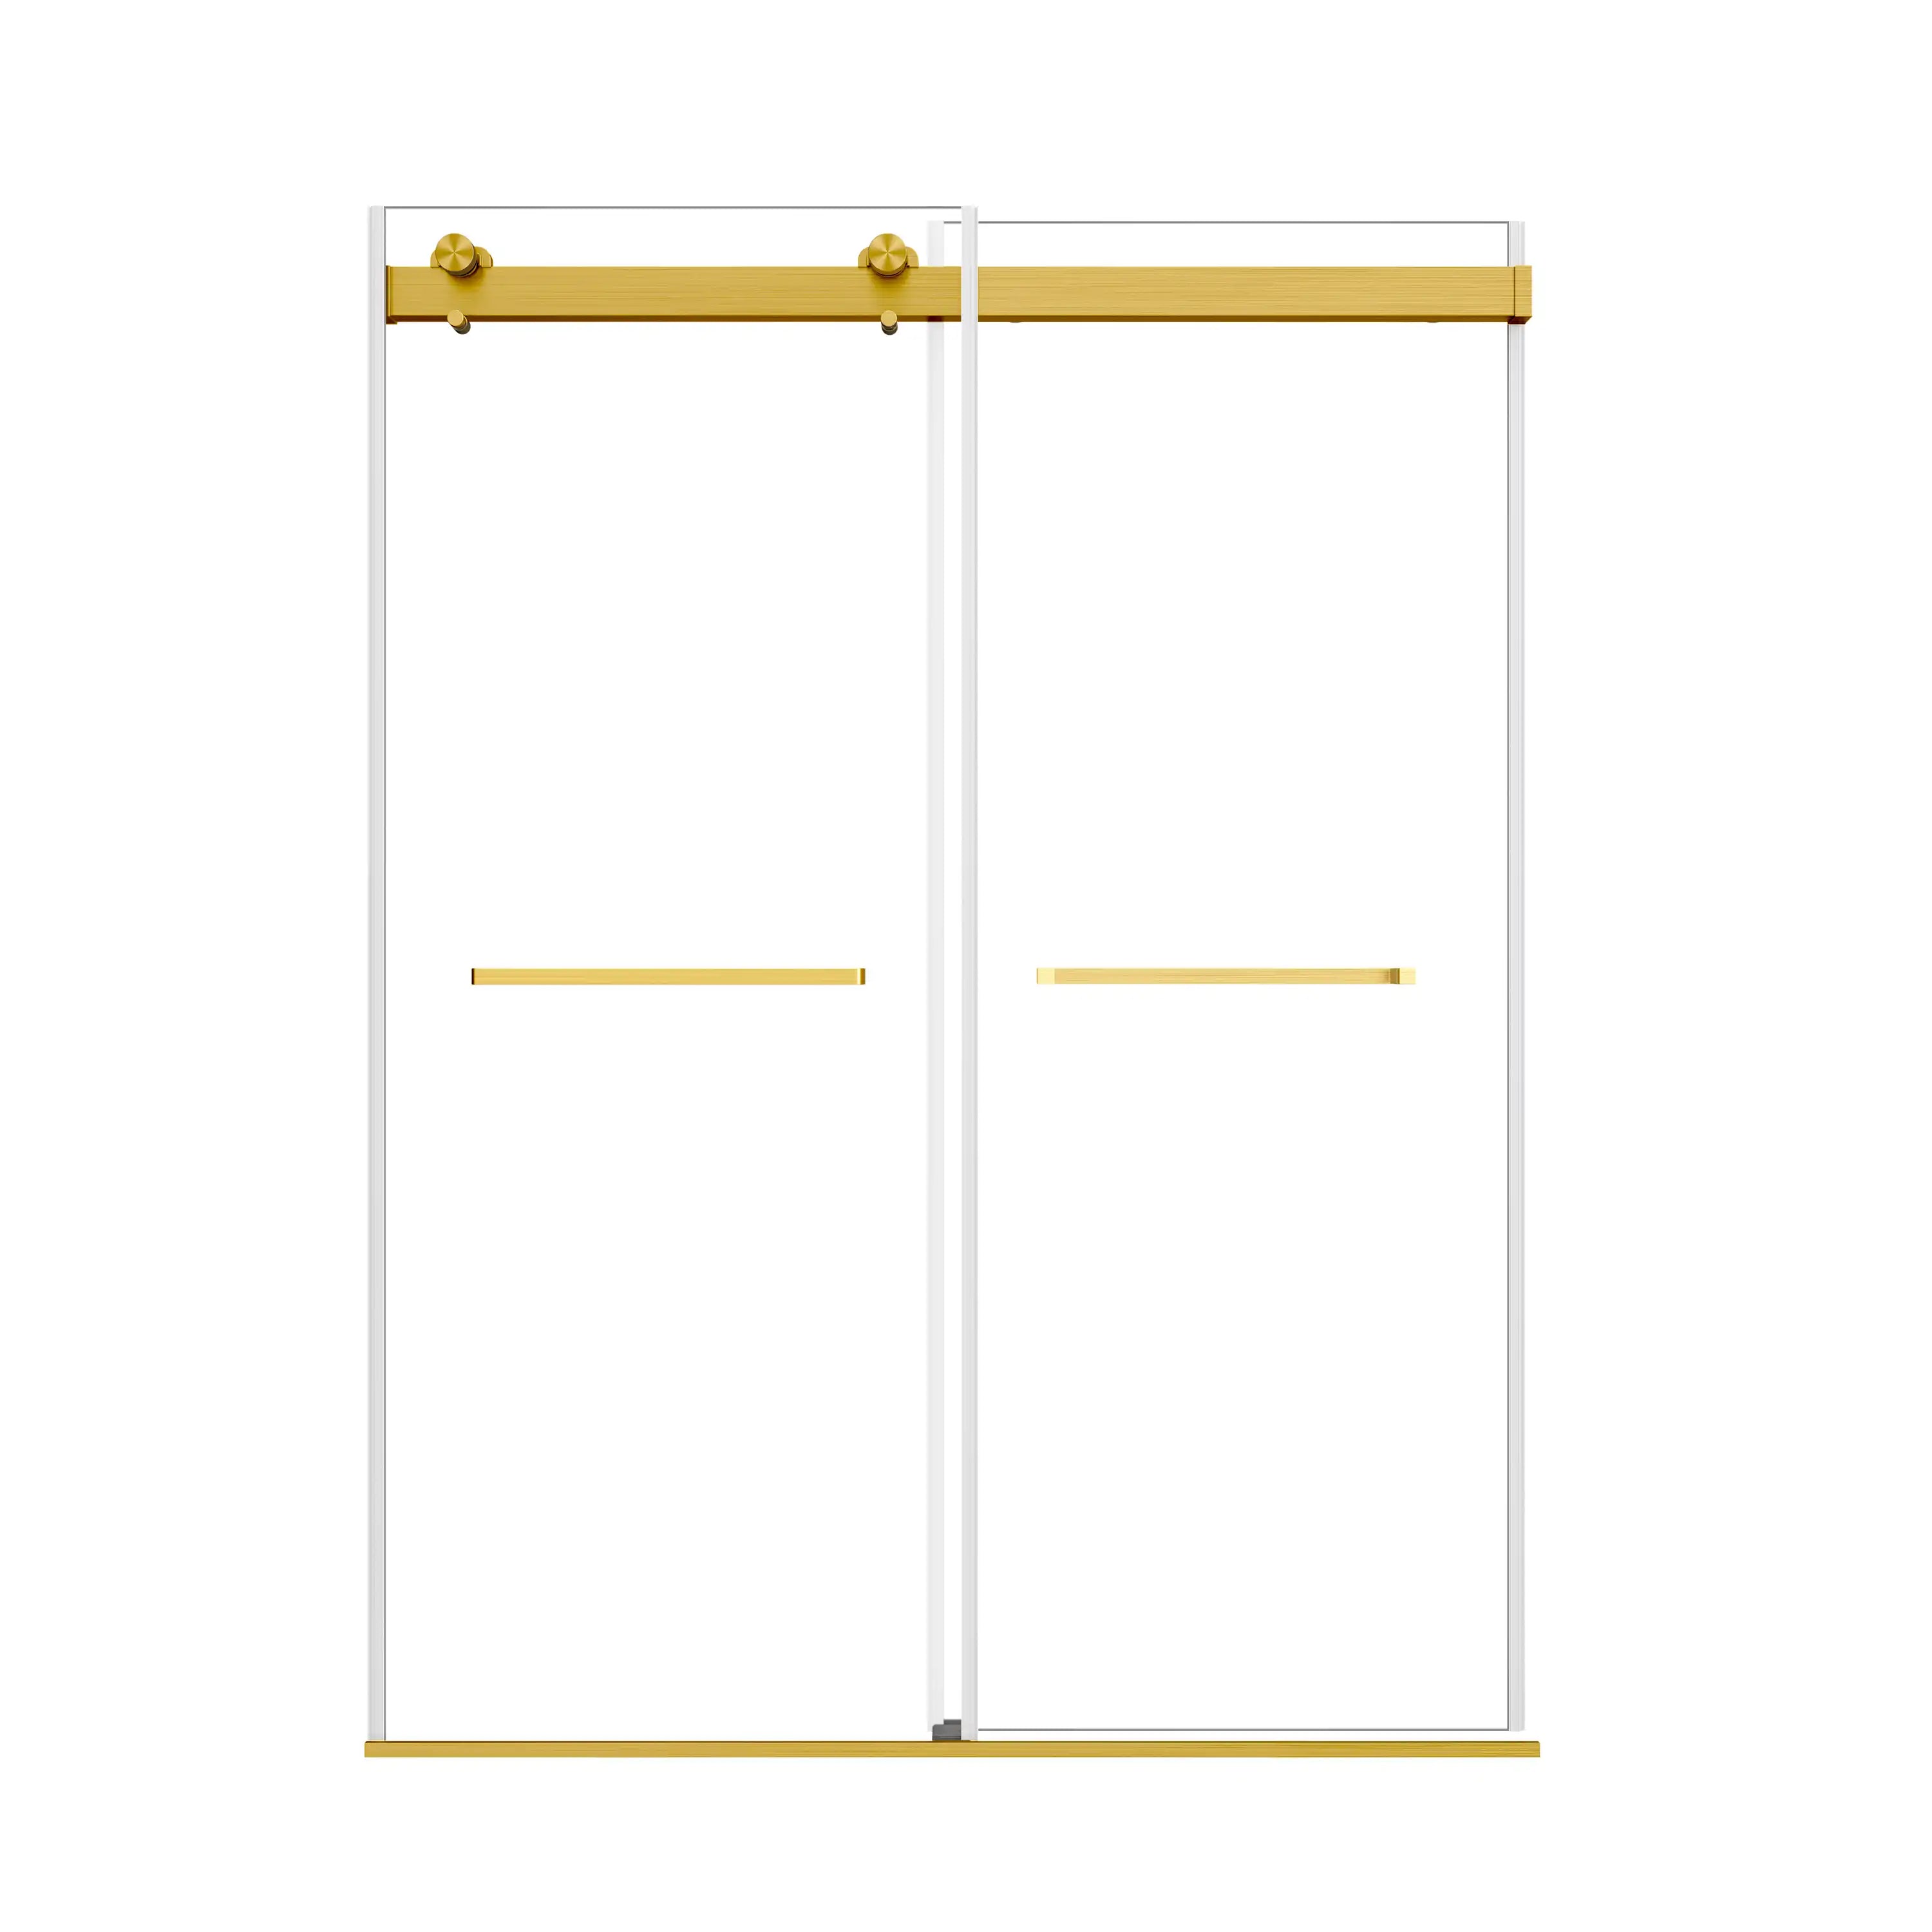
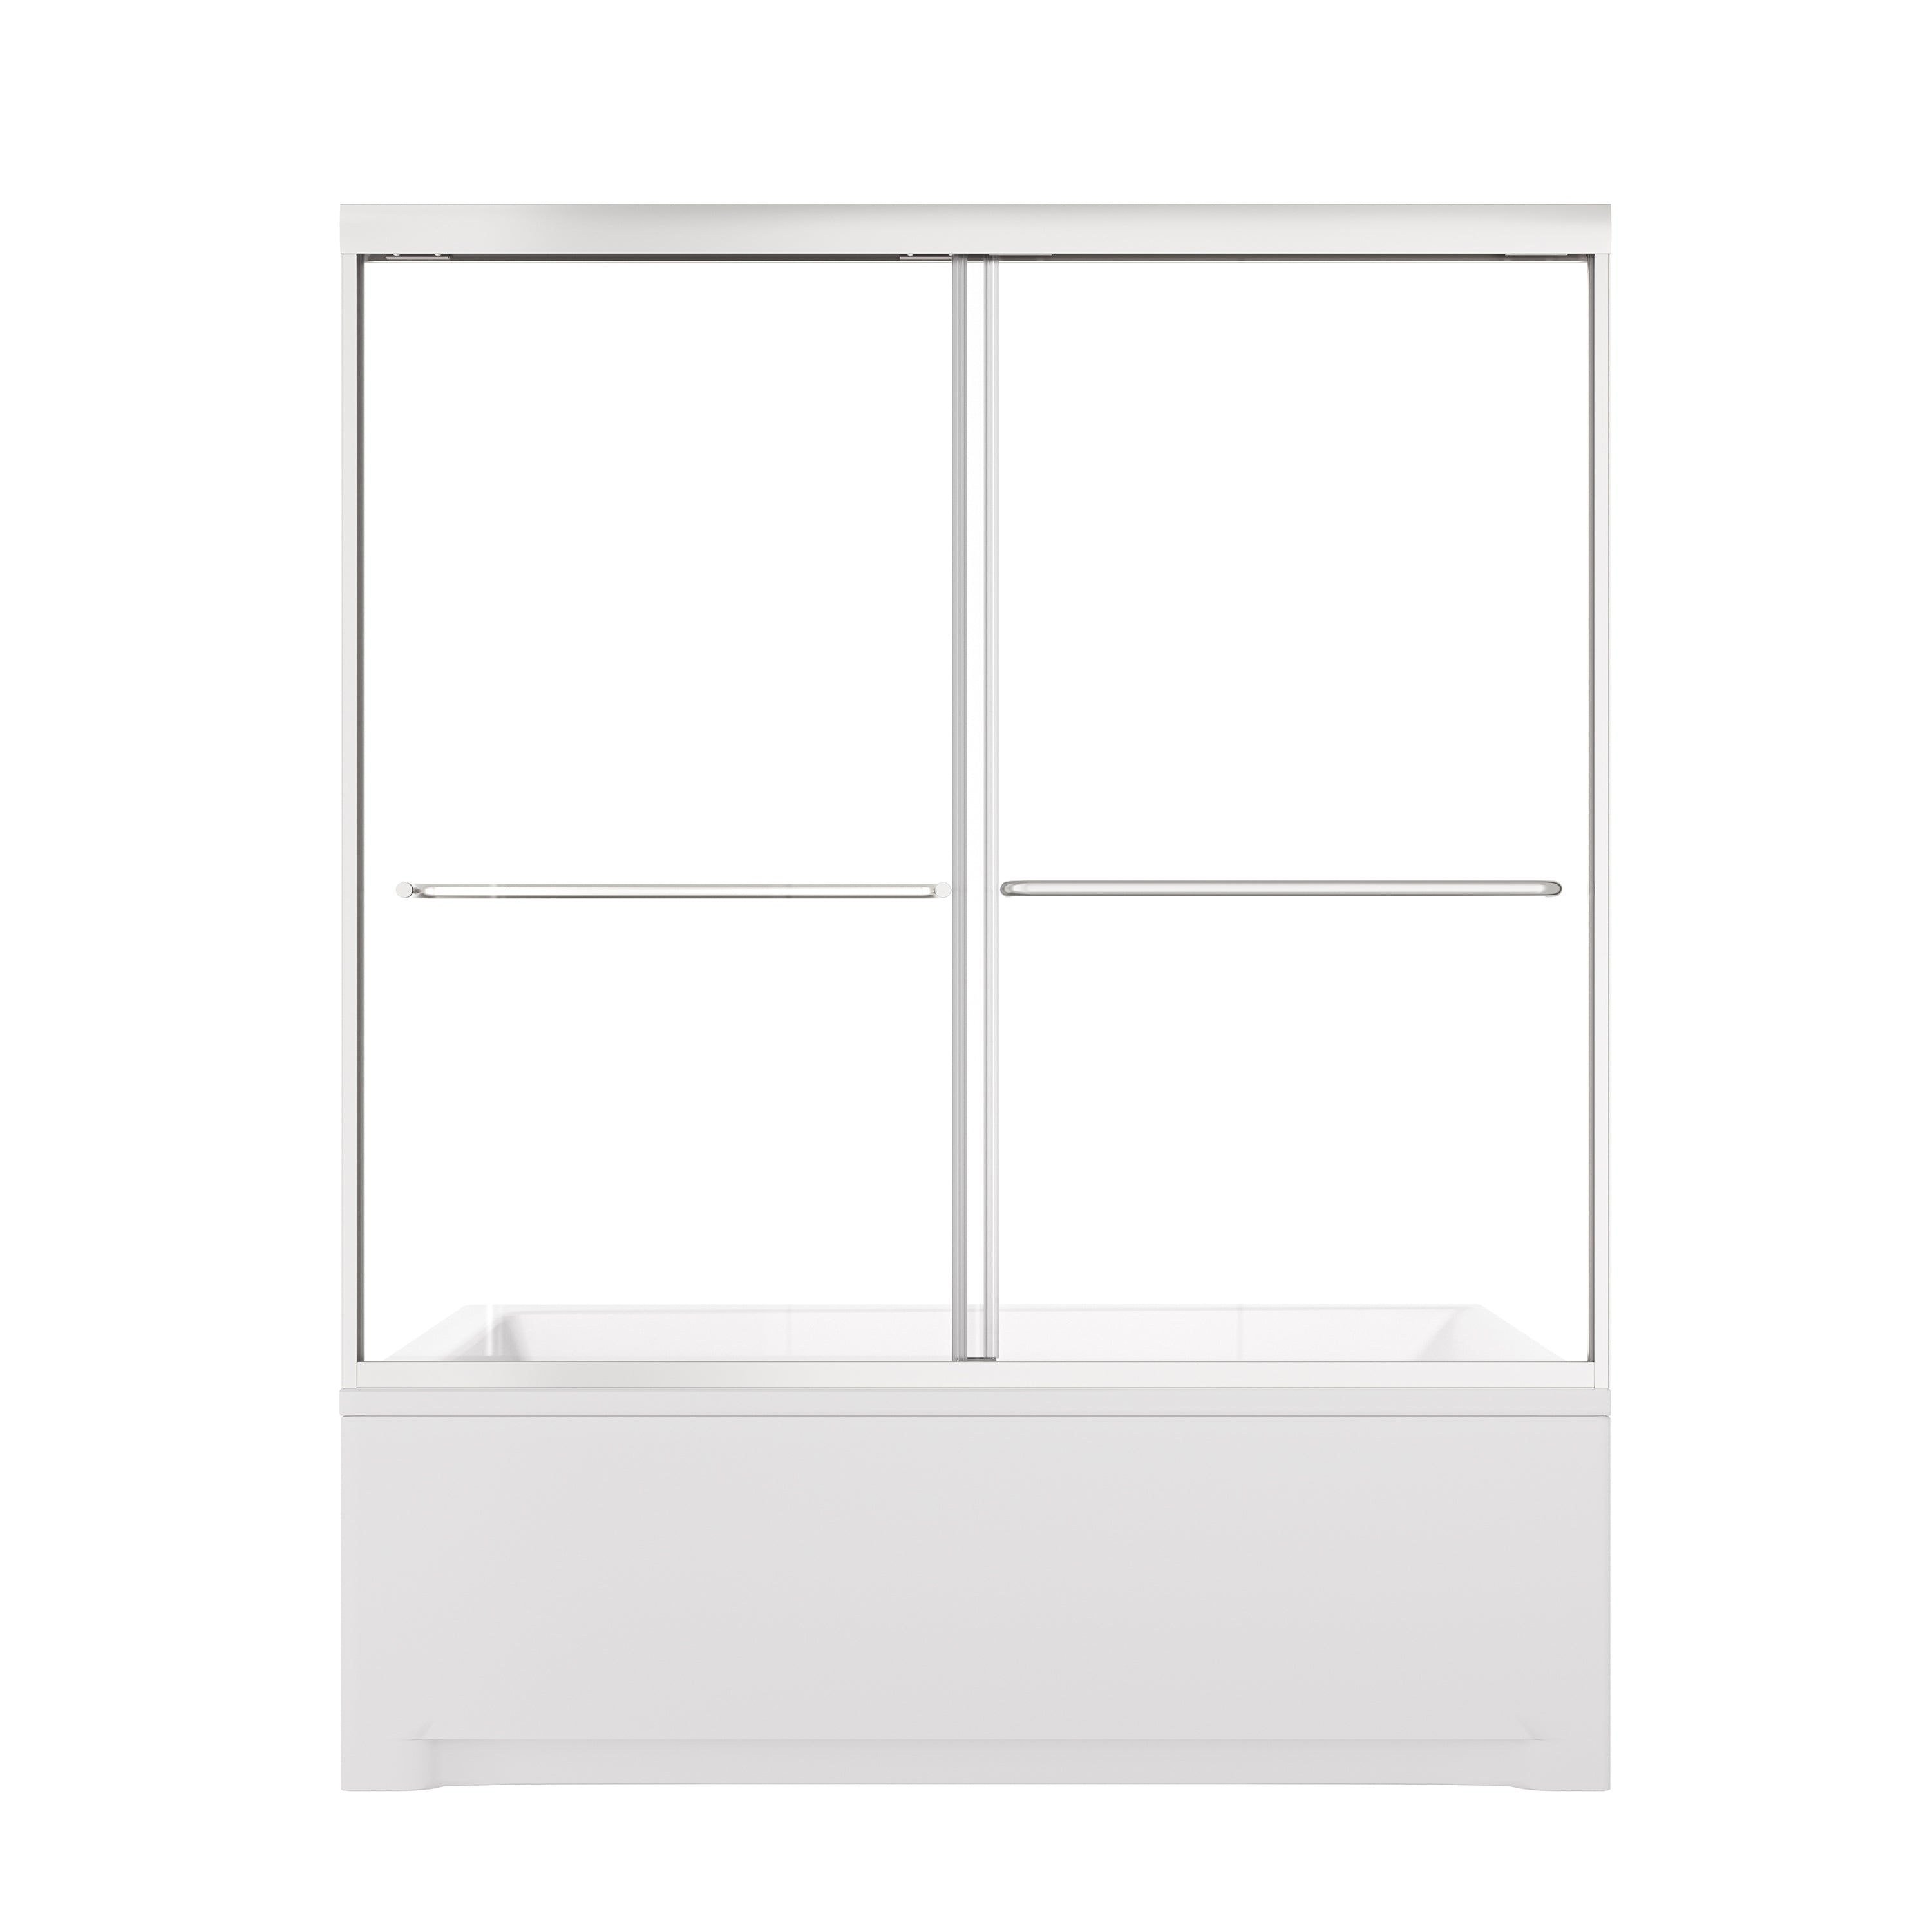
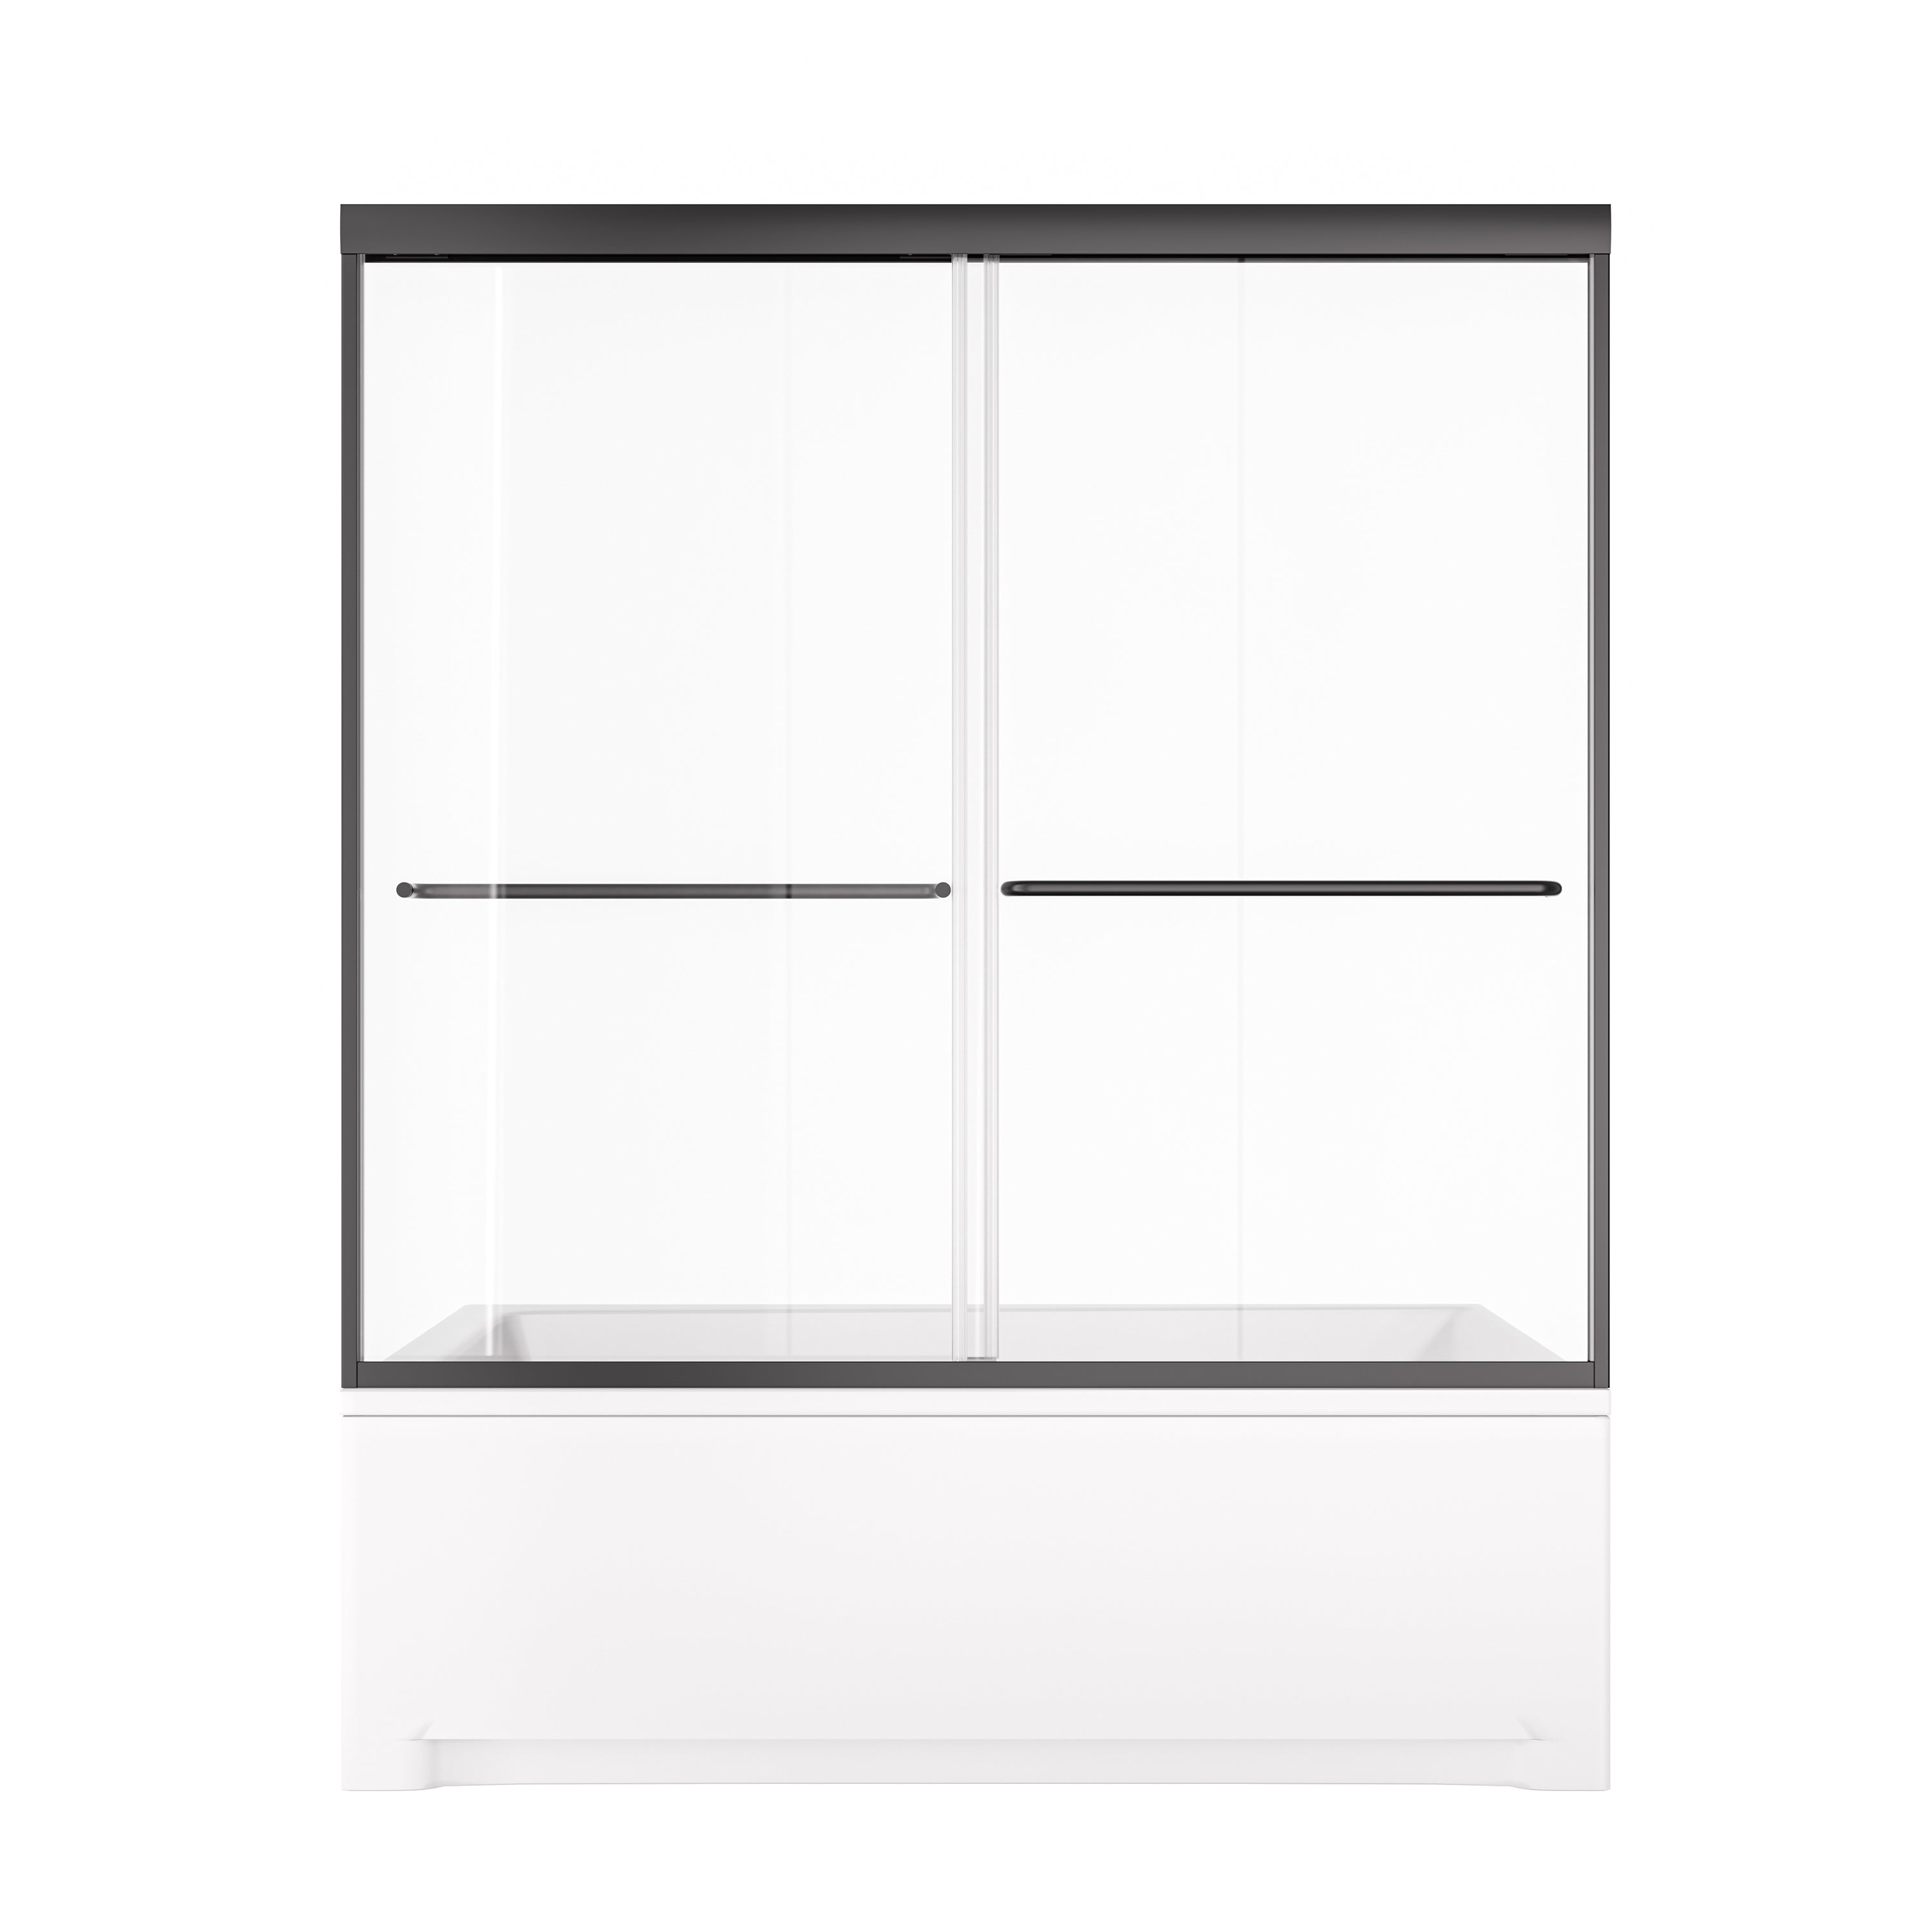
1. Bottom Seals / Sweeps
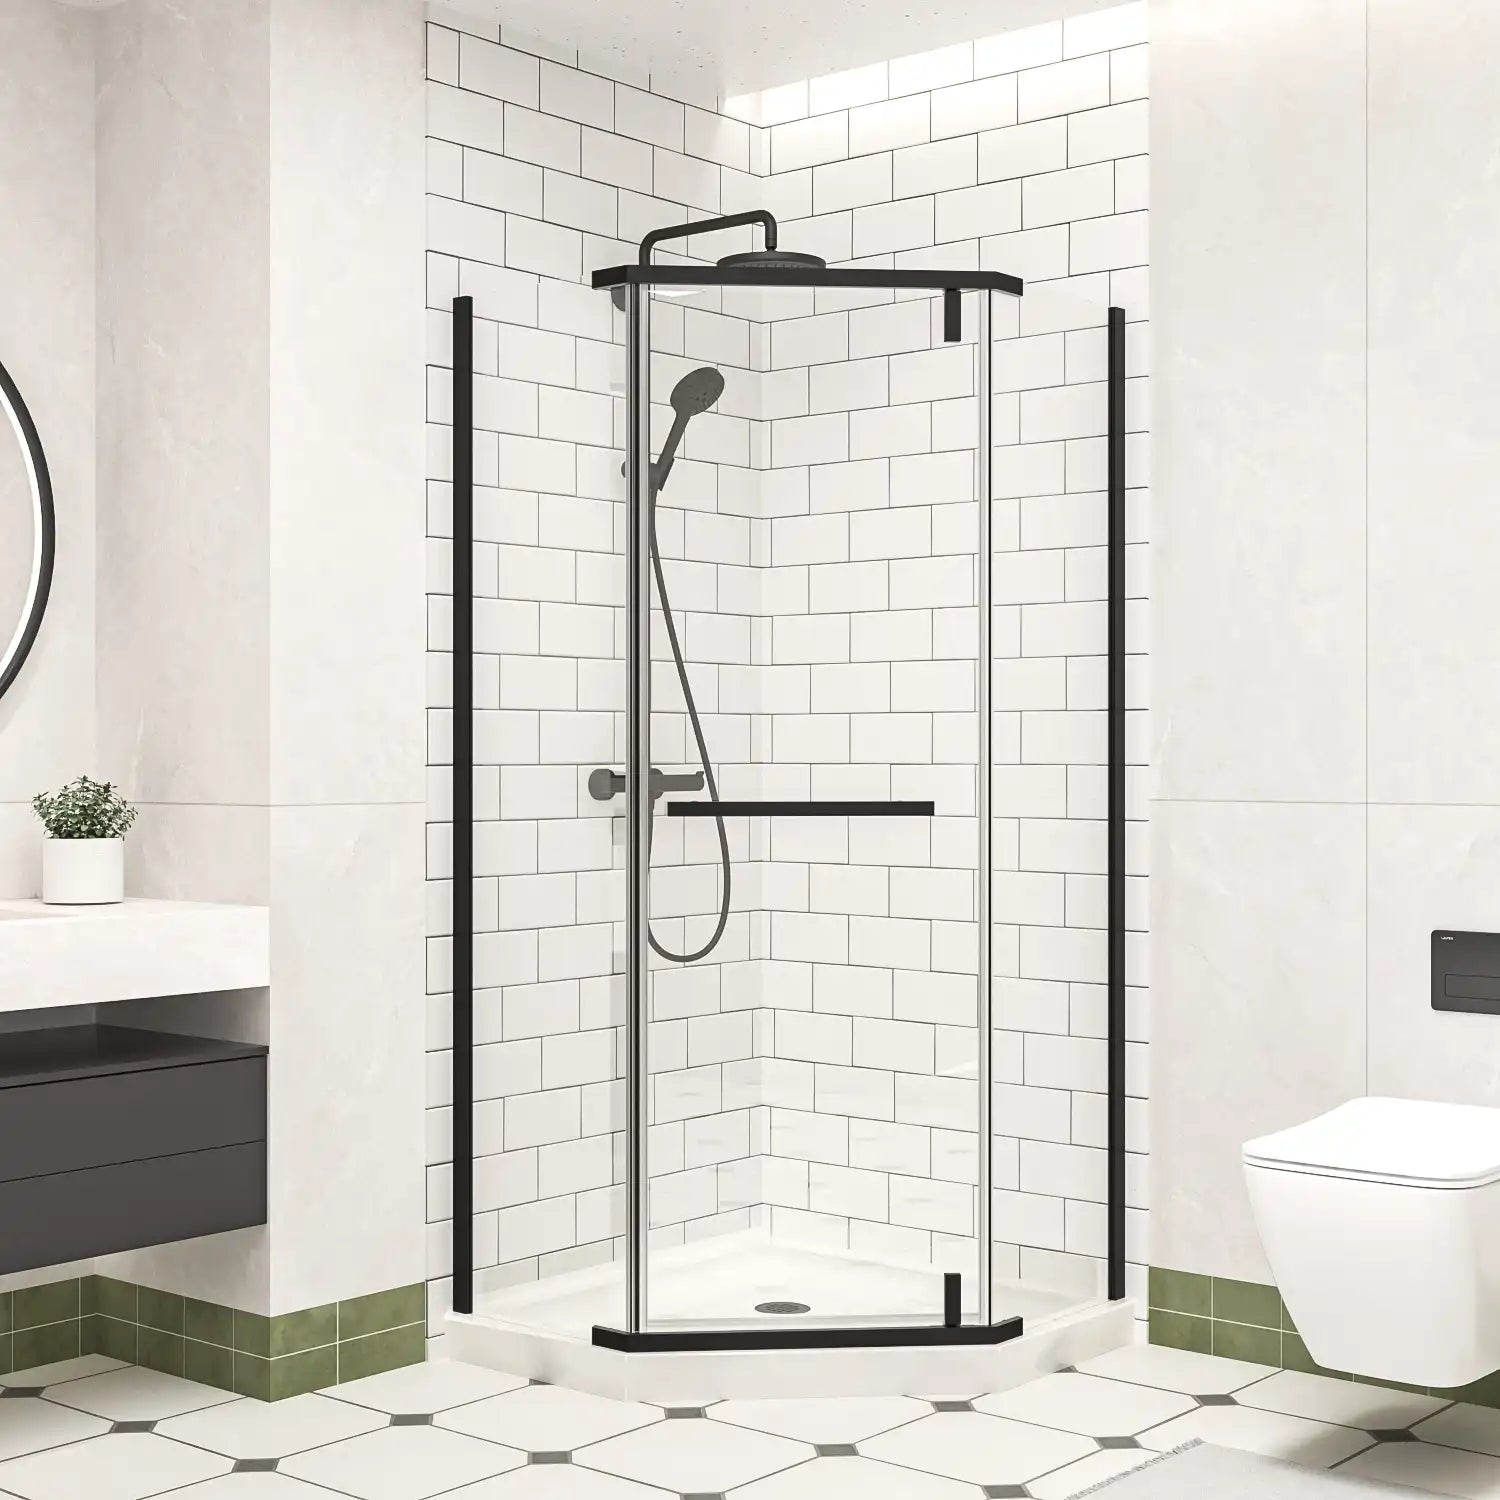
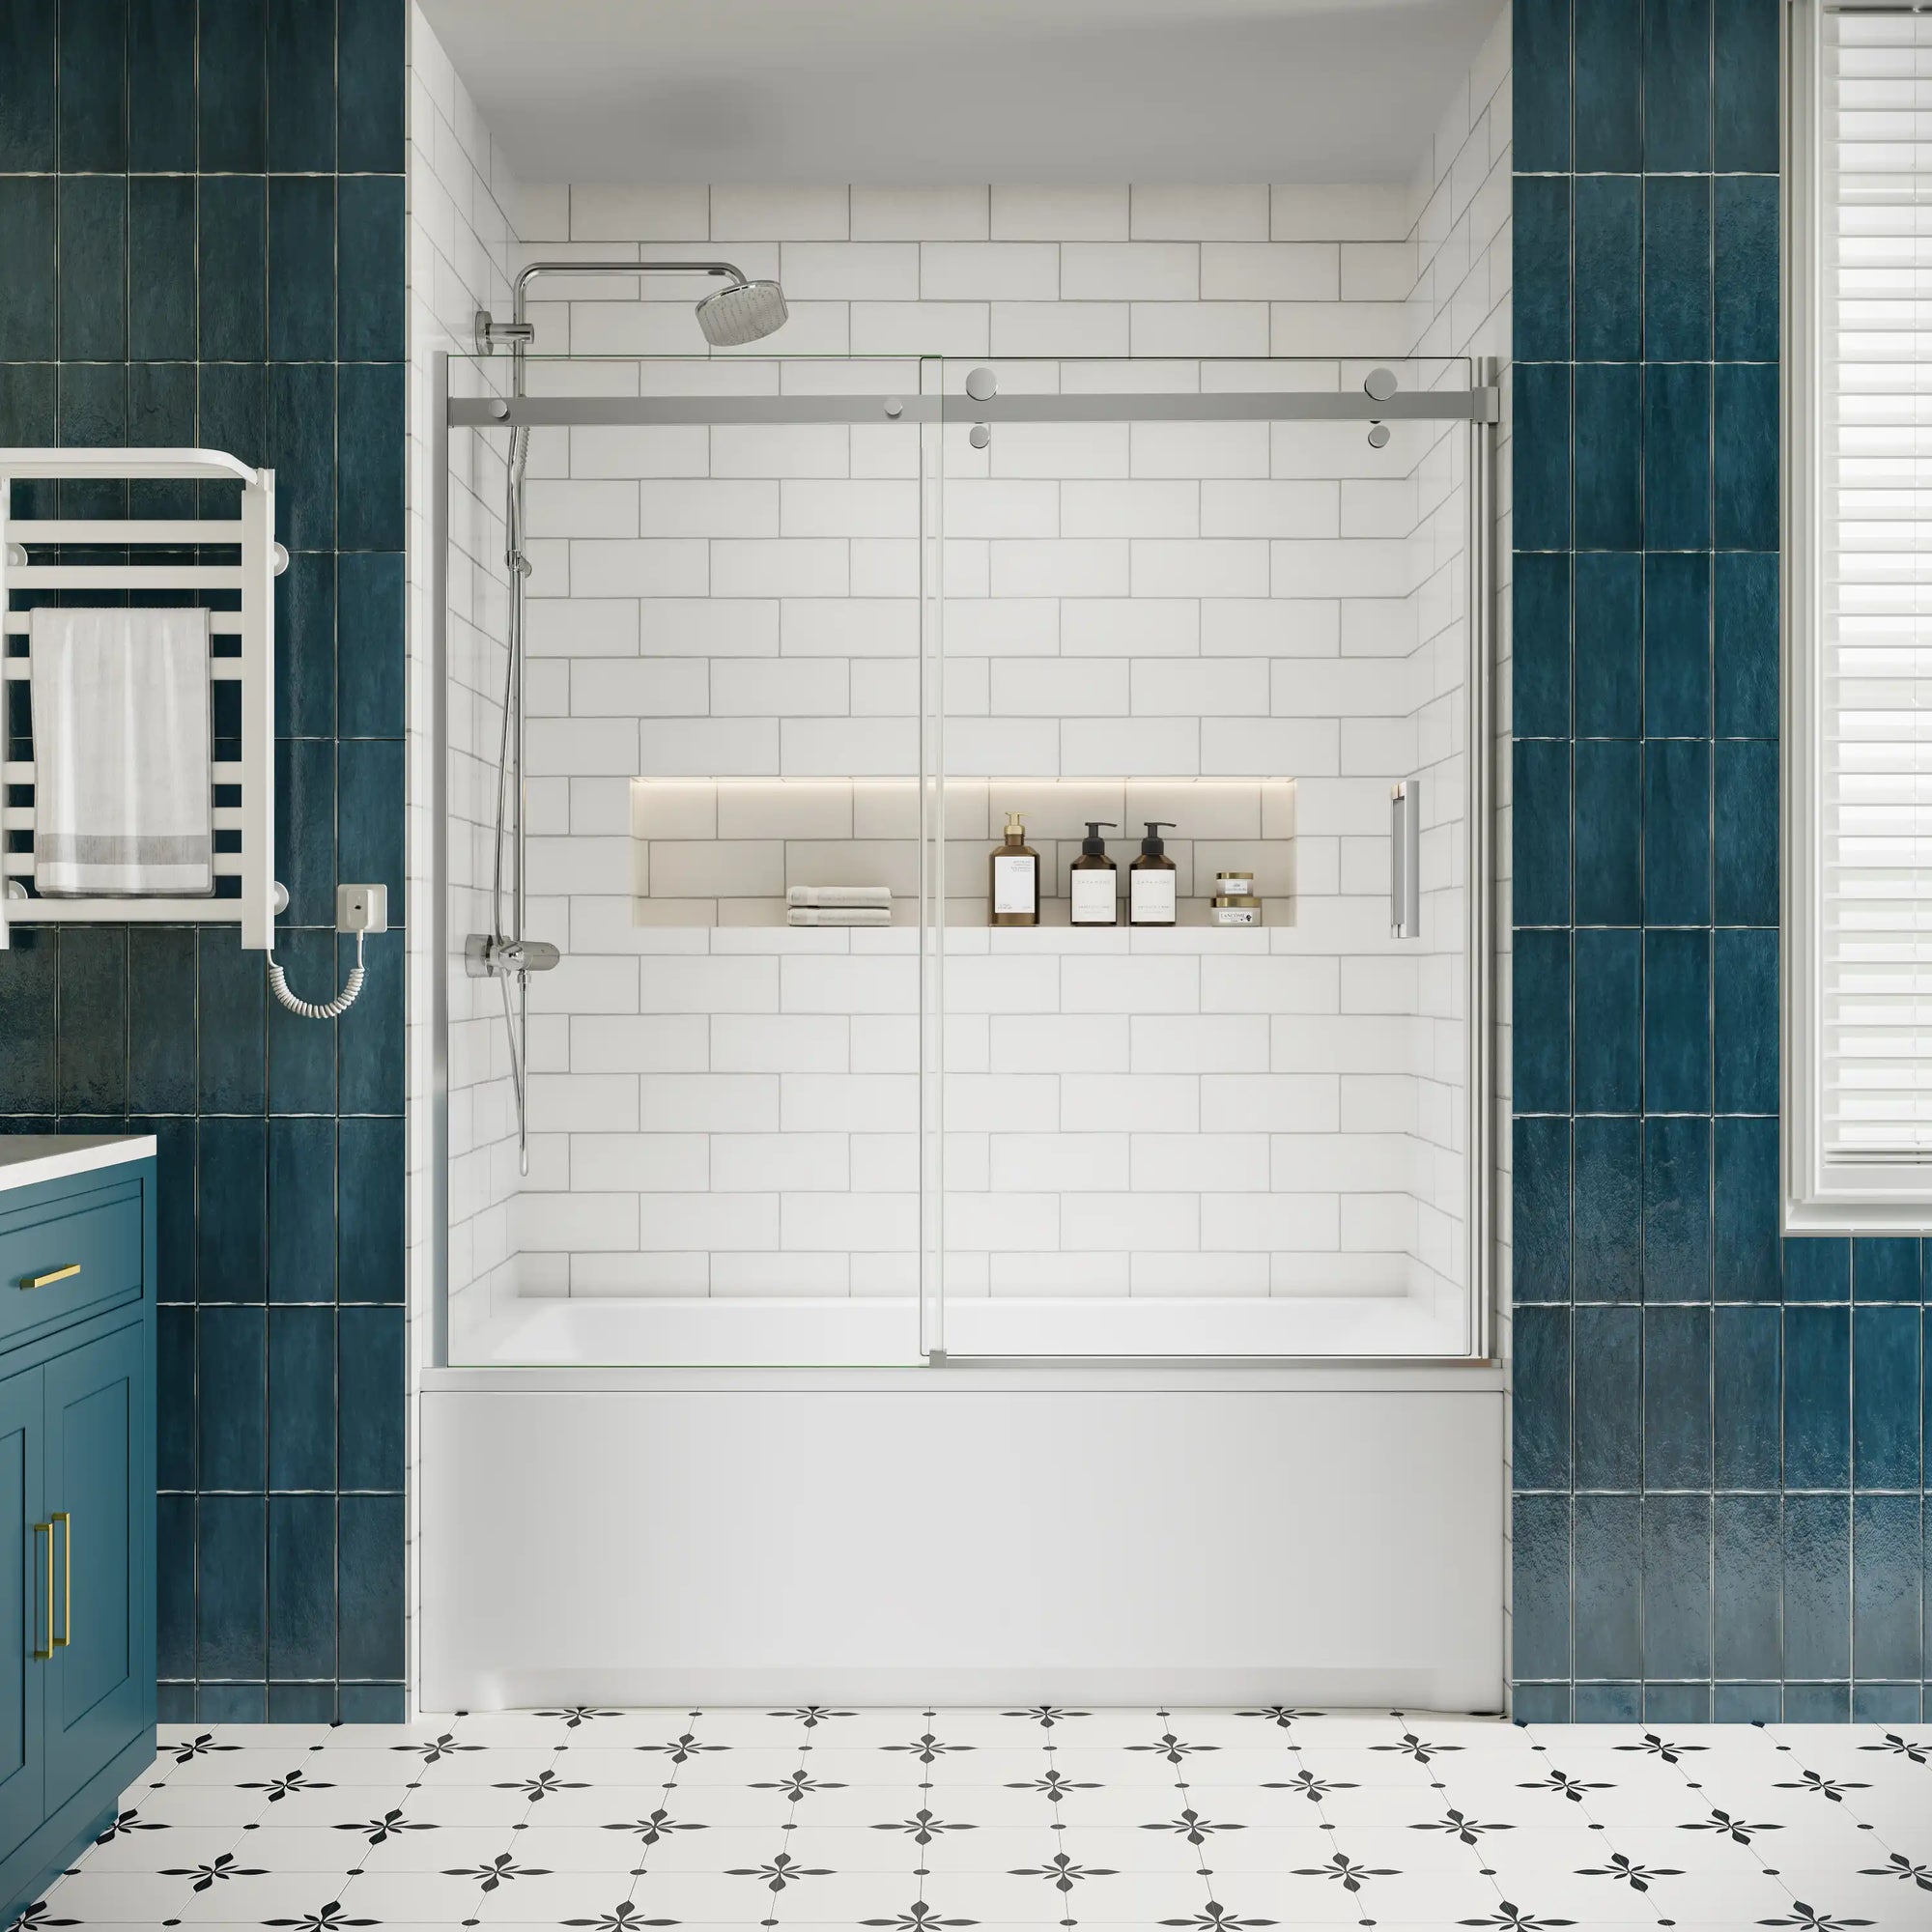
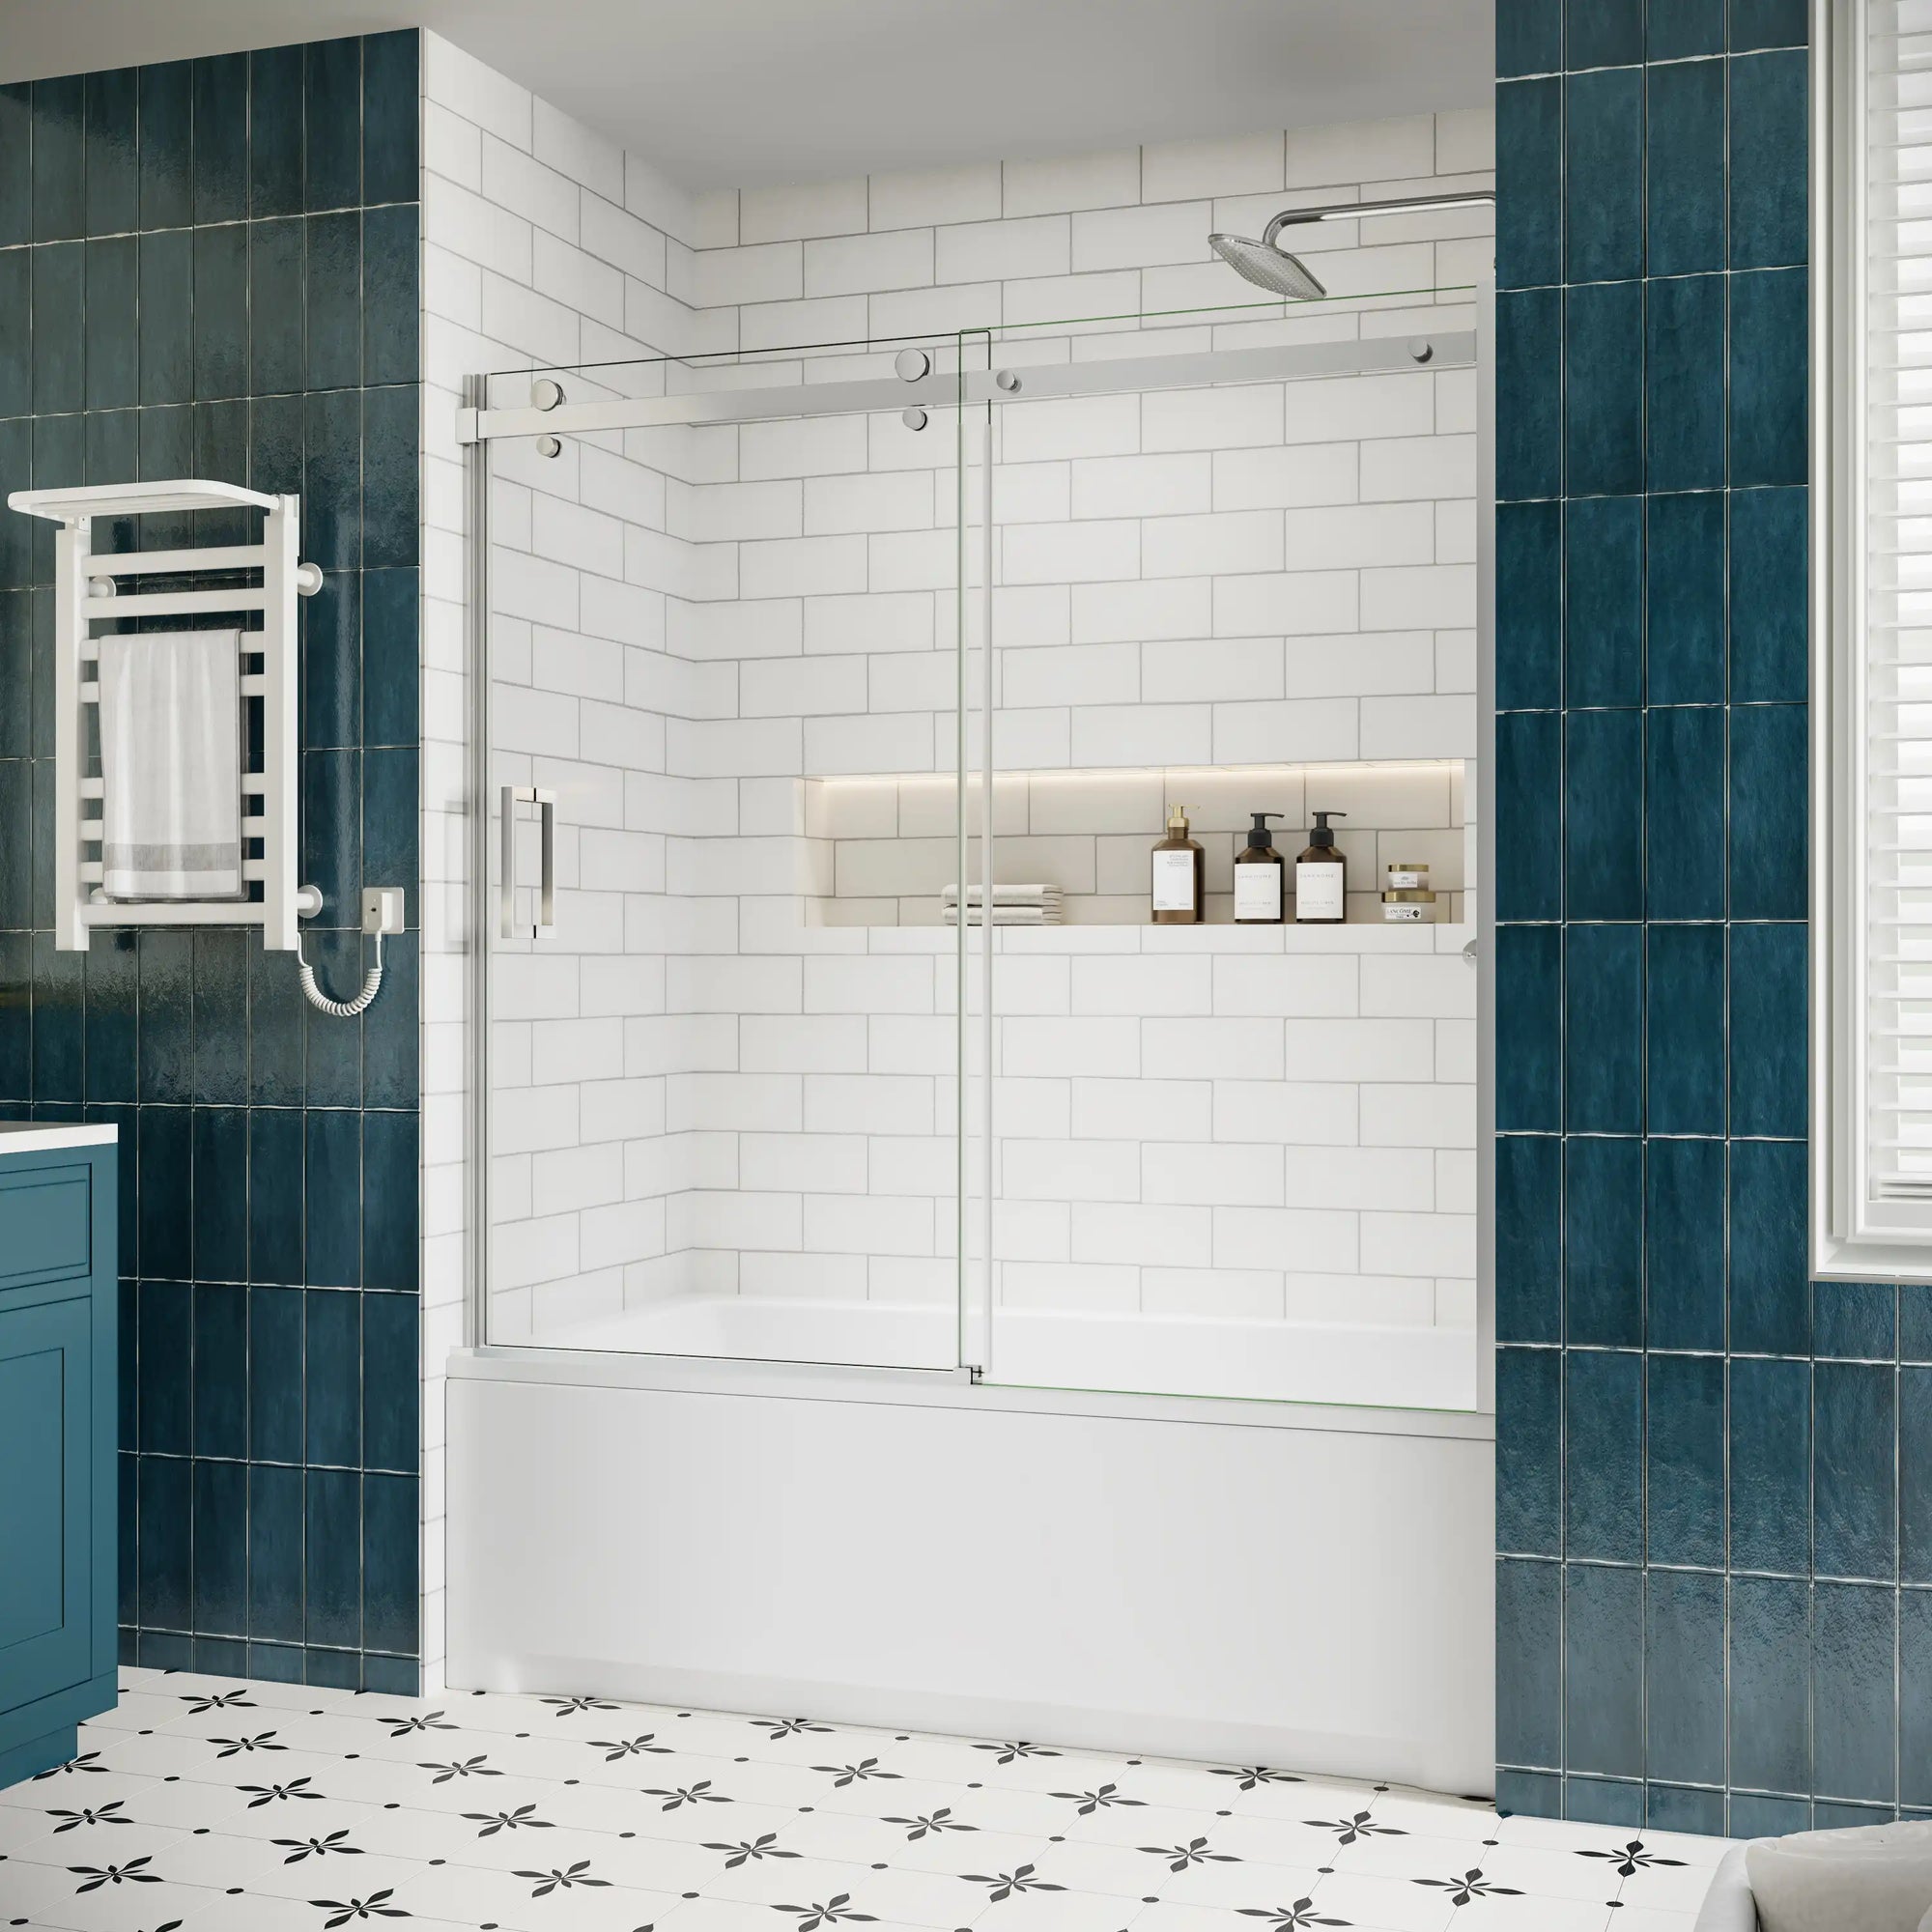
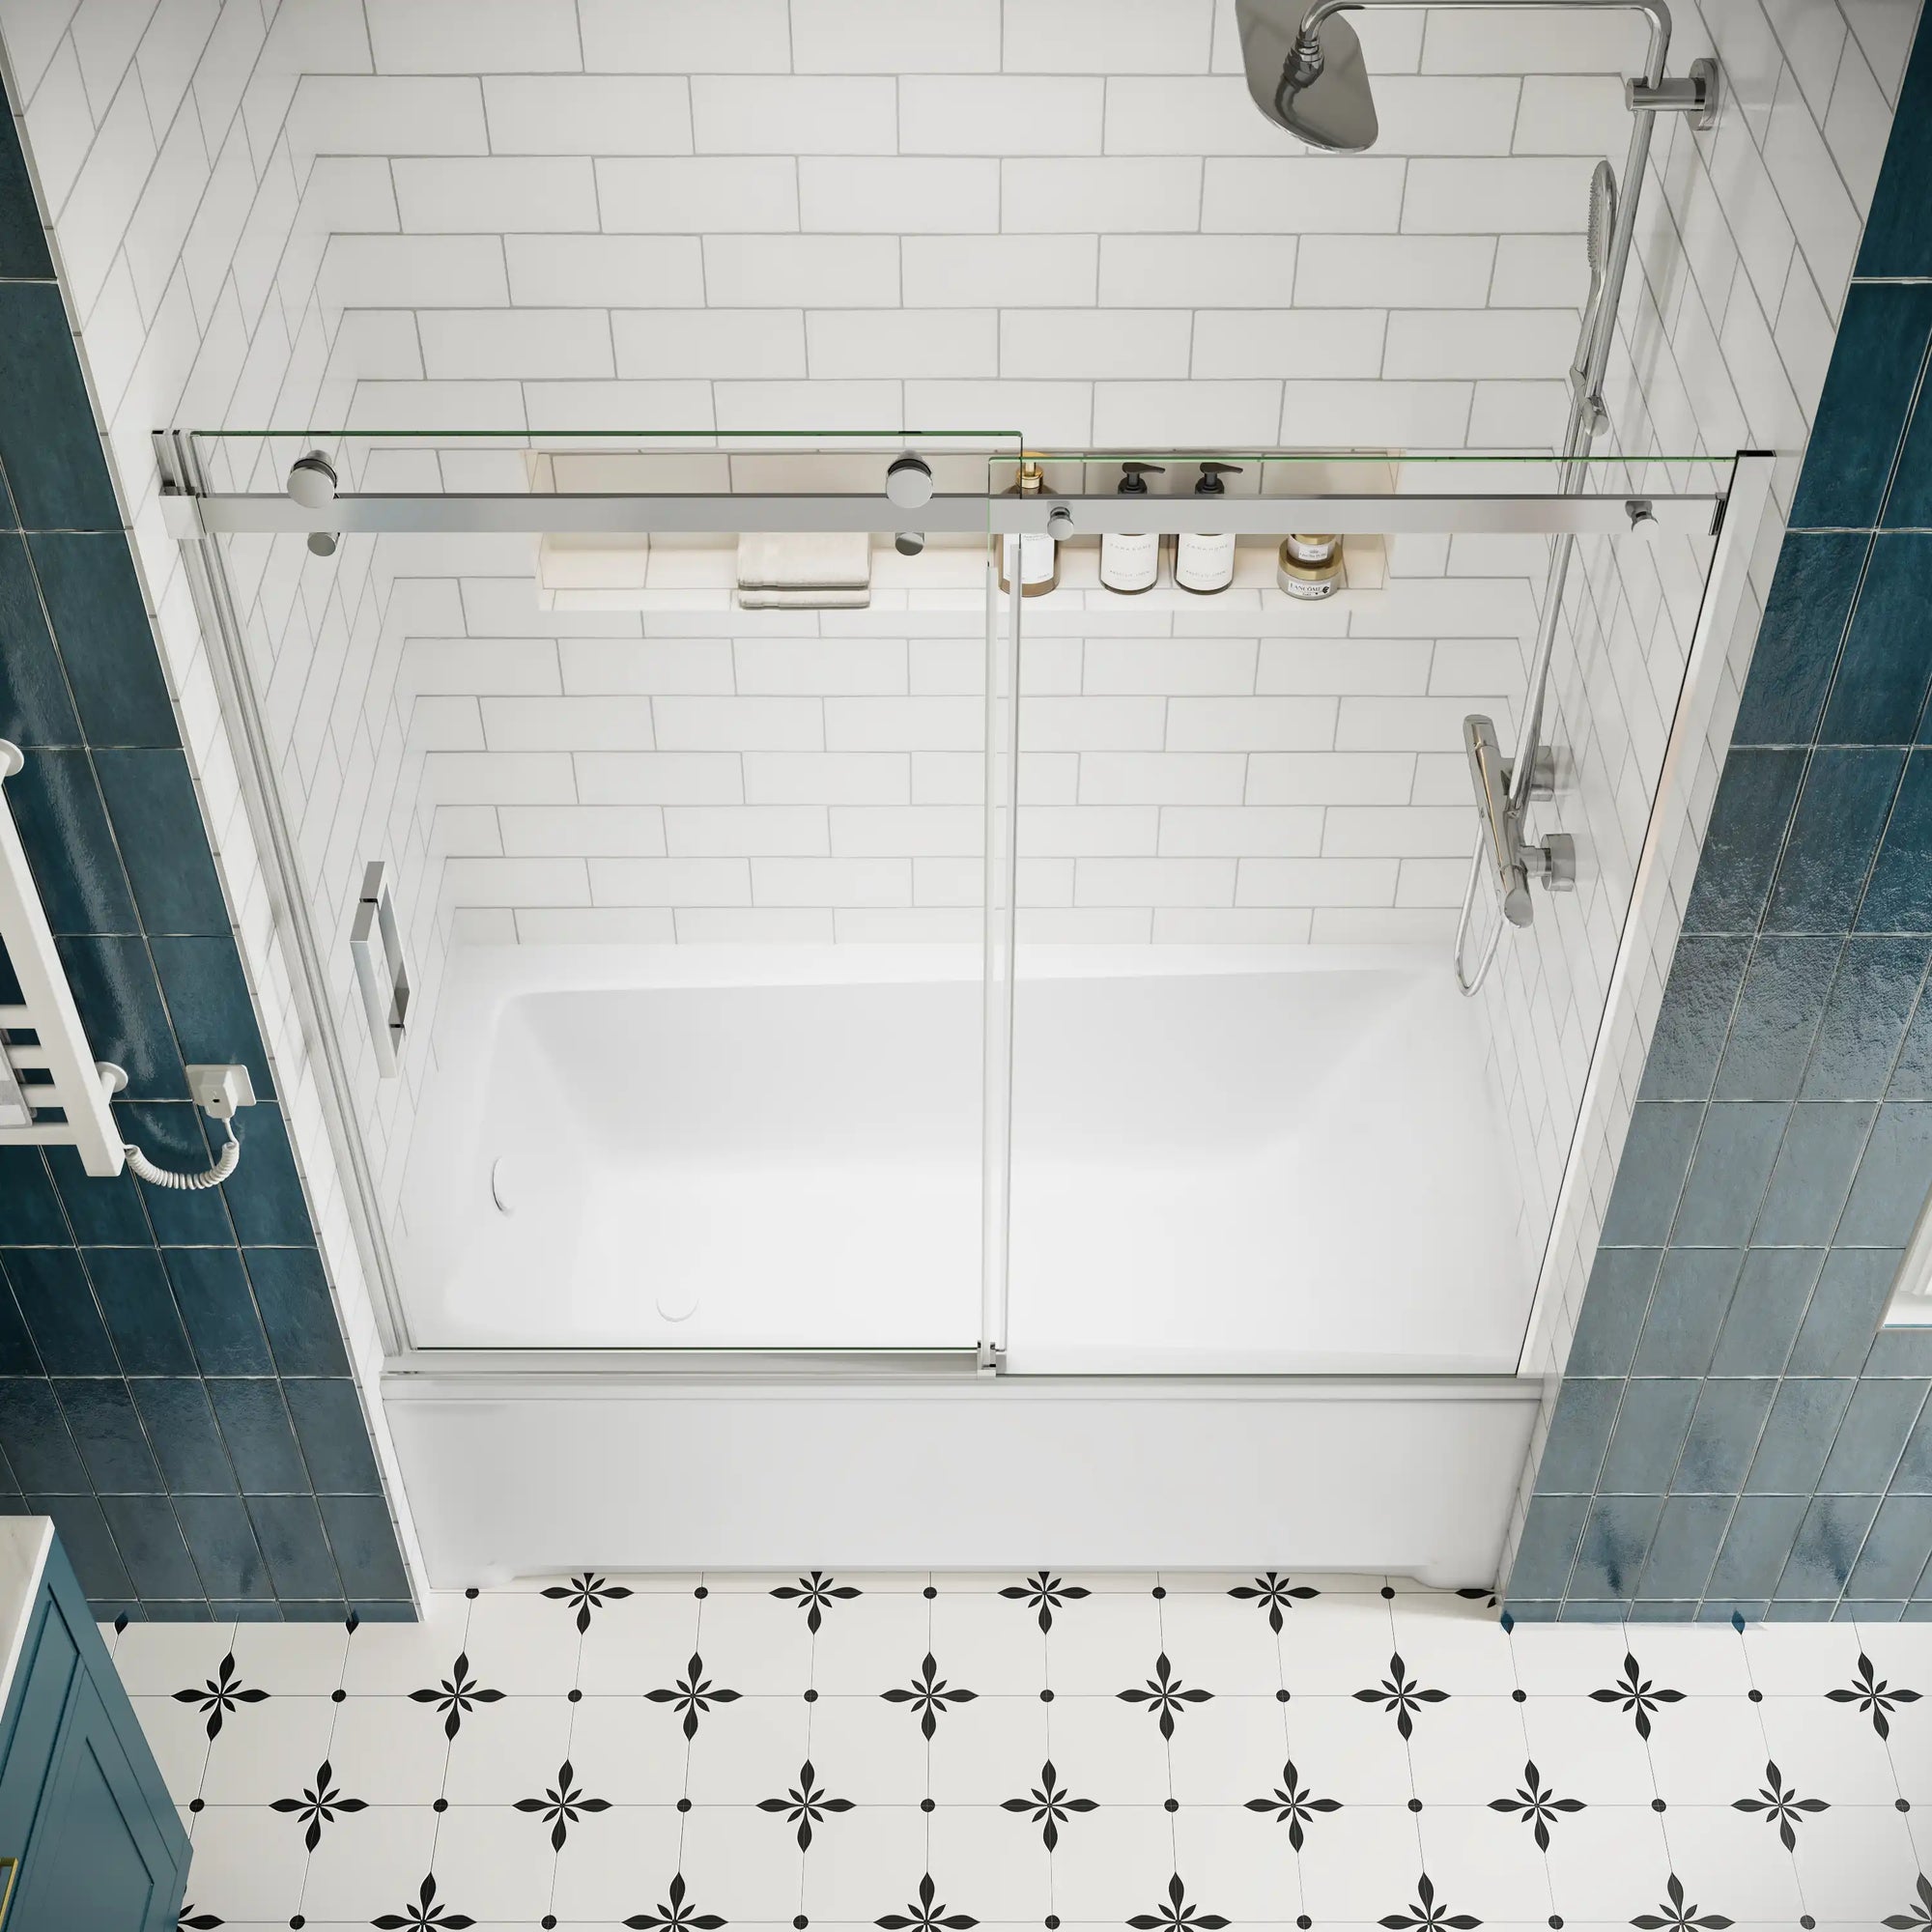
The bottom seal, often called a shower door sweep, is the most visible and arguably the most critical seal in your entire setup. It runs along the underside of the shower door, acting as a barrier to prevent water from seeping out where the door meets the shower floor or bathtub edge.
Modern bottom sweeps often include a flexible vinyl or silicone "fin" that makes gentle contact with the threshold, creating a dynamic seal that moves with the door. Some advanced designs incorporate a drip rail — a small angled ledge built into the seal that channels water back toward the drain instead of letting it pool at the door line.
In some frameless installations, homeowners have successfully used rubbery-plastic squeegee style sweeps that fit into an existing track, which not only improves waterproofing but also subtly "wipes" the water off the glass every time the door closes. The key to performance is correct sizing; a sweep that's too short will allow water to escape, while one that's too long may cause door drag and early wear.
2. Side Seals
Side seals run vertically along the door's opening edge — the side that swings or slides free. Their main function is to close the gap between the moving door and the fixed panel or wall, preventing spray from escaping sideways.
For hinged doors, this gap can be a major leak point, especially when the shower head is angled toward it. That's why many installers opt for L-shaped side seals, which hug both the glass edge and the face of the adjoining panel. Others prefer a straight "fin" style that projects into the gap and deflects water inward.
An advantage of side seals is that they're often clip-on designs: if you remove any metal trim from the edge of the door, you can cut a new seal to size and snap it directly onto the glass — no adhesives, no drilling. This makes them particularly DIY-friendly and easy to replace when they age.
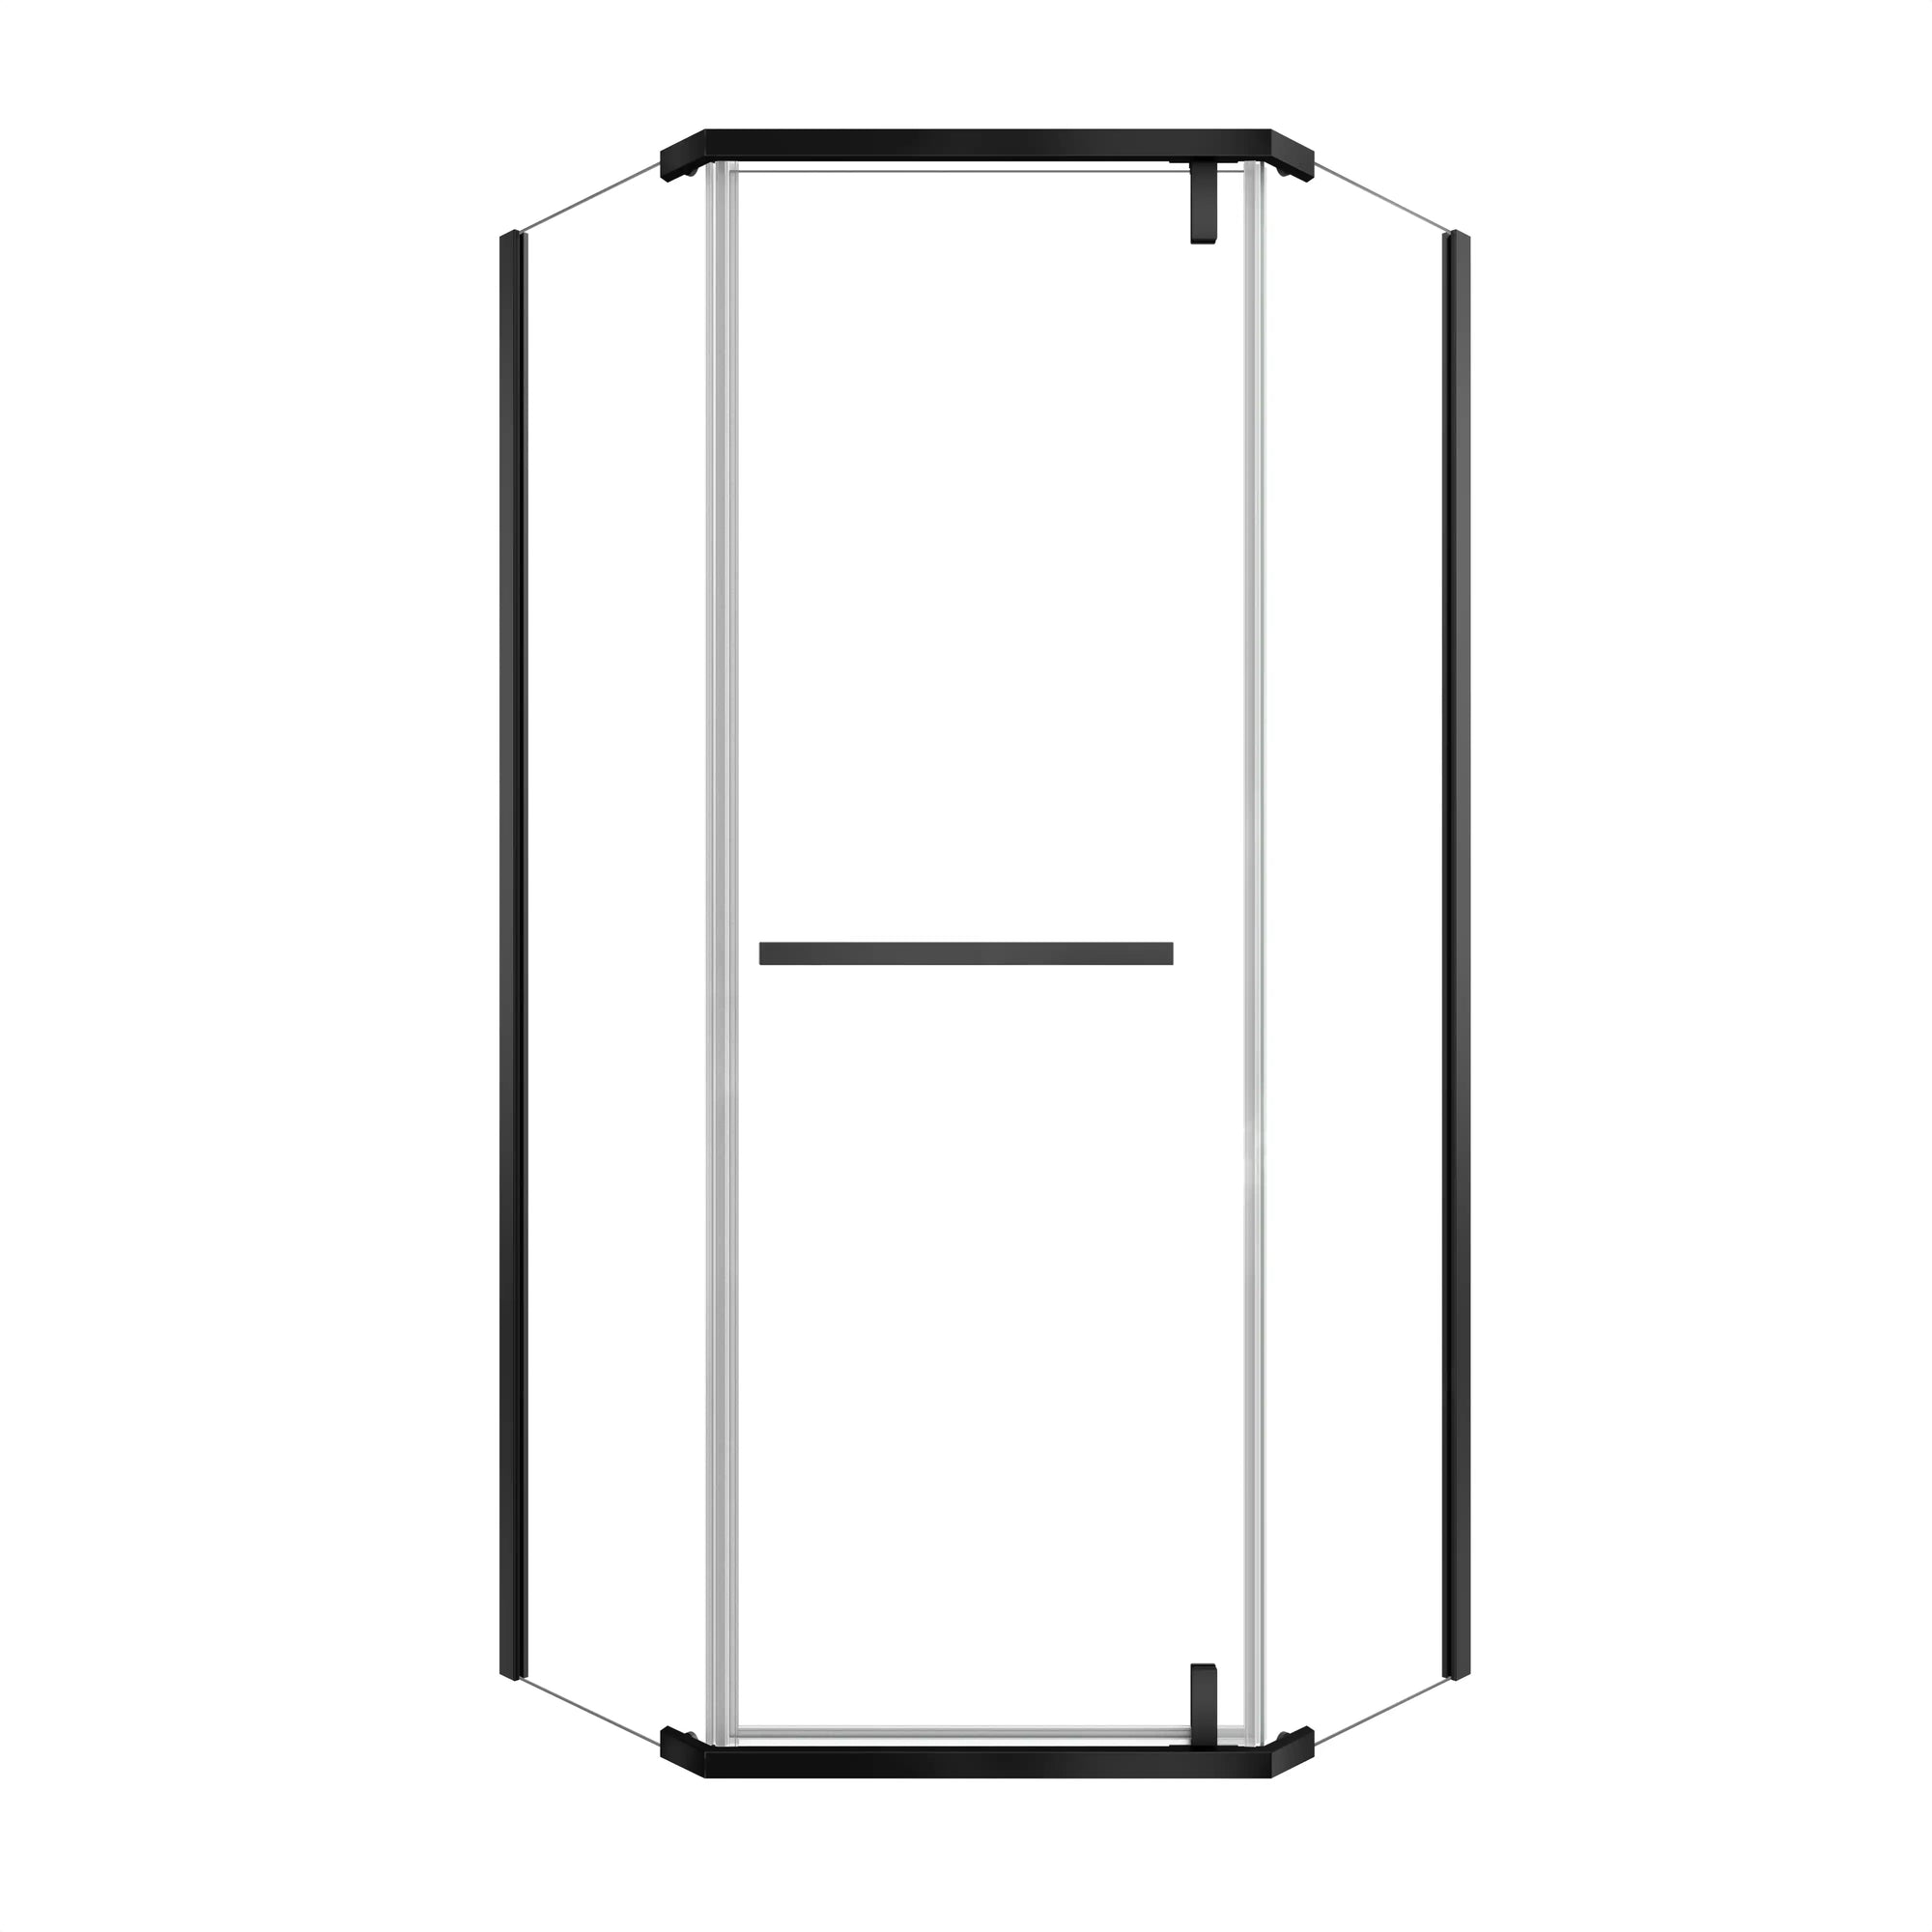
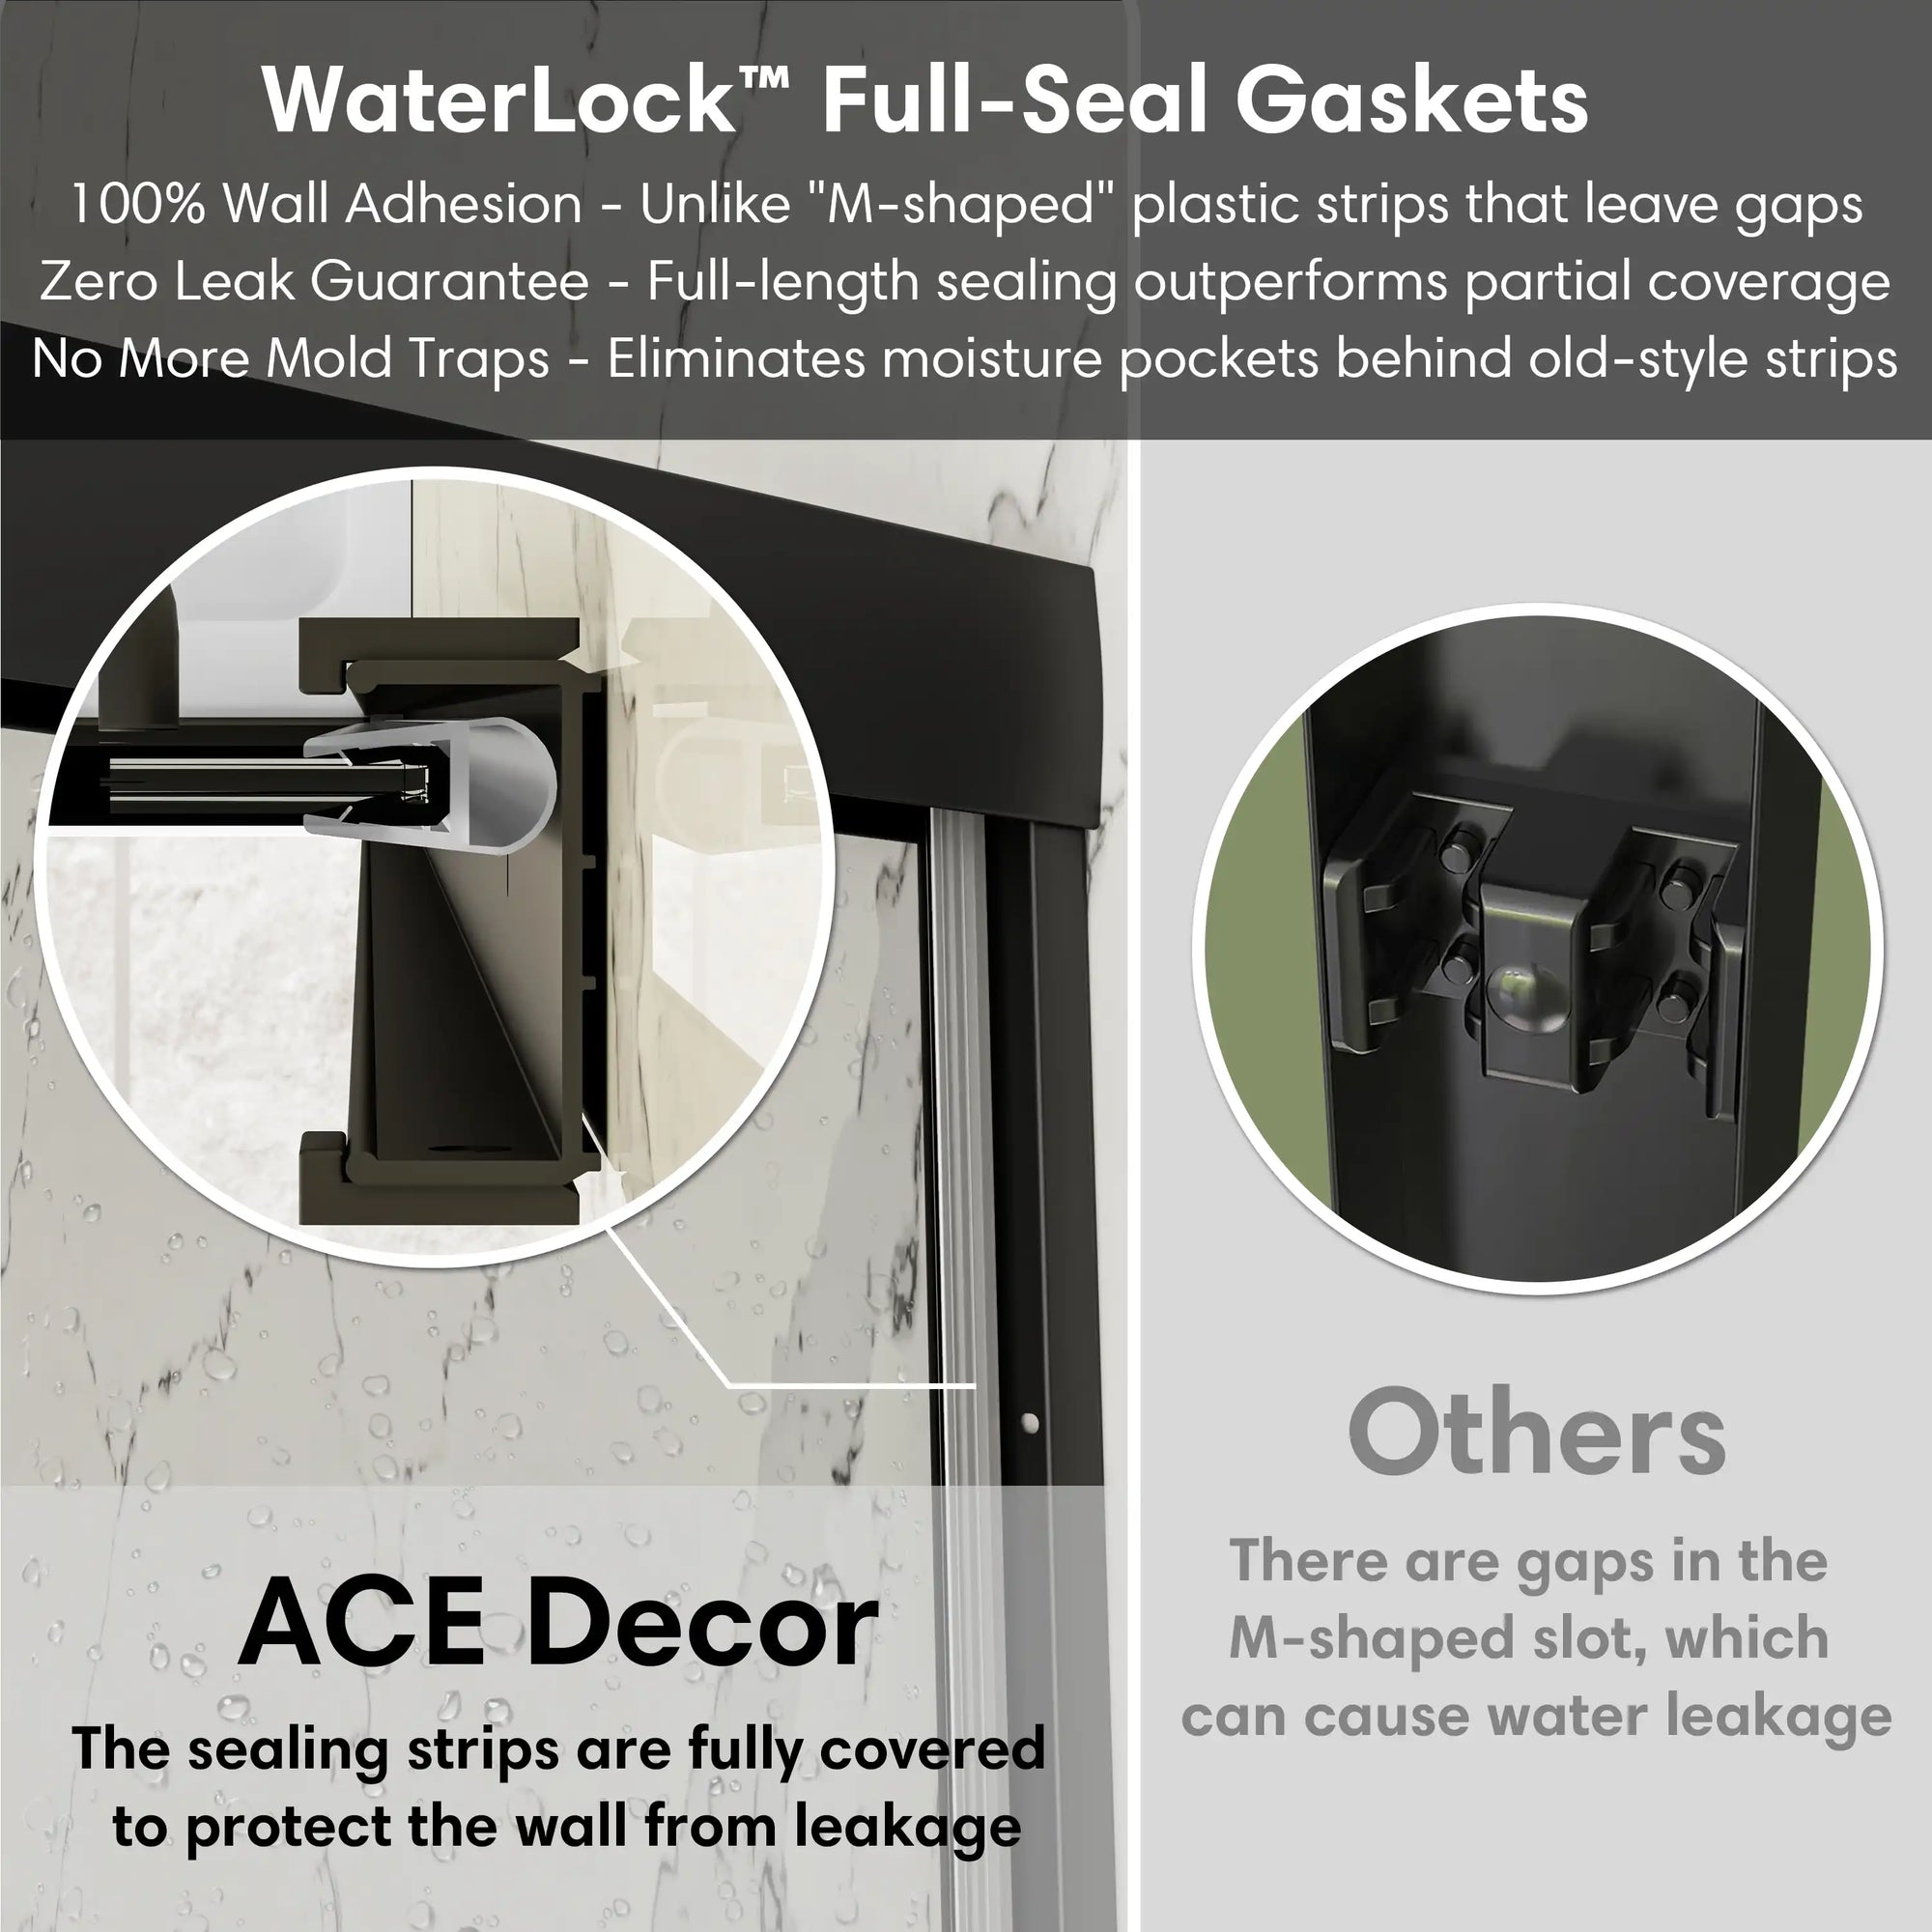
3. Door Jamb Seals
On the hinge side of your shower door — where the door pivots or swings open — there's often a small but persistent space between the glass and the wall or frame. Door jamb seals are designed to close this gap.
These seals are typically rigid or semi-rigid strips with a flexible lip that presses against the adjoining surface. When paired with side and bottom seals, they complete the watertight perimeter around the door.
Some homeowners take the concept further by using lip seals on both the top and bottom surfaces of the jamb area, so that when the door closes, the "lips" meet for an even more secure closure. This can be especially effective in high-pressure shower setups or for people who frequently notice leaks near the hinges.
4. Glass-to-Glass Seals
In corner showers or enclosures with multiple panels, it's common to have two glass sheets meeting at a right angle. Glass-to-glass seals are engineered to fill the slender vertical gap between them, keeping water from sneaking through the joint.
These seals often have a double-fin profile — one fin presses against each glass panel — and may include magnetic strips to pull the panels into perfect alignment when closed. The result is a sleek, frameless look without sacrificing waterproofing.
In frameless installations, magnetic glass-to-glass seals are a game-changer, providing the same leak protection as a framed unit while maintaining a minimalist aesthetic.
5. Wall-to-Glass Seals
Where a fixed glass panel meets the bathroom wall, a wall-to-glass seal ensures that water can't creep out along the join. These seals are less visible than others, but they're essential for stopping leaks in alcove-style showers and walk-in designs.
Many wall-to-glass seals are made from rigid polycarbonate for stability, combined with a softer vinyl lip that presses against the wall surface. This combination allows them to hold their shape over time while still creating a flexible barrier against water escape.
6. D-Shaped Seals
A D-shaped seal gets its name from its rounded, hollow profile that looks like the letter "D" when viewed in cross-section. This design is more than just aesthetic — it serves a dual purpose.
First, the curved surface compresses slightly when the door closes, creating a tight waterproof barrier that effectively blocks moisture from escaping. This makes it ideal for use along vertical glass edges or even at certain junctions where water spray is frequent.
Second, the hollow chamber inside acts as a built-in shock absorber. When the door slides or swings shut, the D-shaped profile cushions the impact, reducing vibrations and protecting both the glass and the surrounding structural components from stress and premature wear.
Because it grips directly onto the glass edge, a D-shaped seal is also relatively easy to install or replace without specialized tools. In high-use showers — such as those in family bathrooms or guest facilities — the combination of leak prevention and vibration damping can significantly extend the life of the door assembly.

3. How to Choose the Right Seal for Your Shower
Choosing the correct type of shower door seal is a process of matching the seal's design to your door's structure and your bathroom's specific leak points.
Consider the following factors:
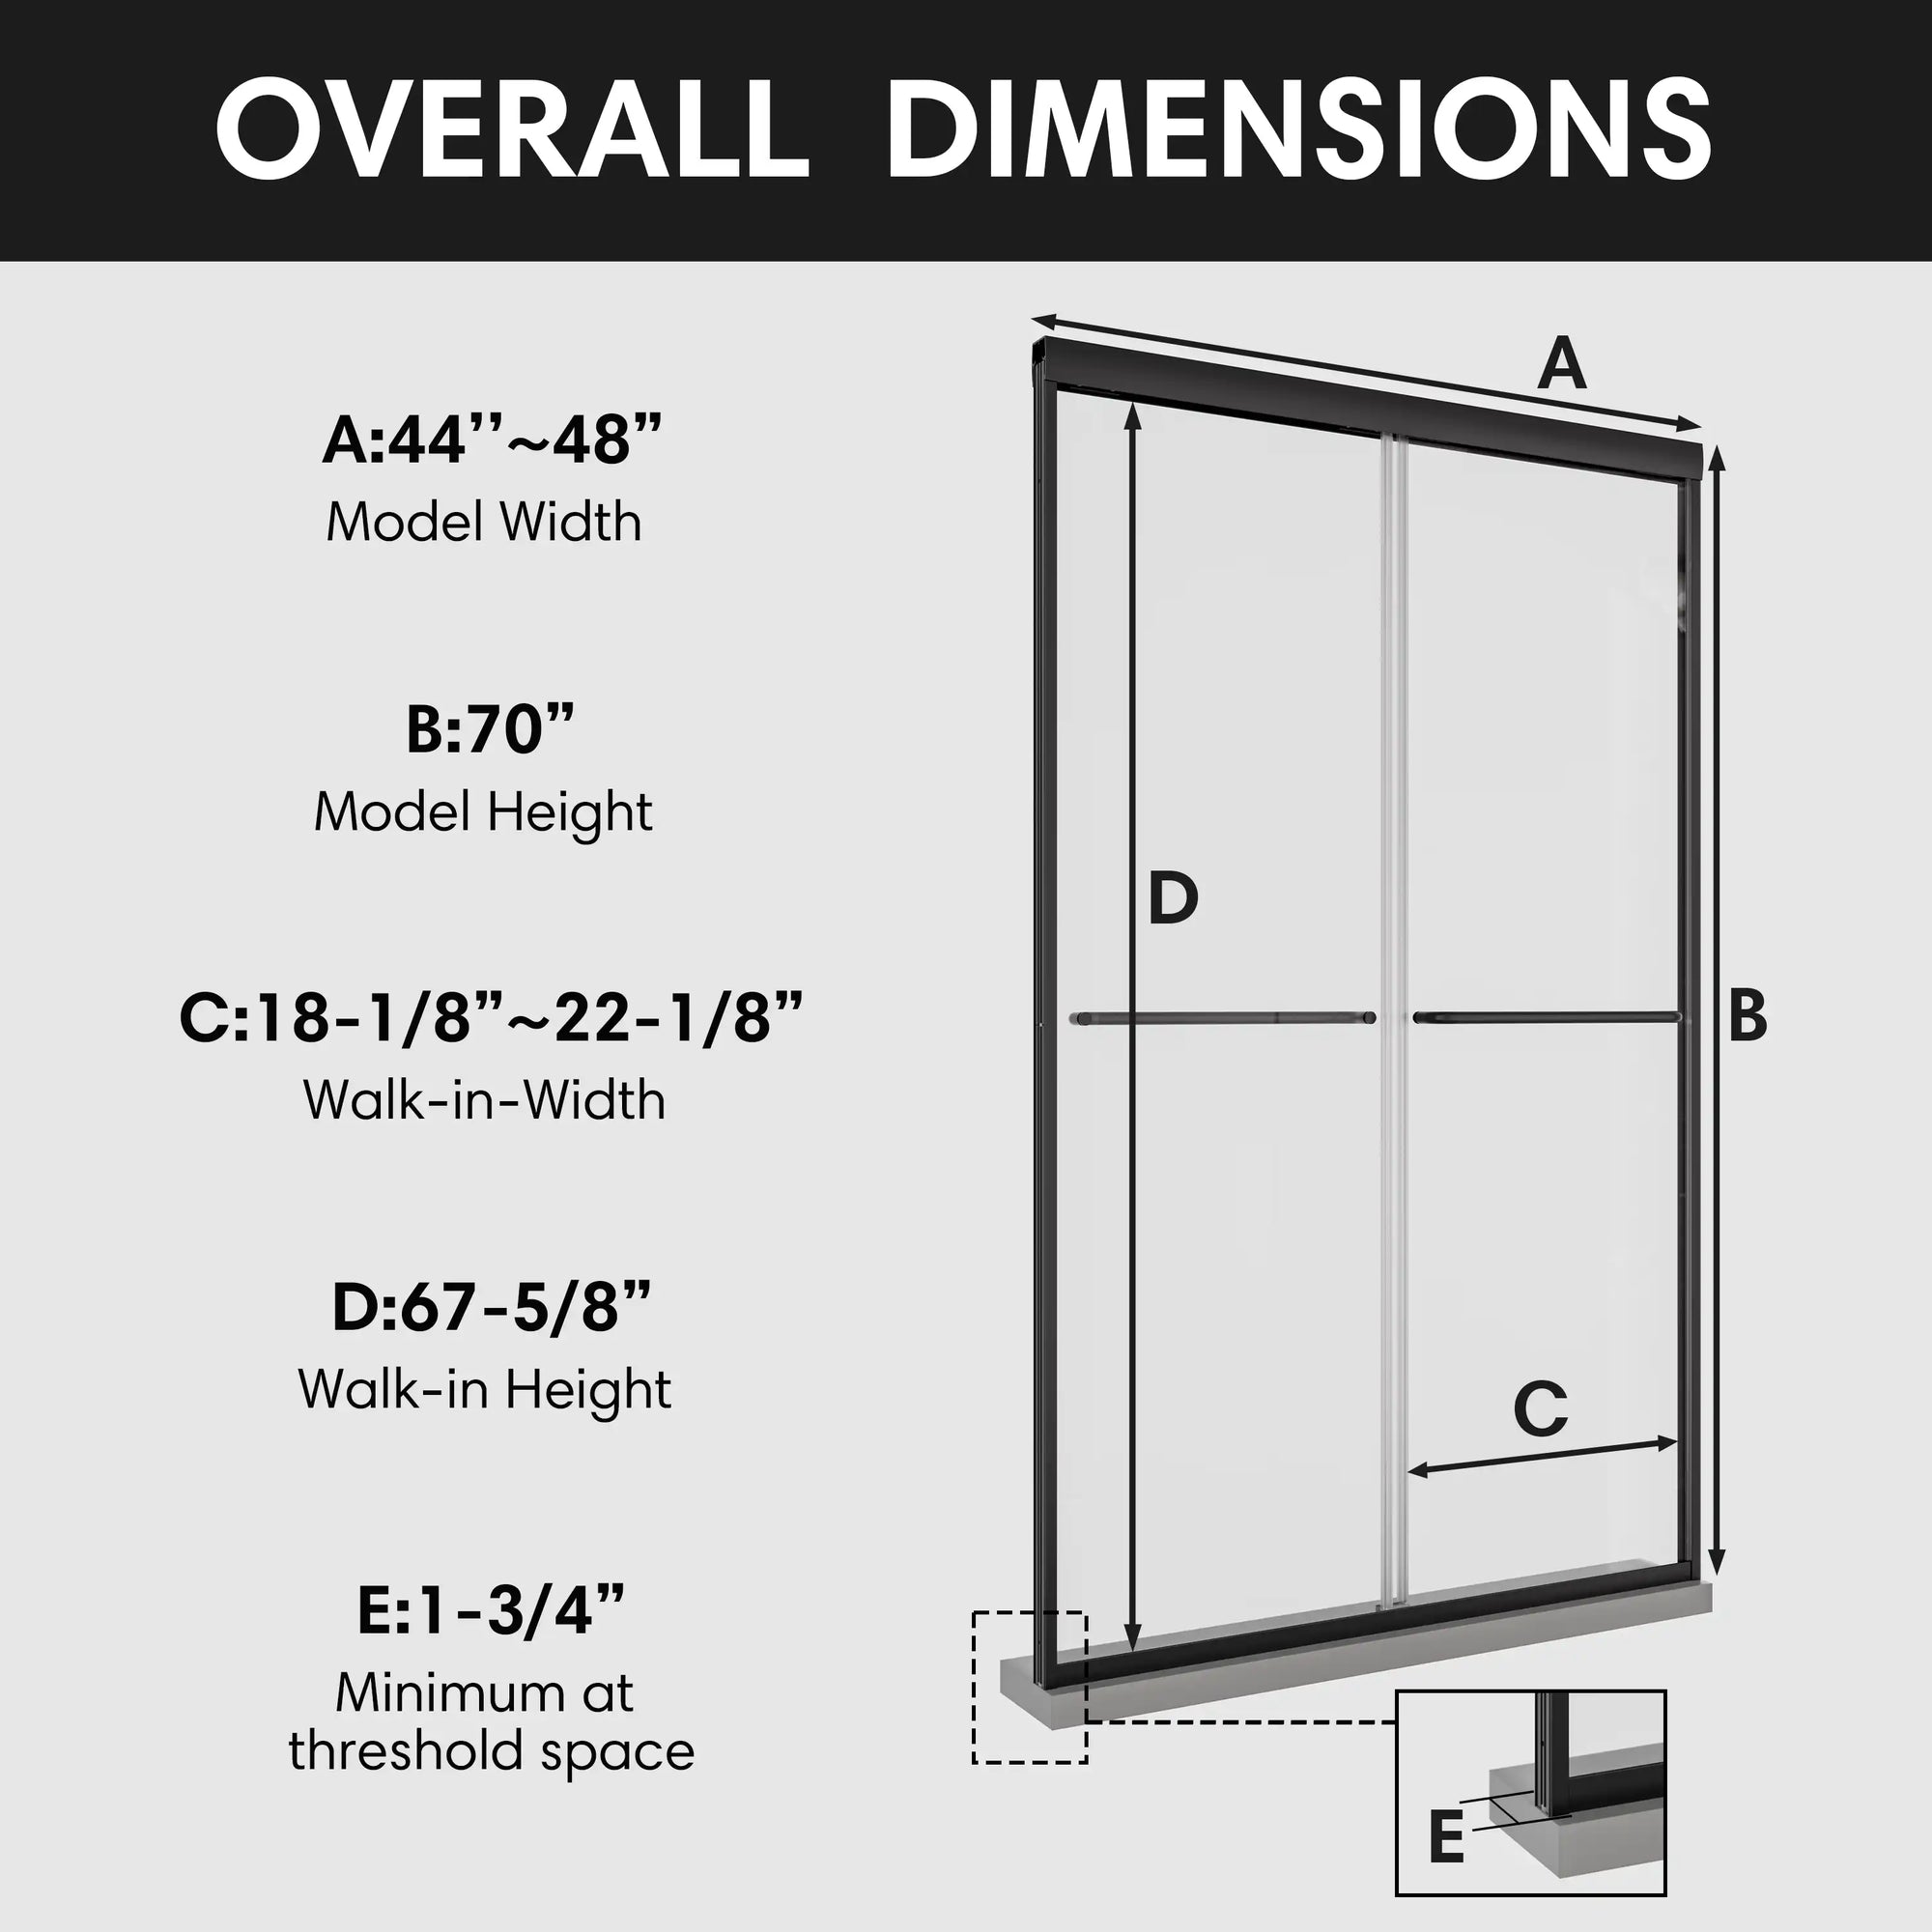
- Glass Thickness: Most seals are designed for specific thicknesses (6mm, 8mm, 10mm; or 1/4", 3/8", 1/2"). Measuring precisely with a caliper avoids the frustration of ordering the wrong size.
- Gap Dimensions: Measure the space the seal will fill — whether between door and threshold, or door and wall. Even a few millimeters of mismatch can cause persistent leaks.
- Material Choice: Silicone resists discoloration and stays flexible longer. PVC is more budget-friendly but may harden over time. Polycarbonate offers structural stability.
- Design and Transparency: Clear seals disappear into frameless designs; frosted or colored options can match existing frames or tiles.
- Ease of Replacement: Clip-on designs make DIY swaps painless. Adhesive-backed seals offer strong hold but take more effort to replace.
Many people underestimate how hard it can be to source the right profile online. Before buying, check product schematics and read dimensions carefully, or order samples to confirm compatibility.
4. How to Install a Shower Door Seal
A good seal is only as effective as its installation. Even a premium product won't work if it's cut too short, positioned poorly, or attached to a dirty surface.
Step-by-step
- Remove the old seal: Gently pull it free. For adhesive types, use a scraper to lift and peel.
- Clean thoroughly: Remove all soap scum and residue from the glass or frame. A spotless surface ensures a snug fit.
- Measure accurately: Measure the full length of the edge twice before cutting.
- Cut to size: Use utility scissors for flexible seals or a fine-tooth saw for rigid types. Aim for a perfectly square cut.
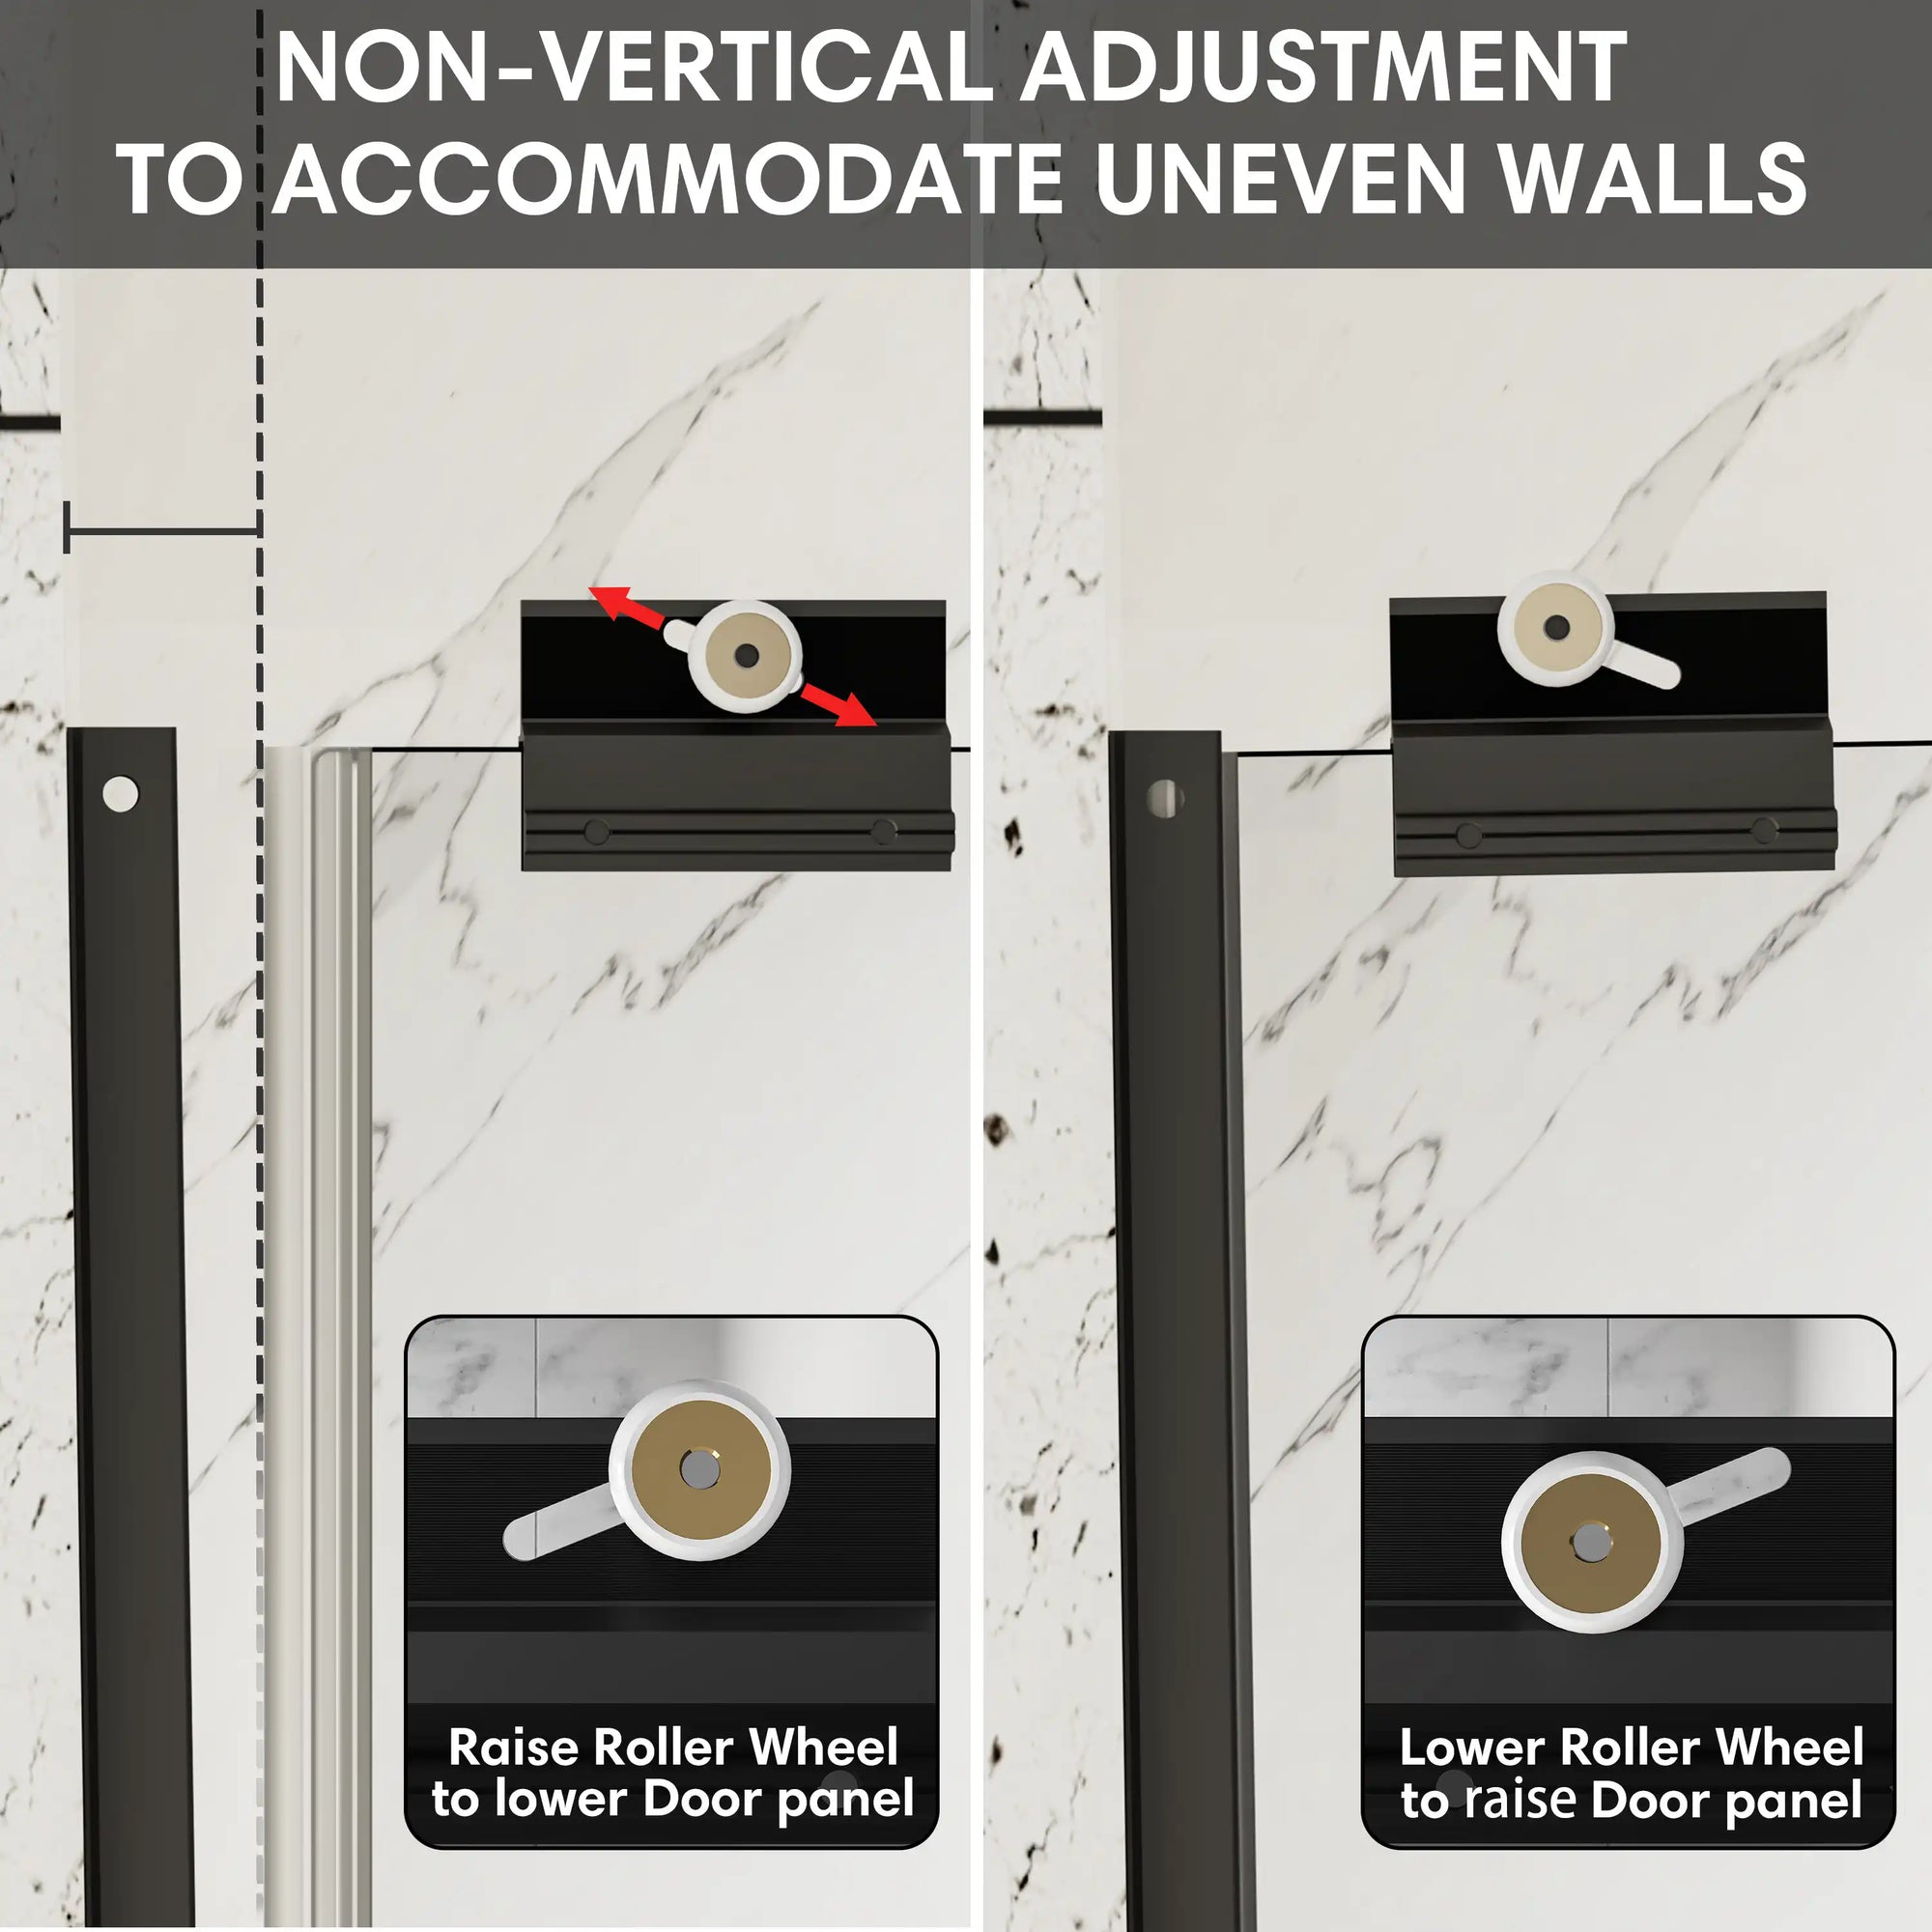
- Fit the new seal: Slide or snap it on, ensuring the lip or fin sits flush against the surface it's meant to seal.
- Test and adjust: Run water to check for leaks. If water escapes, inspect the alignment and trim or reposition as needed.

5. Troubleshooting: Why Your New Seal Still Leaks
It can be frustrating to replace a seal, only to find that water is still escaping. This doesn't always mean the new seal is defective — in many cases, the leak is caused by other factors in the shower's design or usage. Understanding these issues will help you fix them once and for all.
Hinge Gaps
The hinge area is one of the most common leak points in frameless and semi-frameless showers. Even a tiny space around the hinge pins can act like a channel, drawing water out every time the shower runs. A simple fix is to apply a thin, even bead of clear silicone along the gap, then shape it with a card edge or your fingertip for a neat, almost invisible finish. The silicone not only blocks water but also adds a slight cushioning effect for the hinge.
Spray Direction
Even the best type of shower door seal will struggle if water is hitting it directly at full force. If your shower head is positioned so the spray lands right on a seam or gap, you're effectively pushing water past the barrier. Adjusting the shower head angle or switching to a handheld sprayer can make a dramatic difference, especially for doors that open inward or have minimal overlap at the seams.
Threshold Design
Some showers have low or flat thresholds that make sealing more difficult. In these setups, splashes and runoff can easily overwhelm the bottom seal. Installing a slim, triangular silicone strip along the edge of the tray or tub can help redirect water inward, acting as a secondary "mini-dam" that works with your bottom sweep rather than against it.
Design Limitations
Certain enclosures simply have design flaws that make them prone to leakage — for example, oversized doors with insufficient overlap, or layouts where the door sits flush with the outside edge of the tray. In these cases, you may need to combine solutions: a high-quality seal, silicone reinforcements, and even a lightweight secondary barrier such as a discreet shower curtain. While this might not be as sleek aesthetically, it's far better than living with a floor that's constantly wet.
6. Maintaining Your Shower Door Seal
A good shower door seal can last between 6 months and 2 years, depending on usage and care. But just like any other bathroom fixture, it benefits from regular attention. Maintenance is not just about keeping it clean — it's about preserving its flexibility, clarity, and sealing power.
Start by inspecting the seal every few months. Look for telltale signs of aging: small cracks along the edge, stiffness when pressed, or yellowing if it's made from PVC. These changes indicate that the material is starting to degrade and won't perform at its best.
Cleaning is crucial to longevity. Avoid harsh chemical cleaners like bleach or strong acids, which can dry out or warp flexible materials. Instead, use mild dish soap or a vinegar-water solution and a soft cloth. Pay special attention to the edges where the seal meets the glass — this is where soap scum and limescale tend to build up, eventually lifting the seal away from the glass and creating tiny leak channels.
After each shower, wiping the seal dry with a microfiber towel can dramatically reduce mold growth and water spotting. While it might seem tedious, this habit not only keeps the seal looking clearer for longer but also delays the onset of hard water deposits that can stiffen and distort the strip.
Finally, replace the seal proactively. Don't wait until water is visibly leaking every time you shower. A fresh seal not only restores waterproofing but also refreshes the overall look of your shower enclosure.
One free premium shower door seal every year, so you can keep your bathroom protected without worrying about replacement costs.
7. Frequently Asked Questions
1. Can I replace just the seal without replacing the entire shower door?
Absolutely. In the U.S., most modern shower doors — whether framed or frameless — are designed with replaceable seals. You can purchase a new bottom sweep, side seal, or jamb seal that matches your door's glass thickness (commonly 1/4", 3/8", or 1/2") and profile. This is a cost-effective option that avoids the expense of replacing the whole door. Many American home improvement retailers and online suppliers carry an extensive range of types of shower door seals for quick delivery.
2. How do I know which type of shower door seal I need?
Start by measuring the thickness of your glass with a ruler or caliper and noting the gap size you need to fill. Identify the leak source: under the door (bottom seal), along the opening edge (side seal), near the hinges (door jamb seal), or between panels (glass-to-glass seal). In the U.S., you'll often see both metric and imperial measurements on packaging, so double-check before purchasing. If you're unsure, bring the old seal to a hardware store or send detailed photos and measurements to Ace Decor for matching assistance.
3. How often should I replace my shower door seal?
In most American households, a shower door seal lasts between 12 and 24 months, depending on usage frequency, water hardness, and cleaning habits. Homes with hard water — common in states like Arizona, Nevada, and parts of Texas — may see seals deteriorate faster due to mineral buildup. Regular cleaning with a mild vinegar solution and keeping the seal dry after use can extend its life. Being proactive about replacement not only maintains waterproofing but also keeps your bathroom looking well-kept.
4. Are there U.S. code or safety considerations when replacing a shower door seal?
While there are no federal codes specifically regulating shower door seals, U.S. building standards do require that shower enclosures be watertight and safe to operate. When replacing a seal, ensure it doesn't interfere with the smooth opening and closing of the door, and that it doesn't create a tripping hazard on low thresholds. For households with children or seniors, choosing a seal profile that minimizes door resistance can make the shower easier and safer to use.
Related Articles
Looking to dive deeper? Explore these handpicked articles on shower maintenance, bathroom upgrades, and expert tips to complement what you've learned about the different types of shower door seals.
- "Bath Water Temperature Guide: Safe, Comfortable & Ideal Settings for Every Age Group"
- "Bathtub Replacement Options: Smart and Traditional Choices for Every Home"
- "10 Very Small Small Half Bathroom Ideas to Make the Most of Tiny Spaces"
- "Can You Cut Tempered Glass? No — Here's Why You Shouldn't Even Try"
- "Choosing the Right Toilet Size: A Complete Guide to Fit, Comfort, and Function"
- "How to Clean Granite Shower Properly and Prevent Stains Long-Term"
- "What is a Shower Steamer: The 5 Minute Spa Secret Weapon You Didn't Know About"