Table of Contents
- Why Fixing a Leaky Bathroom Faucet Matters
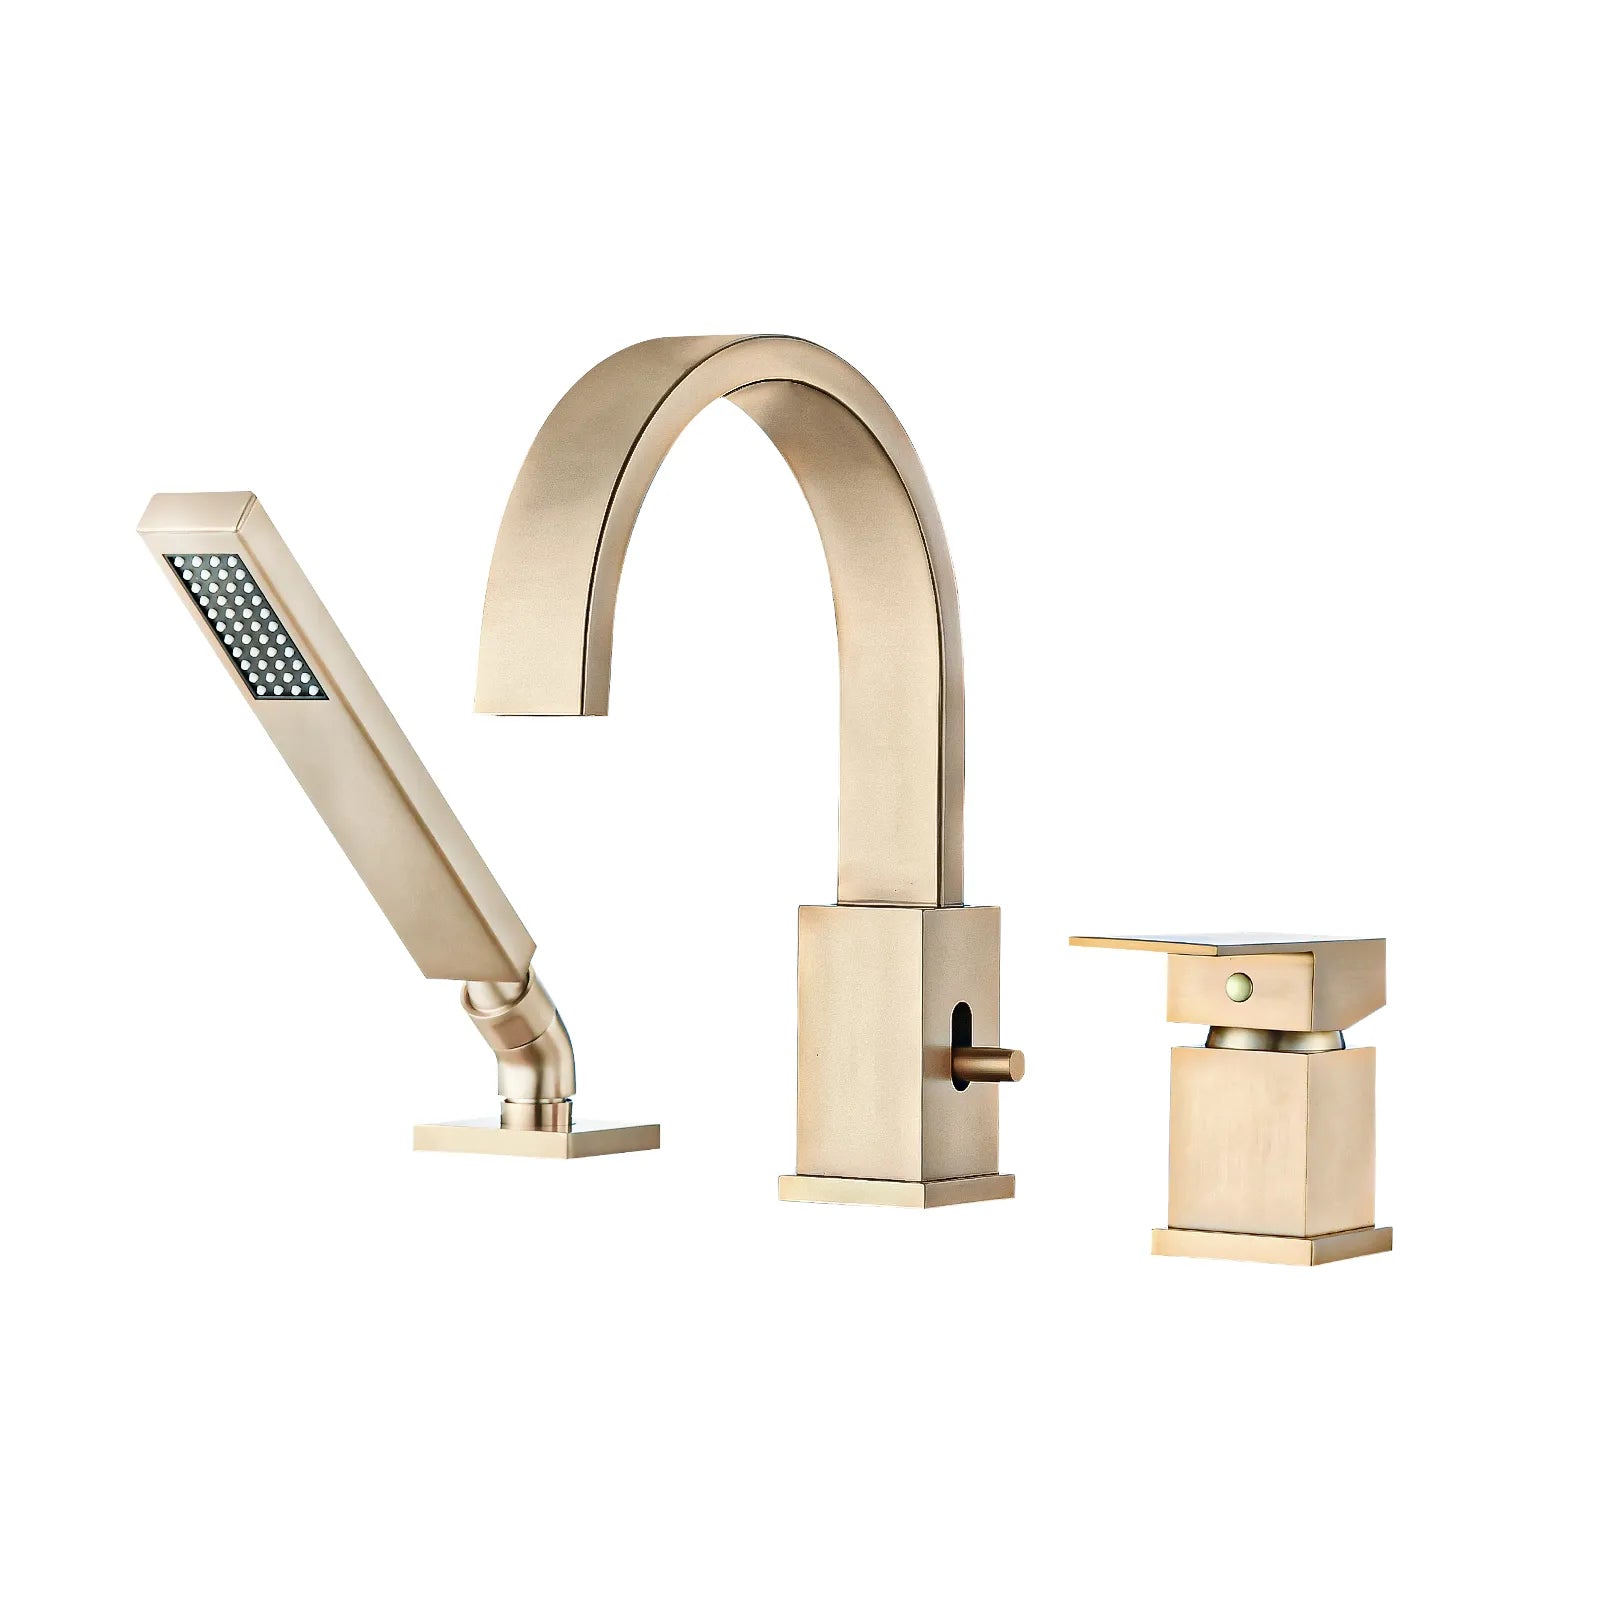
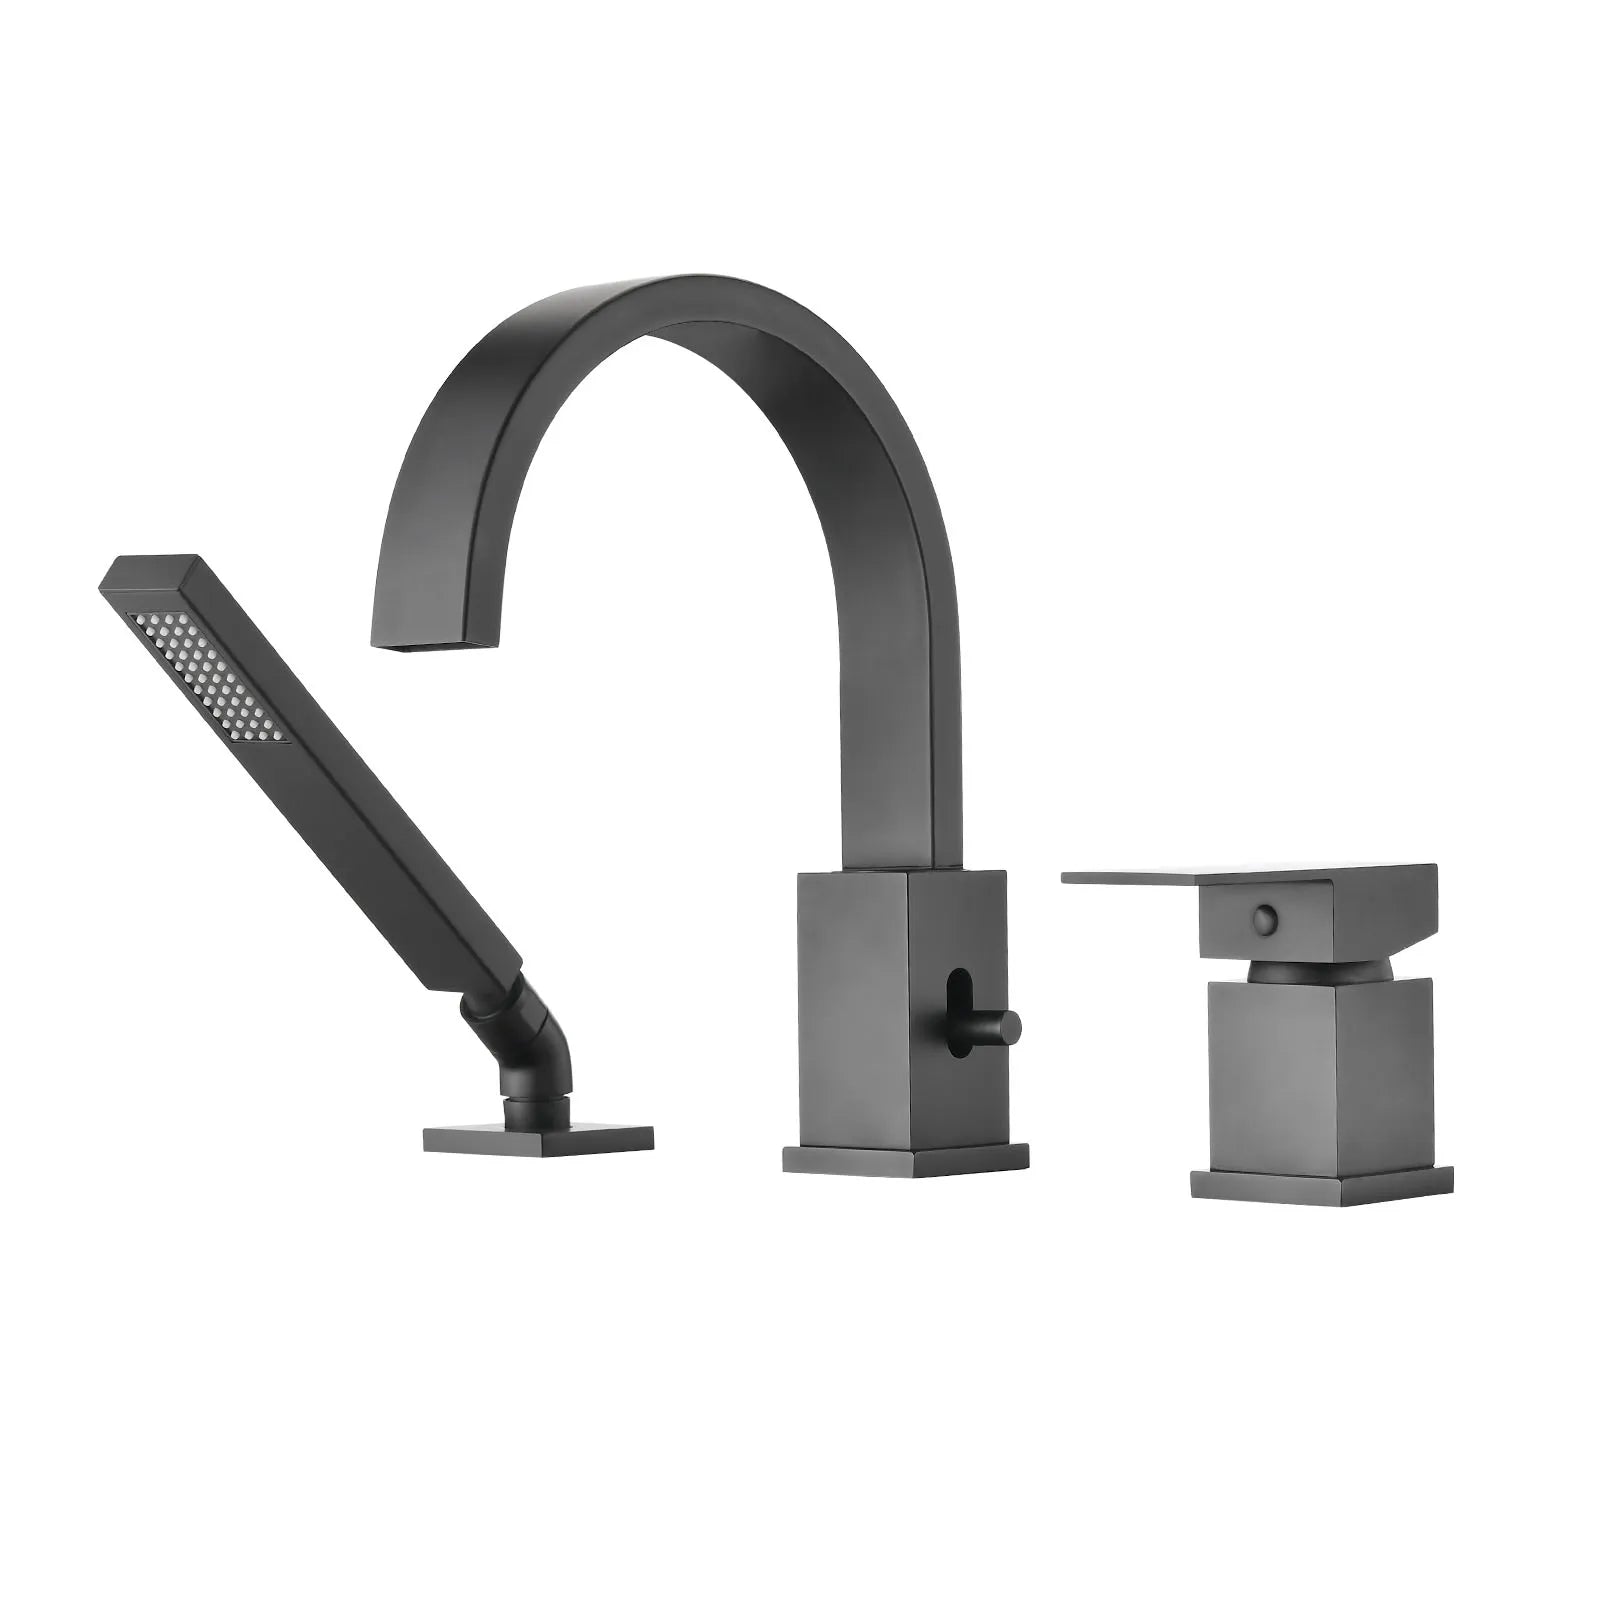
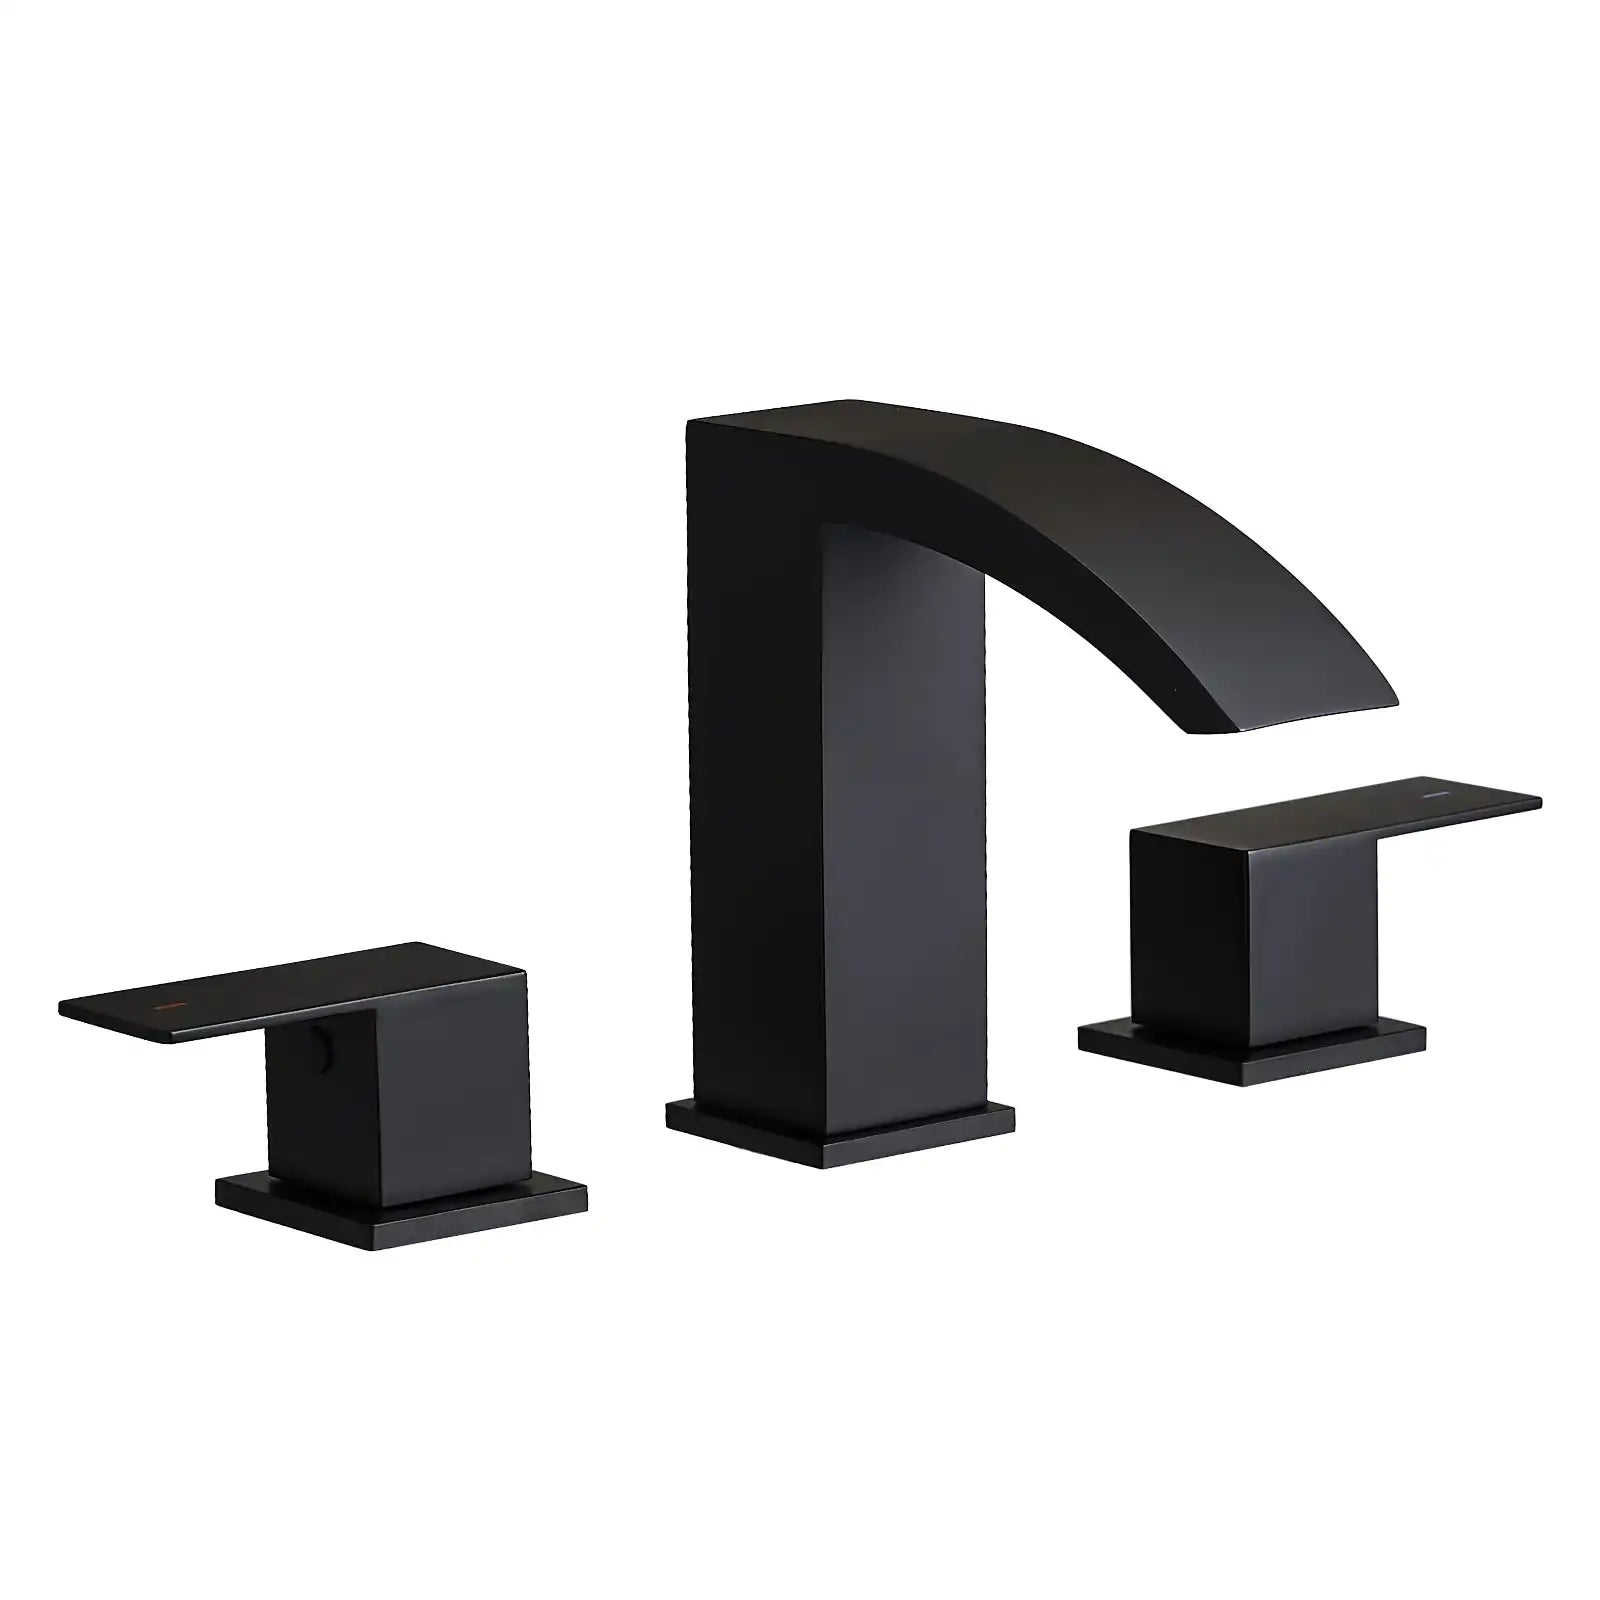
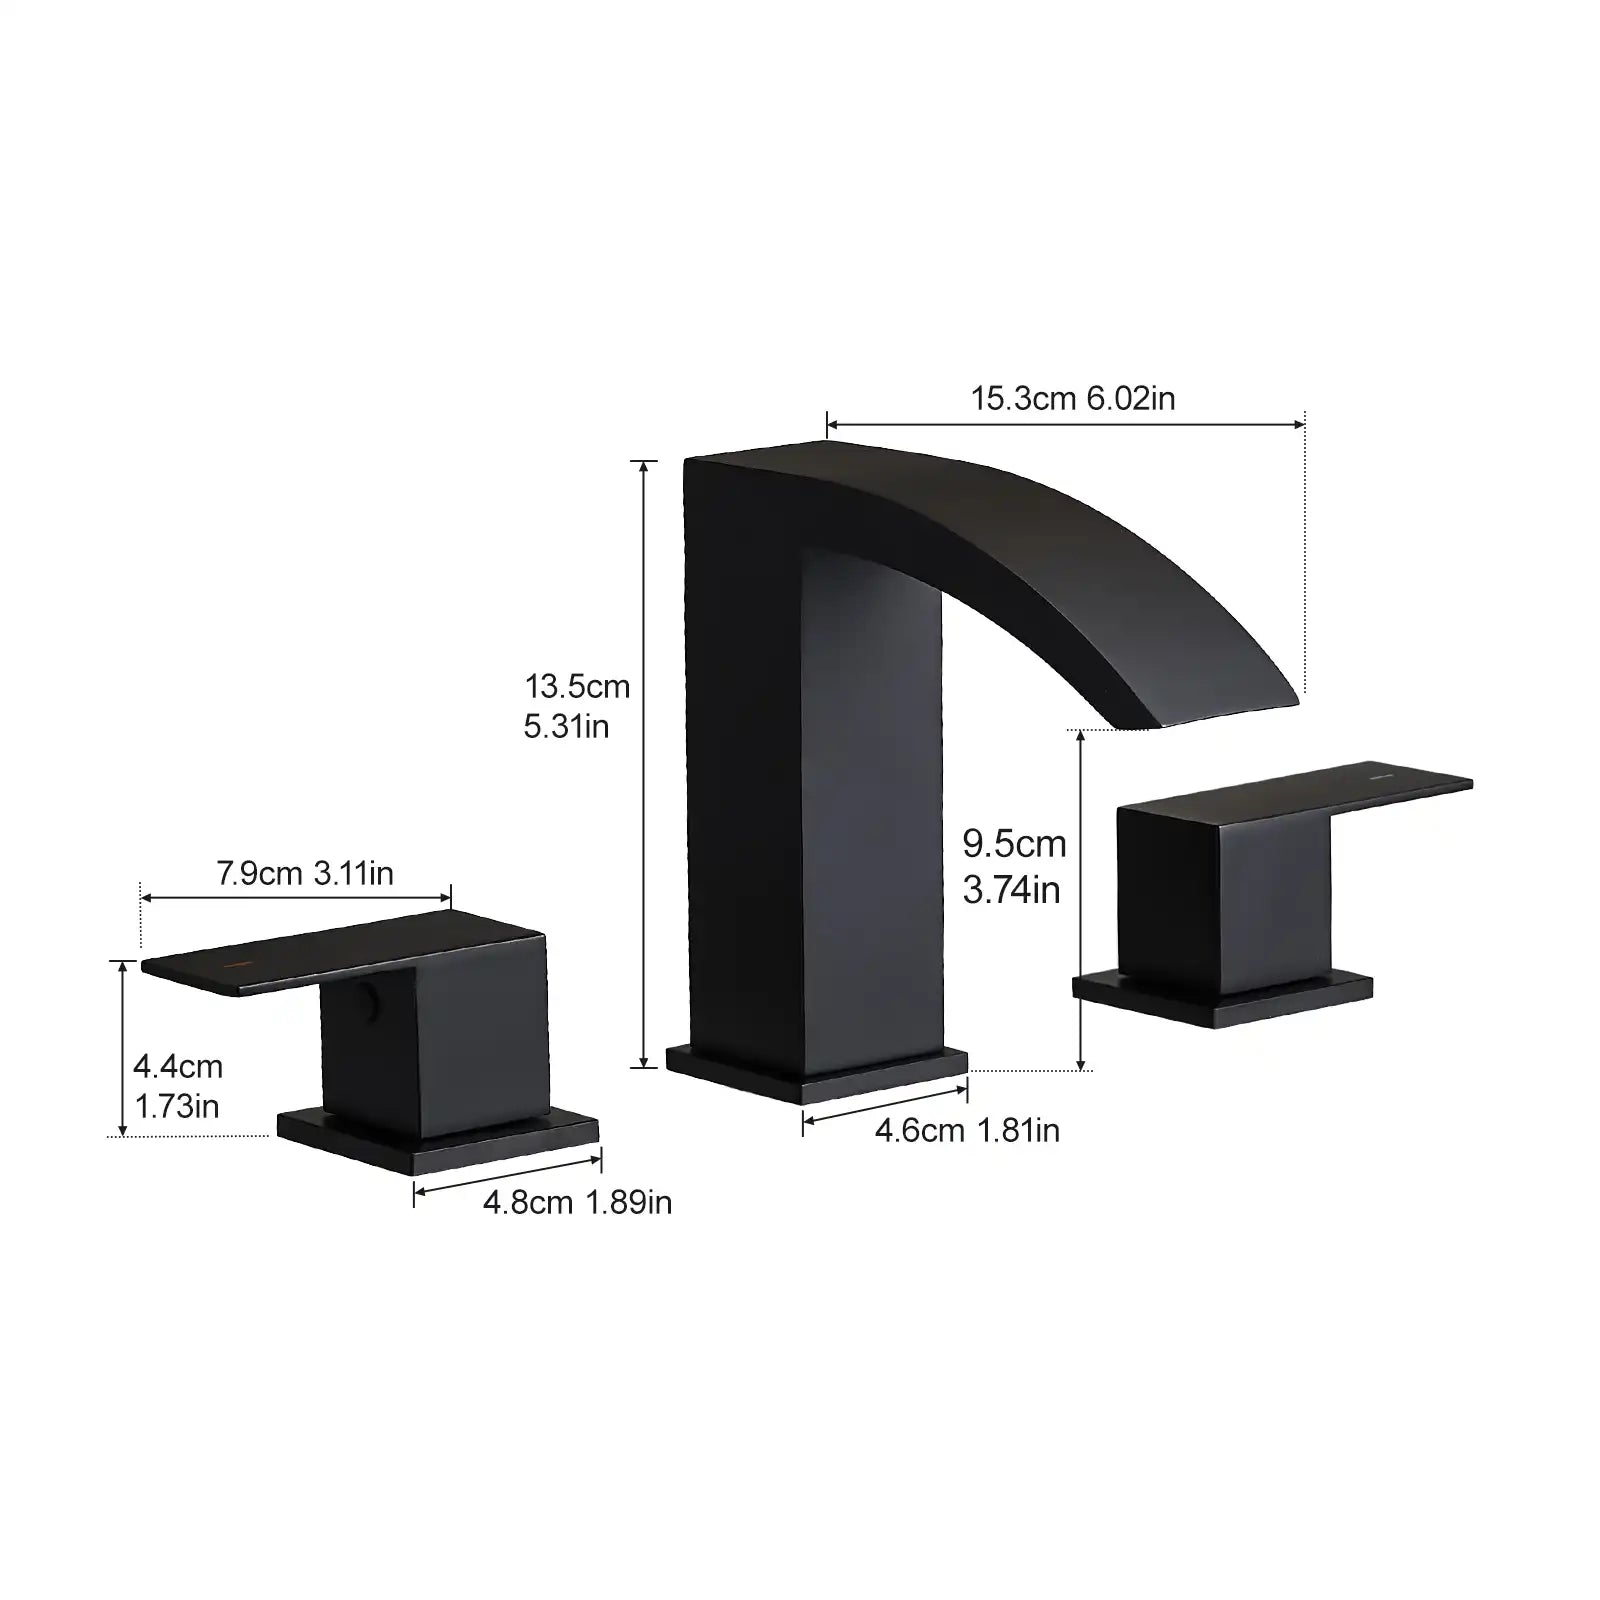
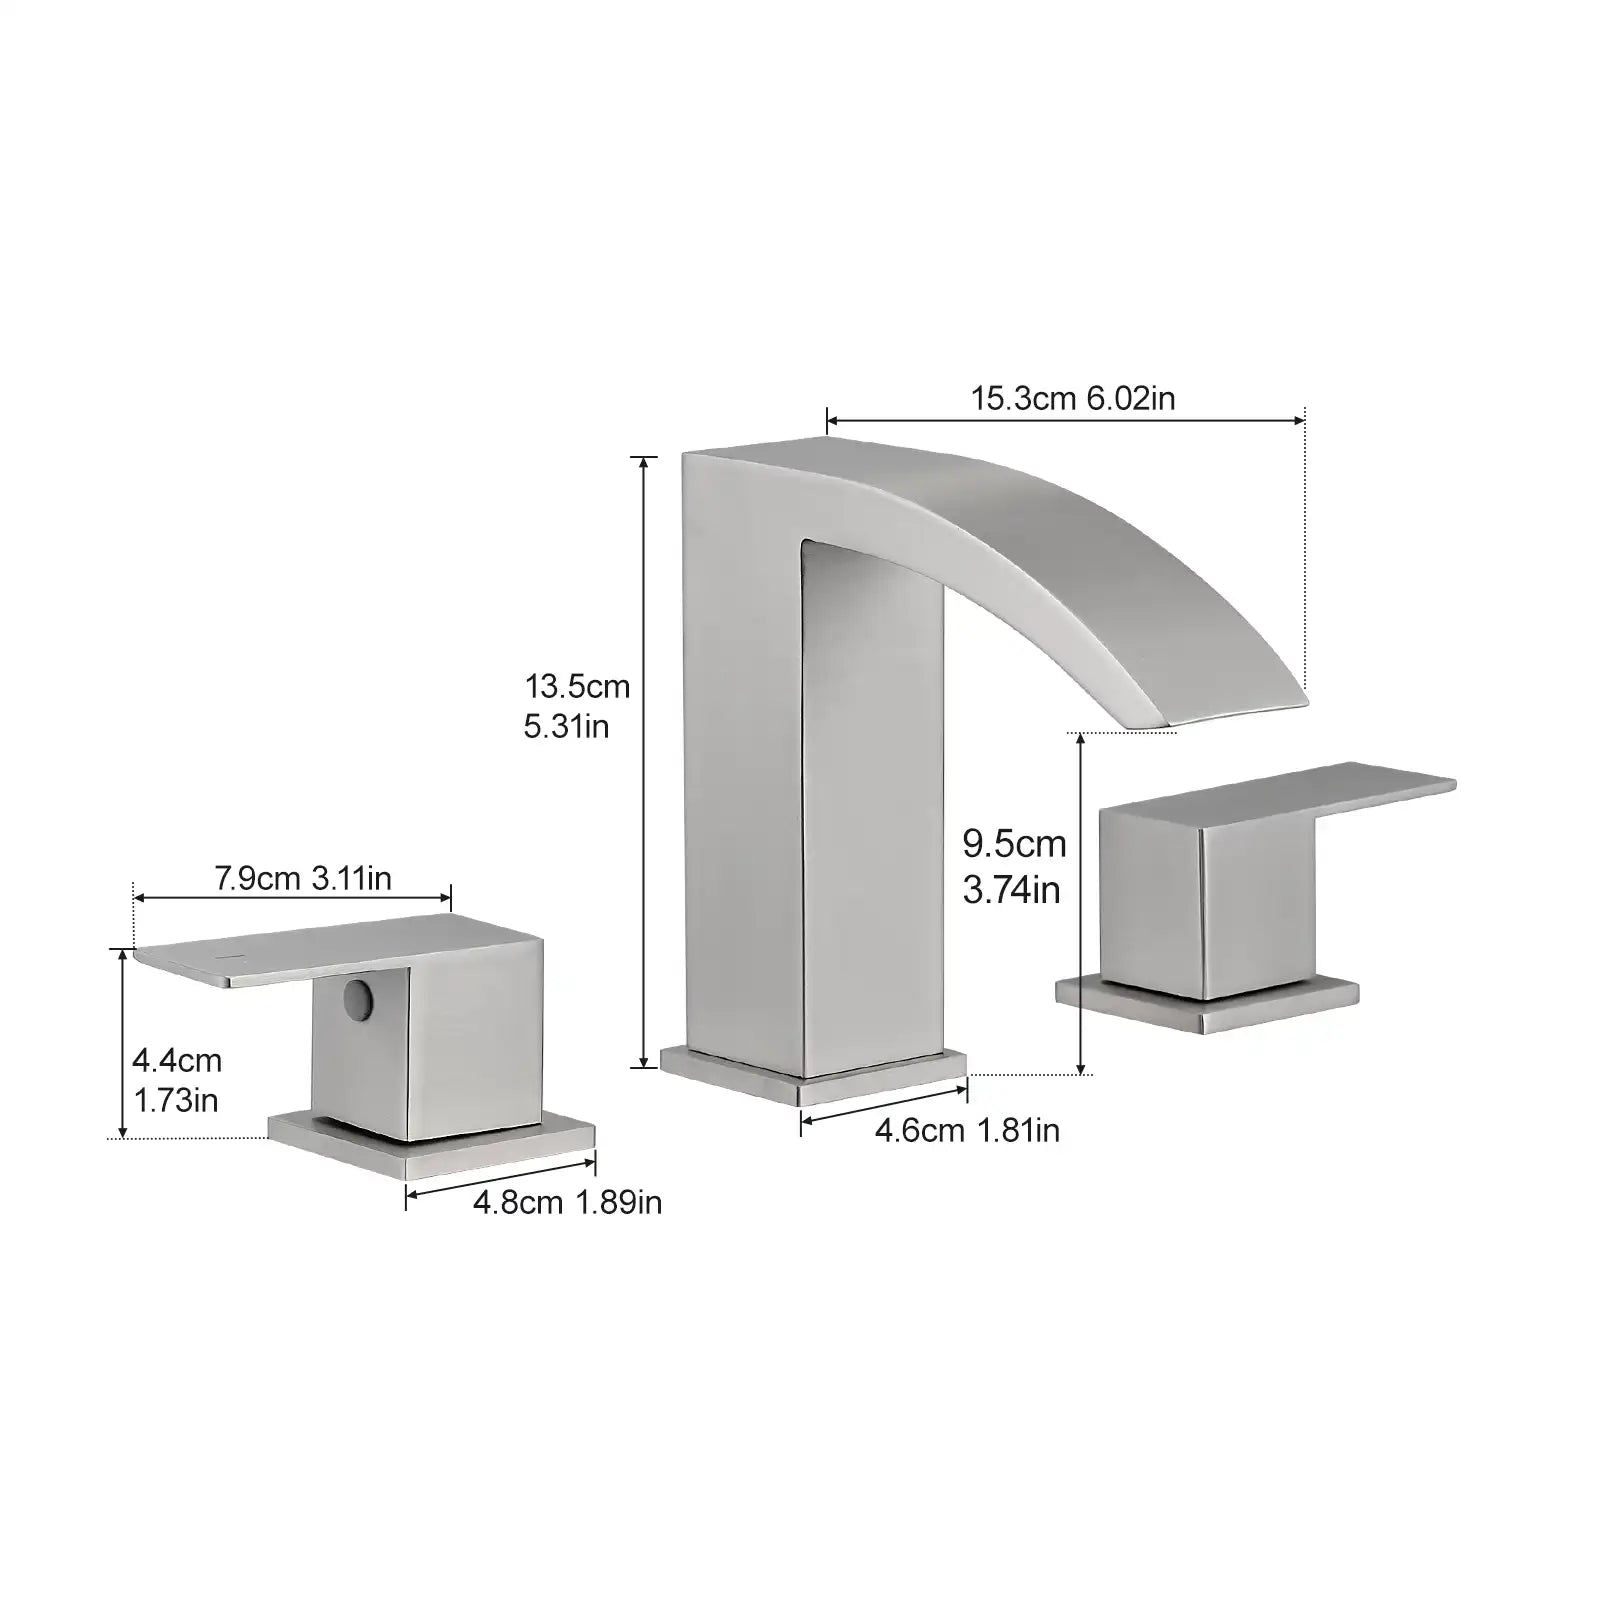
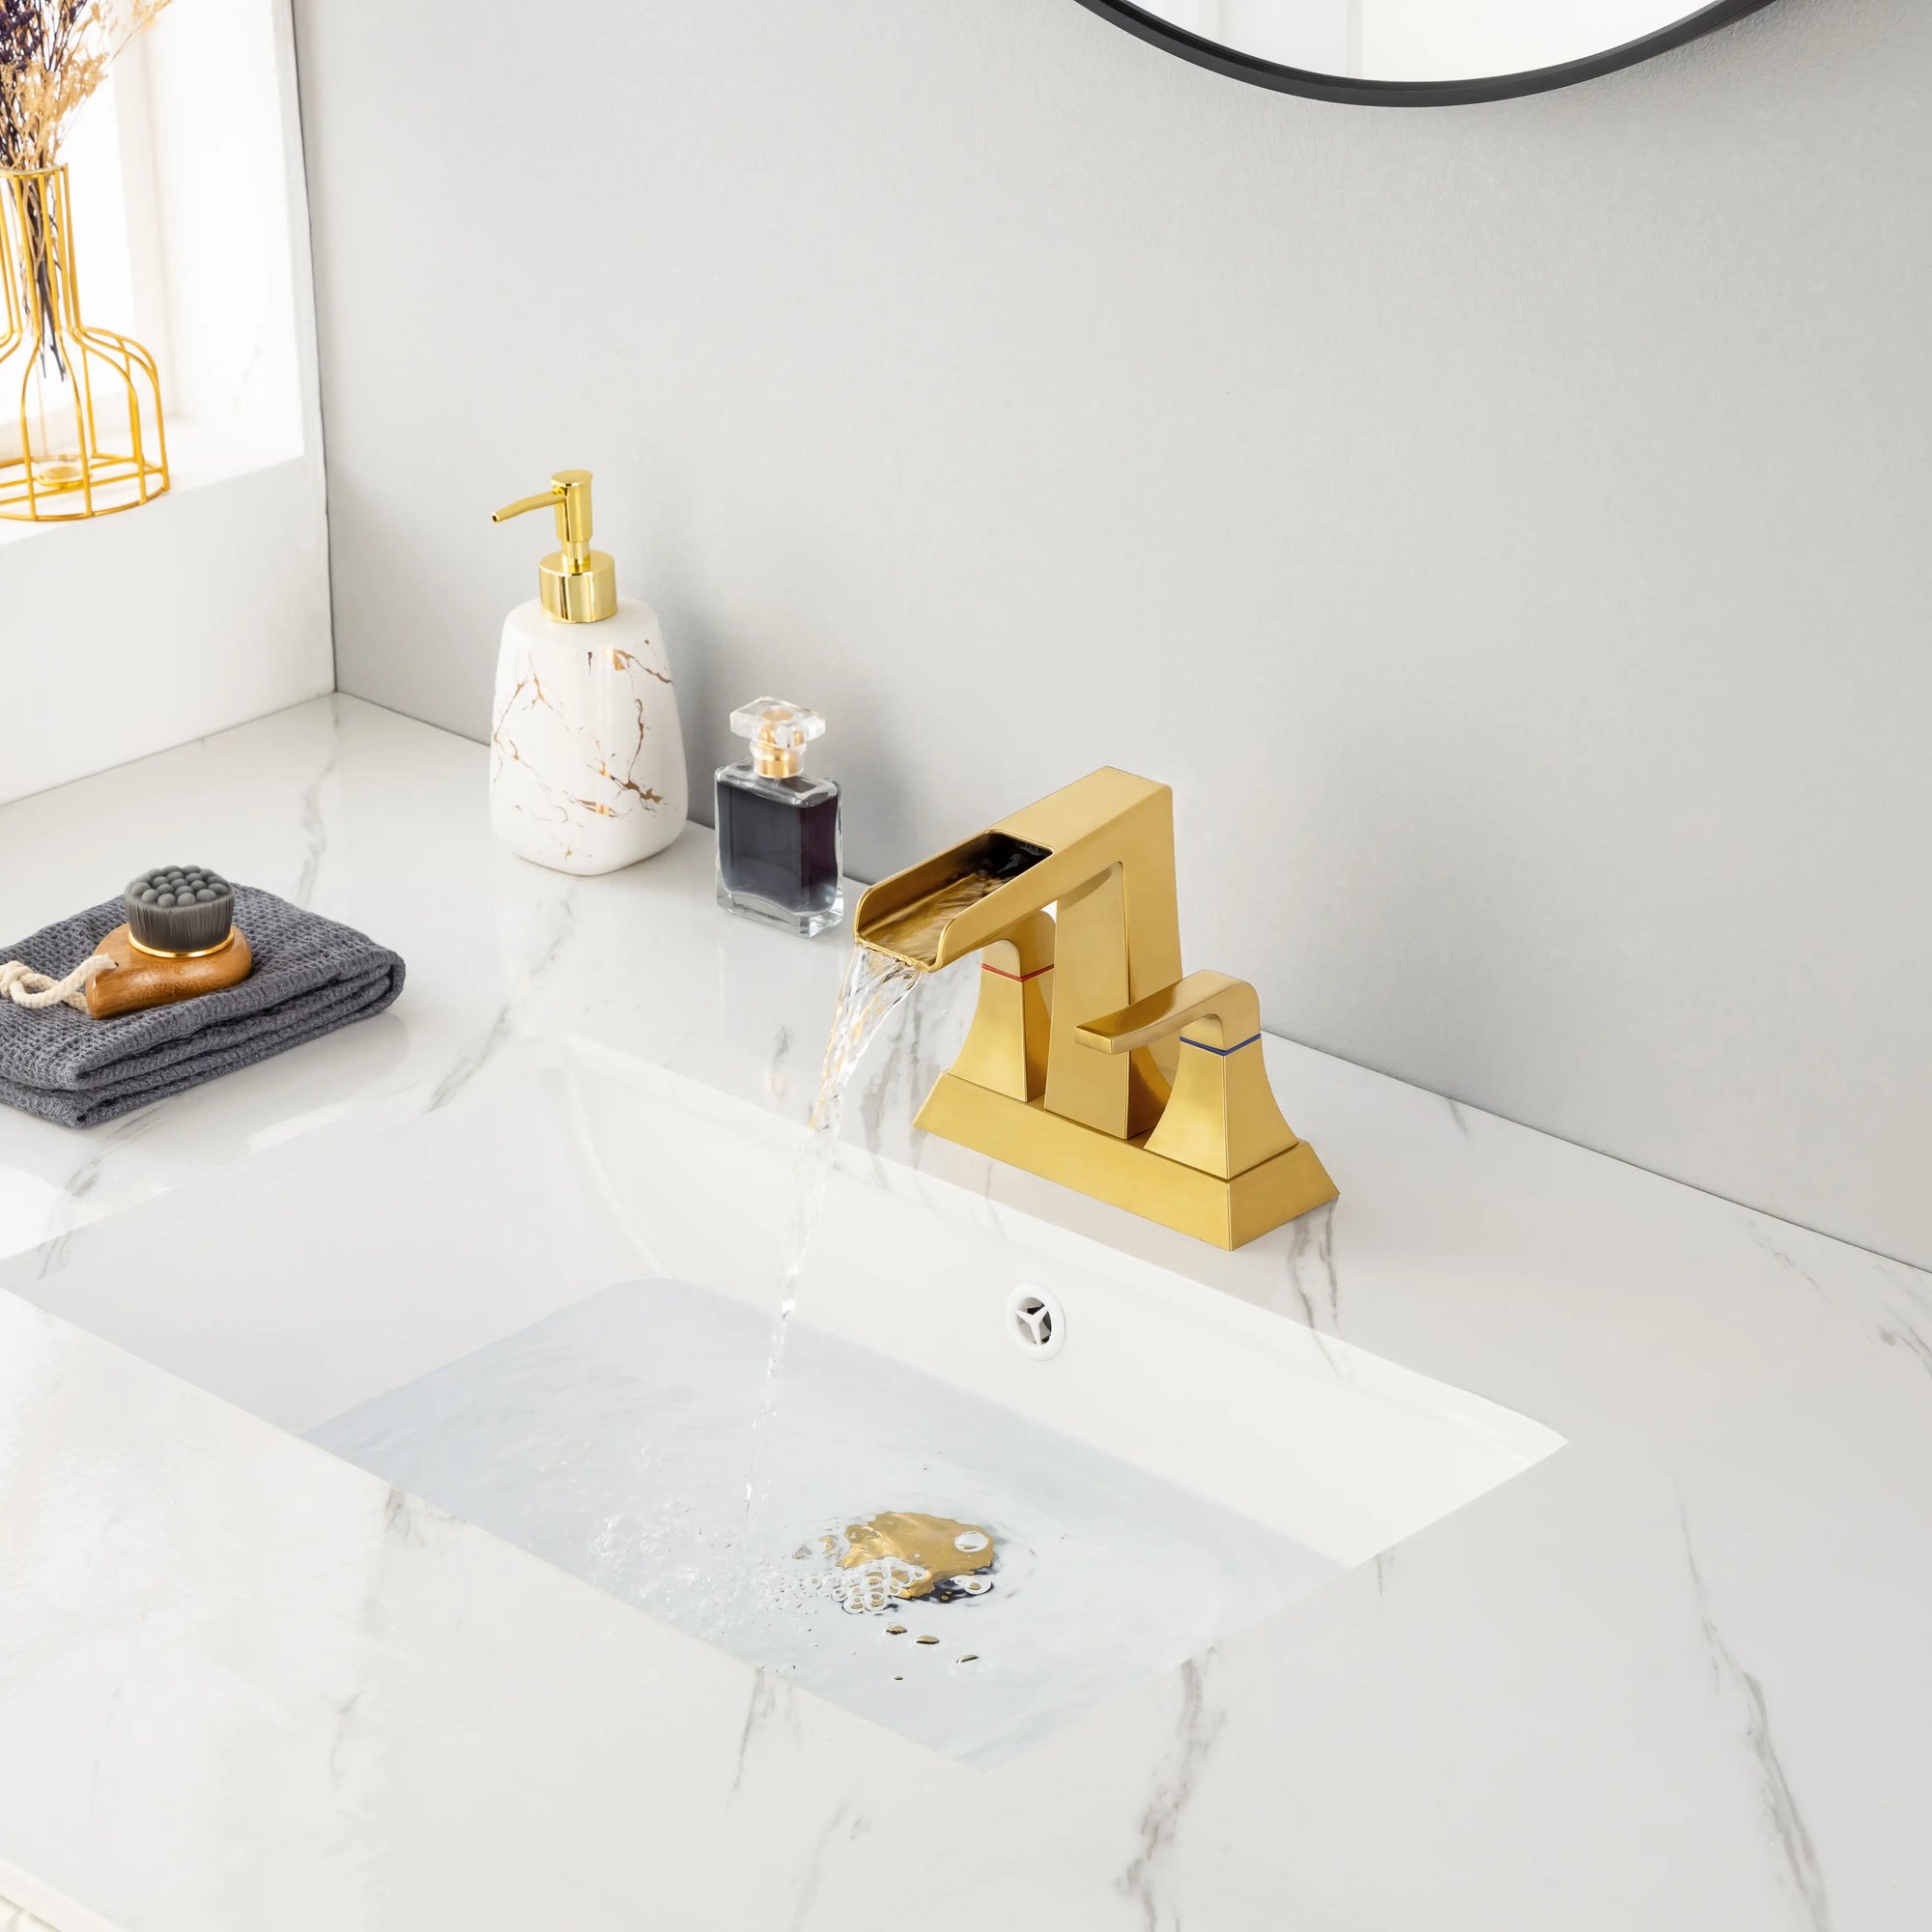
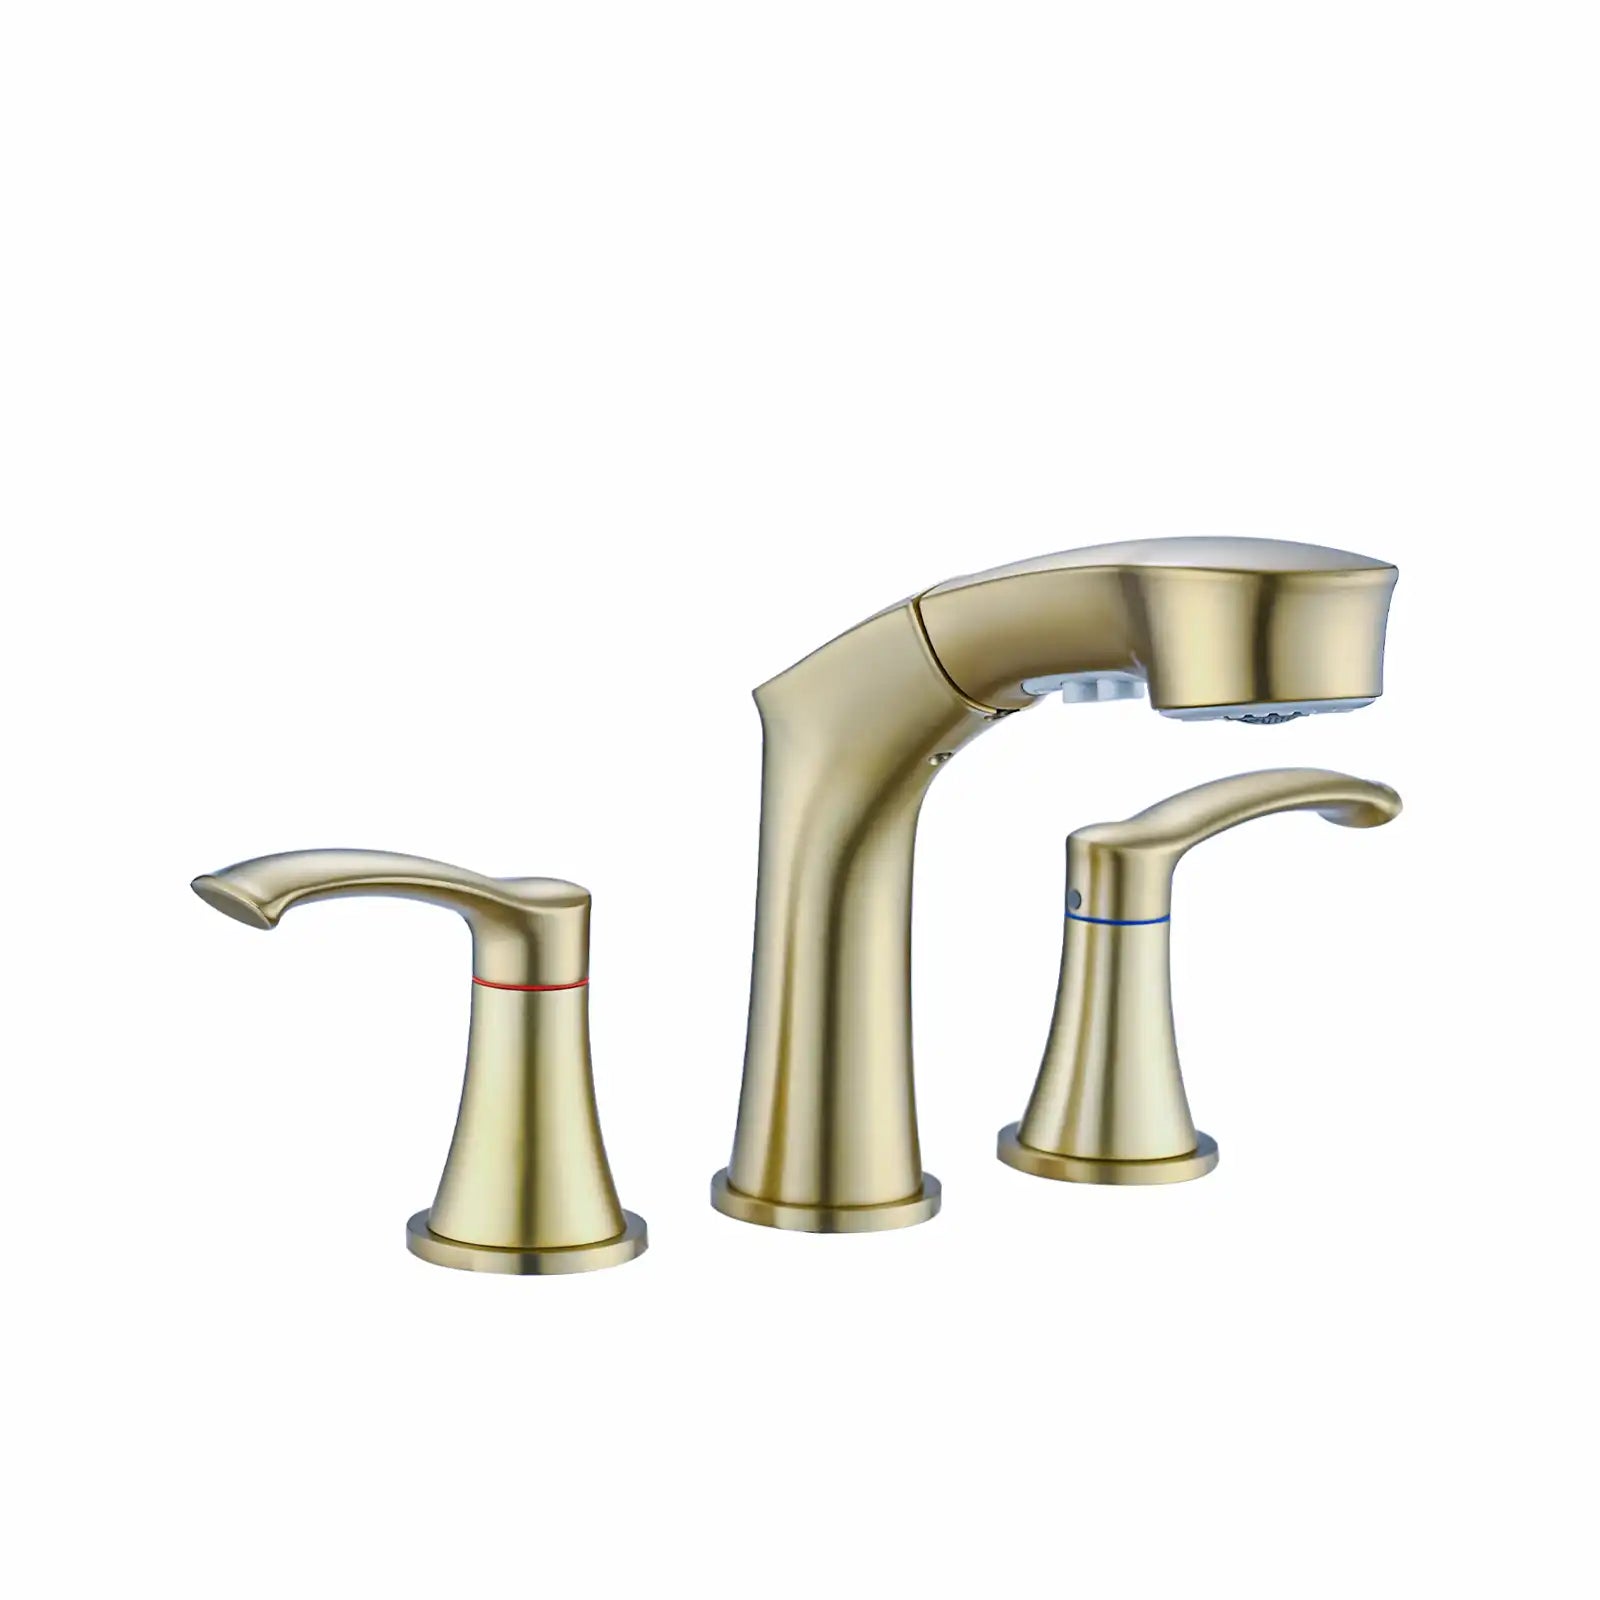
- Identify the Type of Faucet You Have
- Tools & Materials You'll Need
- Step-by-Step Bathroom Faucet Repair Guide
- How to Prevent Future Faucet Problems
- FAQ: Common Bathroom Faucet Repair Questions
- Final Thoughts
- Related Articles
A dripping bathroom faucet isn't just annoying—it's wasteful and can quietly increase your water bill month after month. But here's the good news: most bathroom faucet repair tasks are simple, affordable, and can be done in under an hour, even without professional plumbing experience.
In this guide, I'll share how you can diagnose, repair, and maintain your bathroom faucet with confidence. Whether it's a slow drip, a loose handle, or a leak around the base, you'll find the exact steps you need right here.
Why Fixing a Leaky Bathroom Faucet Matters
A small leak might seem like a minor inconvenience — just a few drops here and there. But those drops can add up faster than you think. A single dripping faucet can waste up to 3,000 gallons of water per year, which not only affects your utility bill but also puts unnecessary strain on local water systems. In regions like the American West, where water conservation matters, taking the time for a simple bathroom faucet repair can make a real difference.
Beyond saving water, a leaking faucet can signal deeper issues that may worsen if ignored. Continuous moisture can cause:
- Mineral buildup and staining around the spout or sink surface, especially in areas with hard water.
- Water damage to your vanity or countertop, warping wood or discoloring stone surfaces over time.
- Mold and mildew growth, creating unpleasant odors and potential health concerns in your bathroom.
- Corrosion of internal faucet parts, shortening the life of your fixture and leading to costly replacements later.
And let's not forget the emotional toll of that drip… drip… drip. It's a subtle irritation that can disturb the quiet of your morning or evening routine.
Taking just 30–45 minutes for a DIY bathroom faucet repair helps you:
- Restore a calm, quiet bathroom environment.
- Protect your investment in high-quality fixtures and vanities.
- Keep your bathroom looking clean and well-maintained.
- Save money — not just on your water bill, but by avoiding future repair costs.
In short, fixing a leaky faucet isn't just about stopping the drip — it's about maintaining your home's comfort, efficiency, and style. And when your bathroom looks and functions at its best, it adds both daily satisfaction and lasting value to your home.
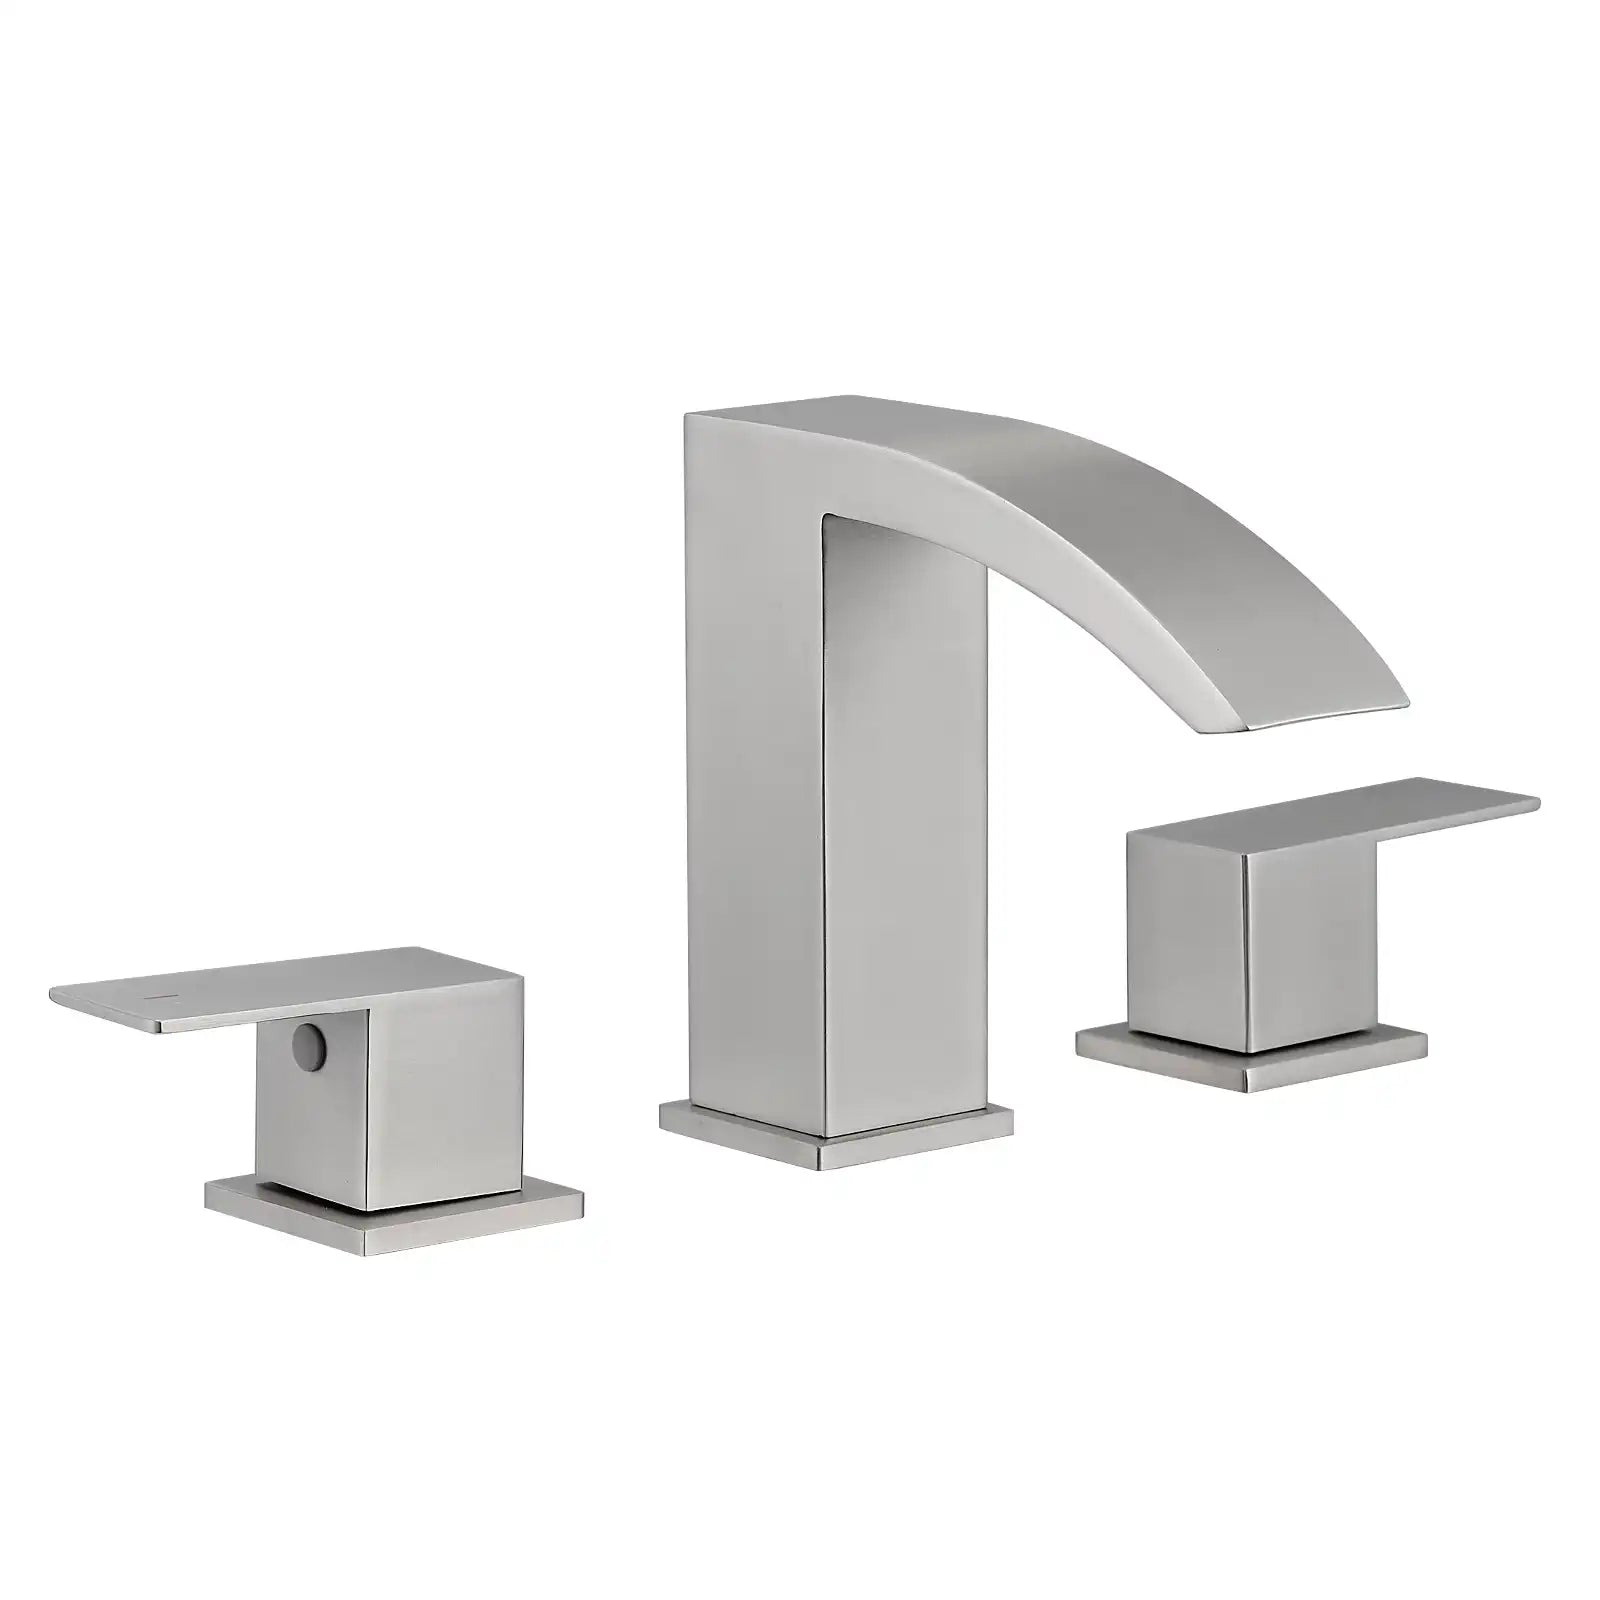
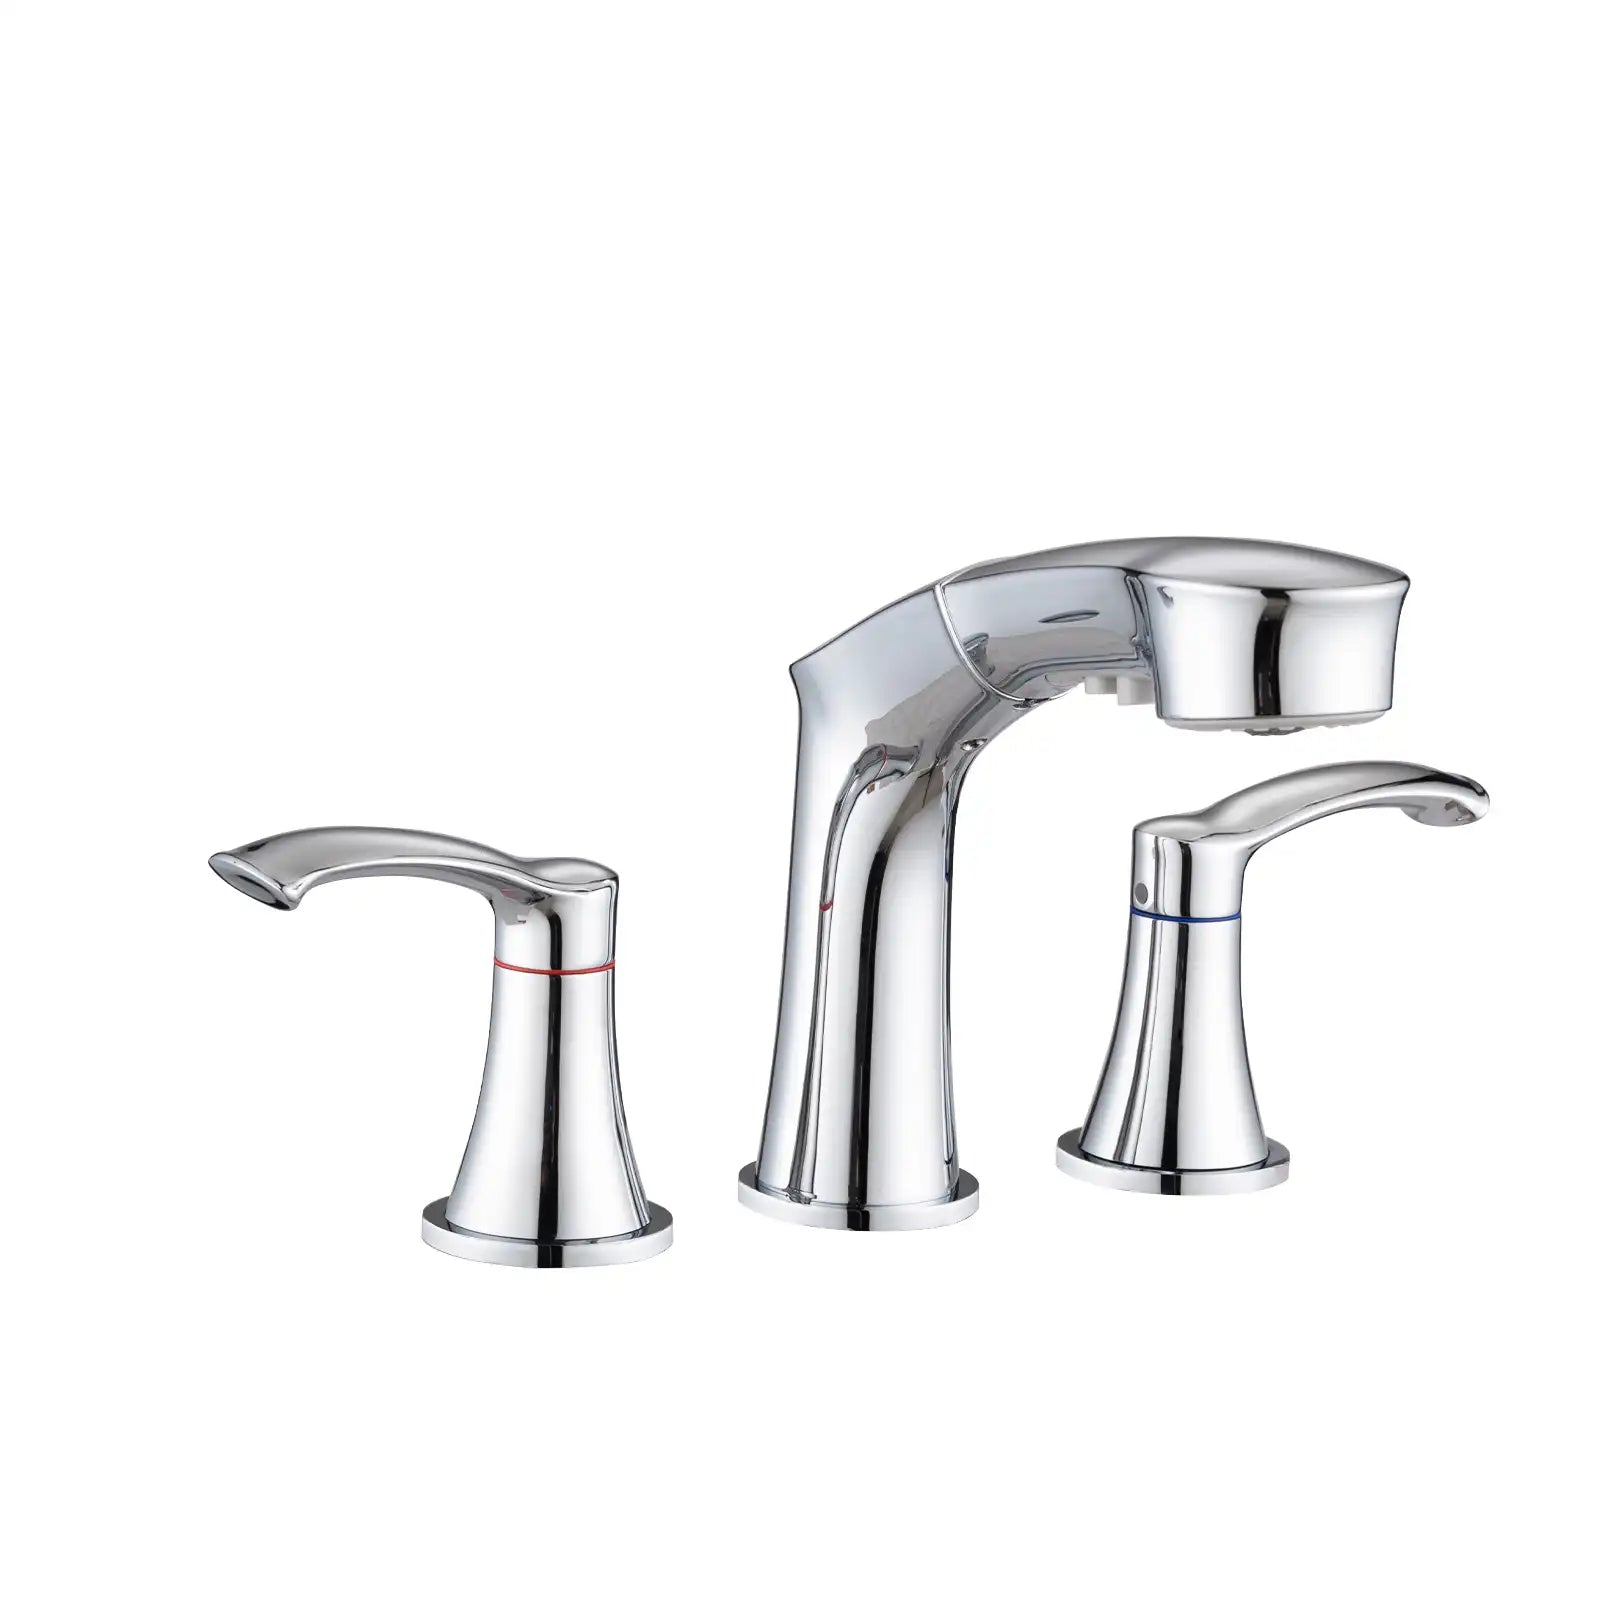
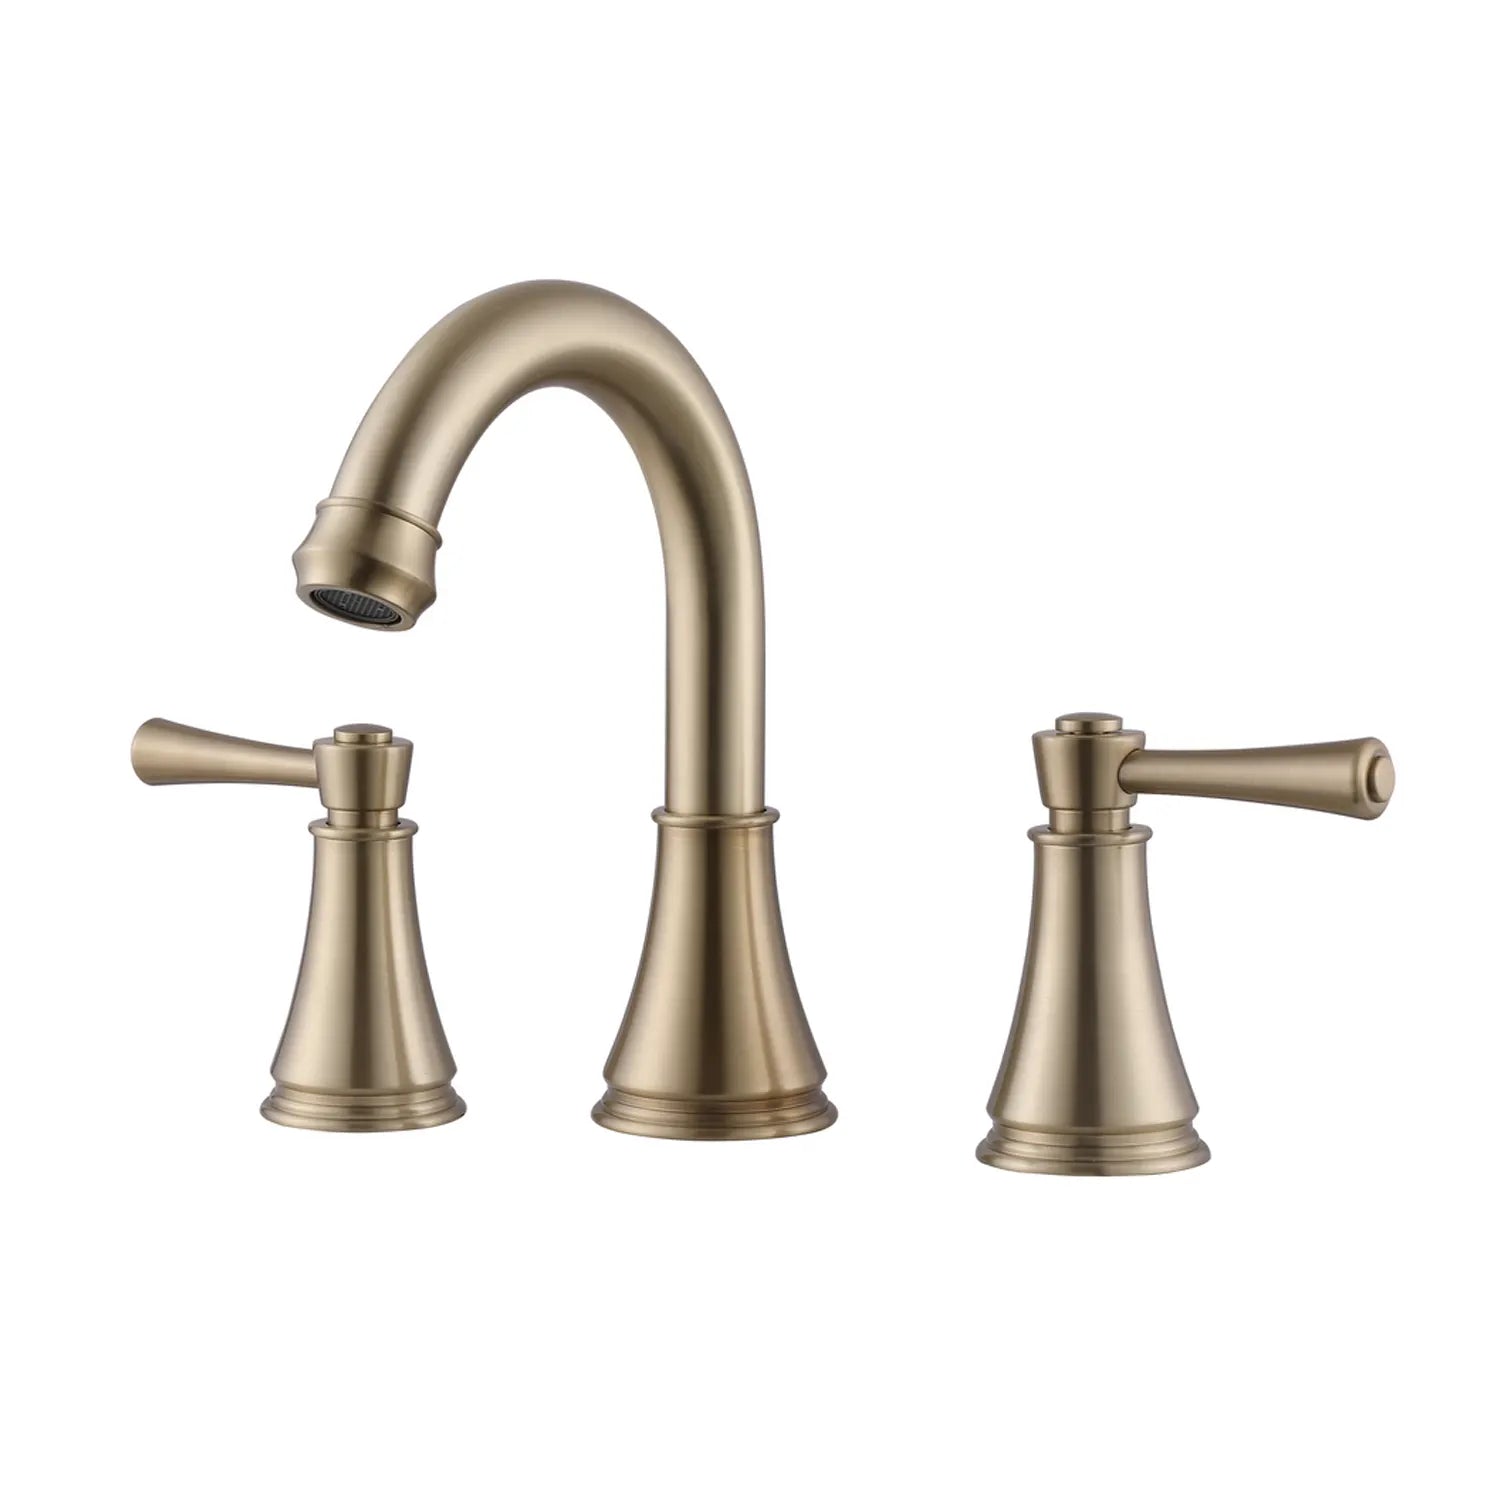
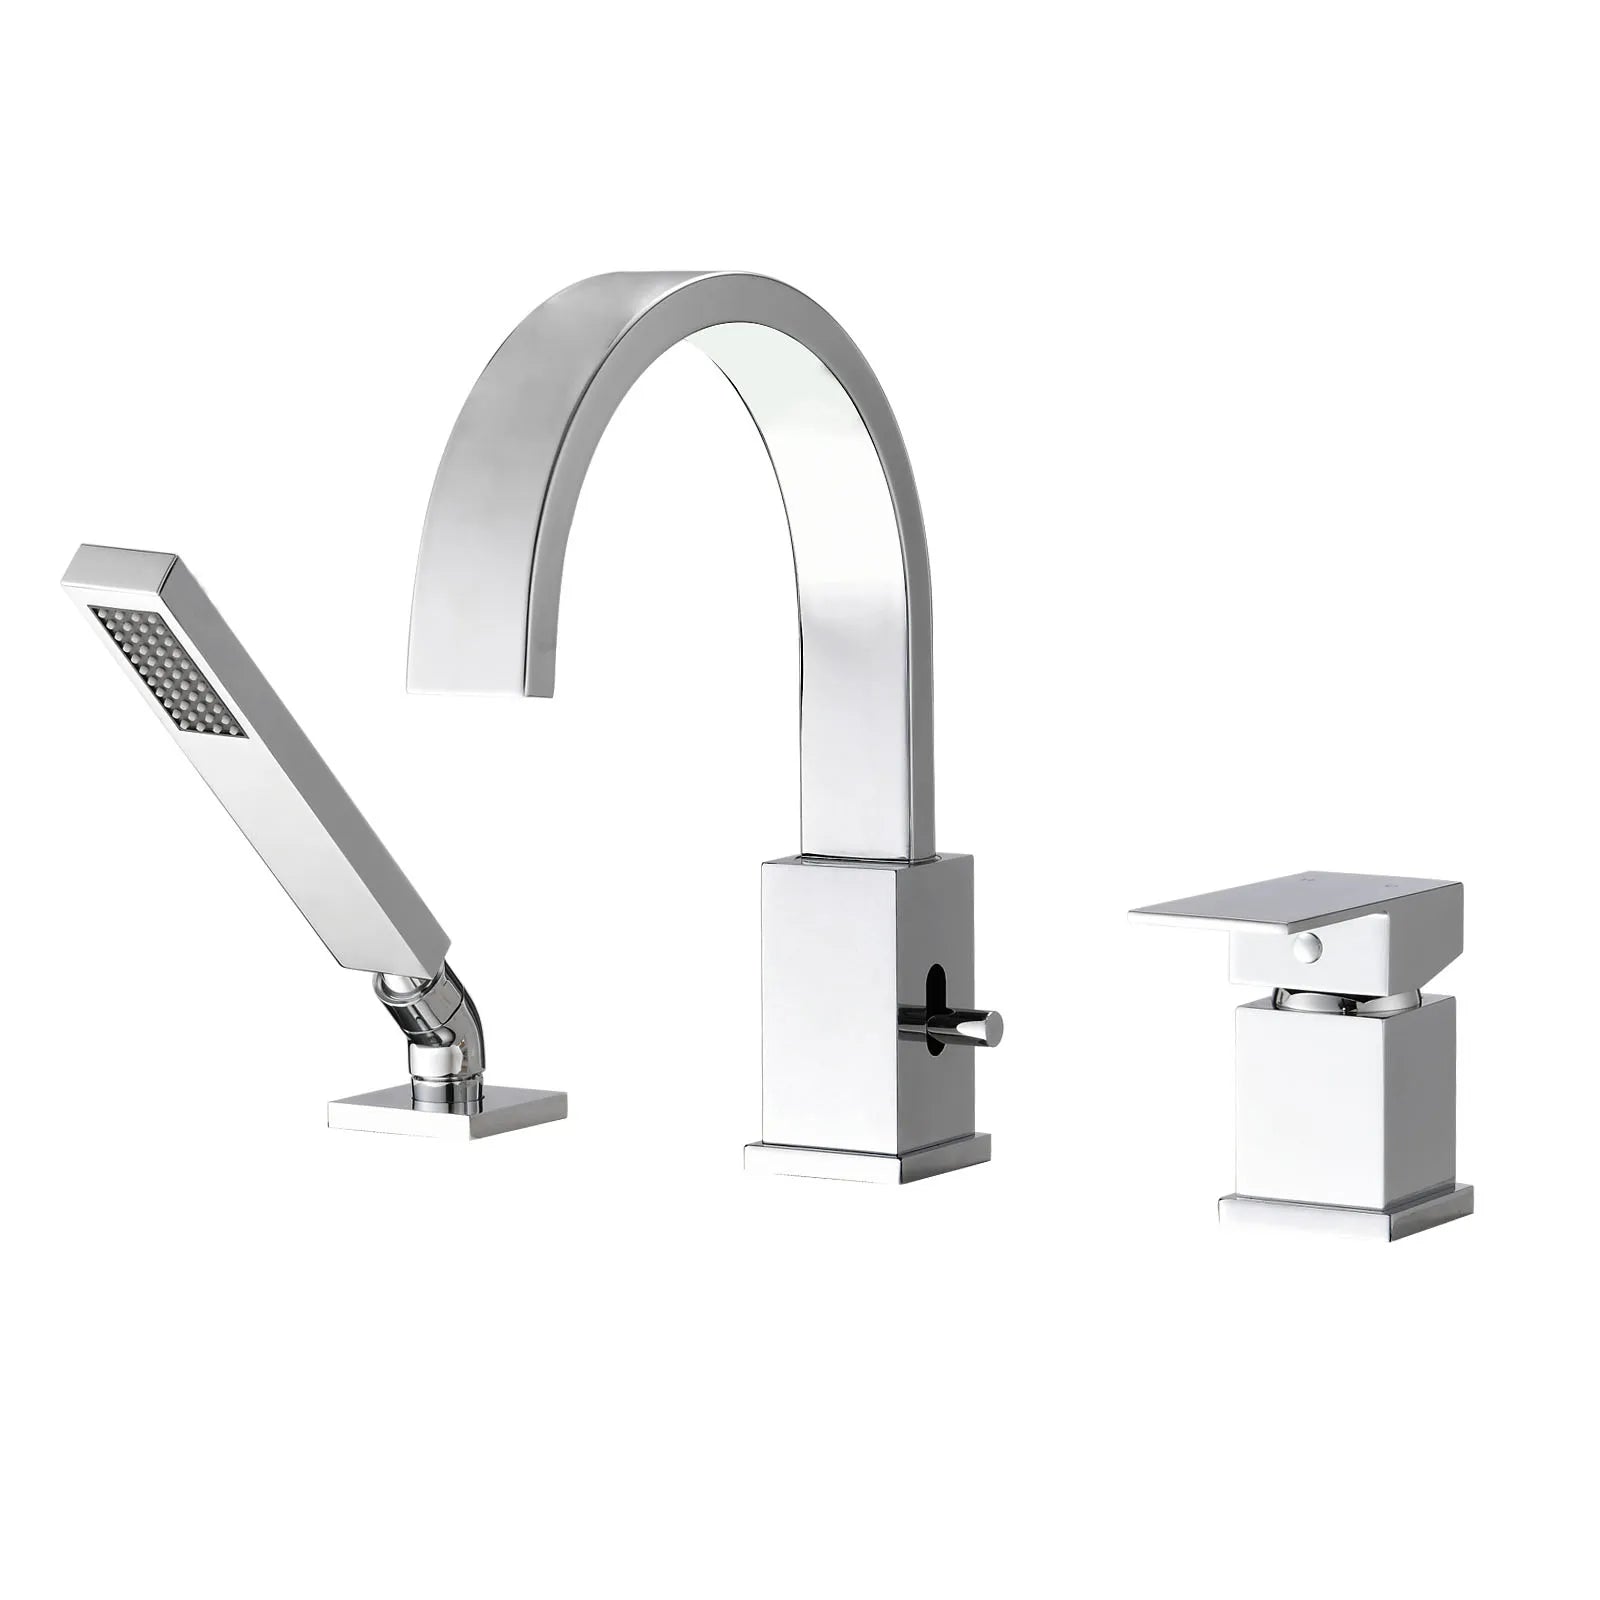
Identify the Type of Faucet You Have
Before you begin your bathroom faucet repair, it's essential to understand what kind of faucet you're dealing with. Each faucet type has its own internal design and repair method — and knowing yours will save you time, money, and frustration later on.
Most bathroom faucets fall into one of four main categories. Here's how to recognize them and what makes each unique:

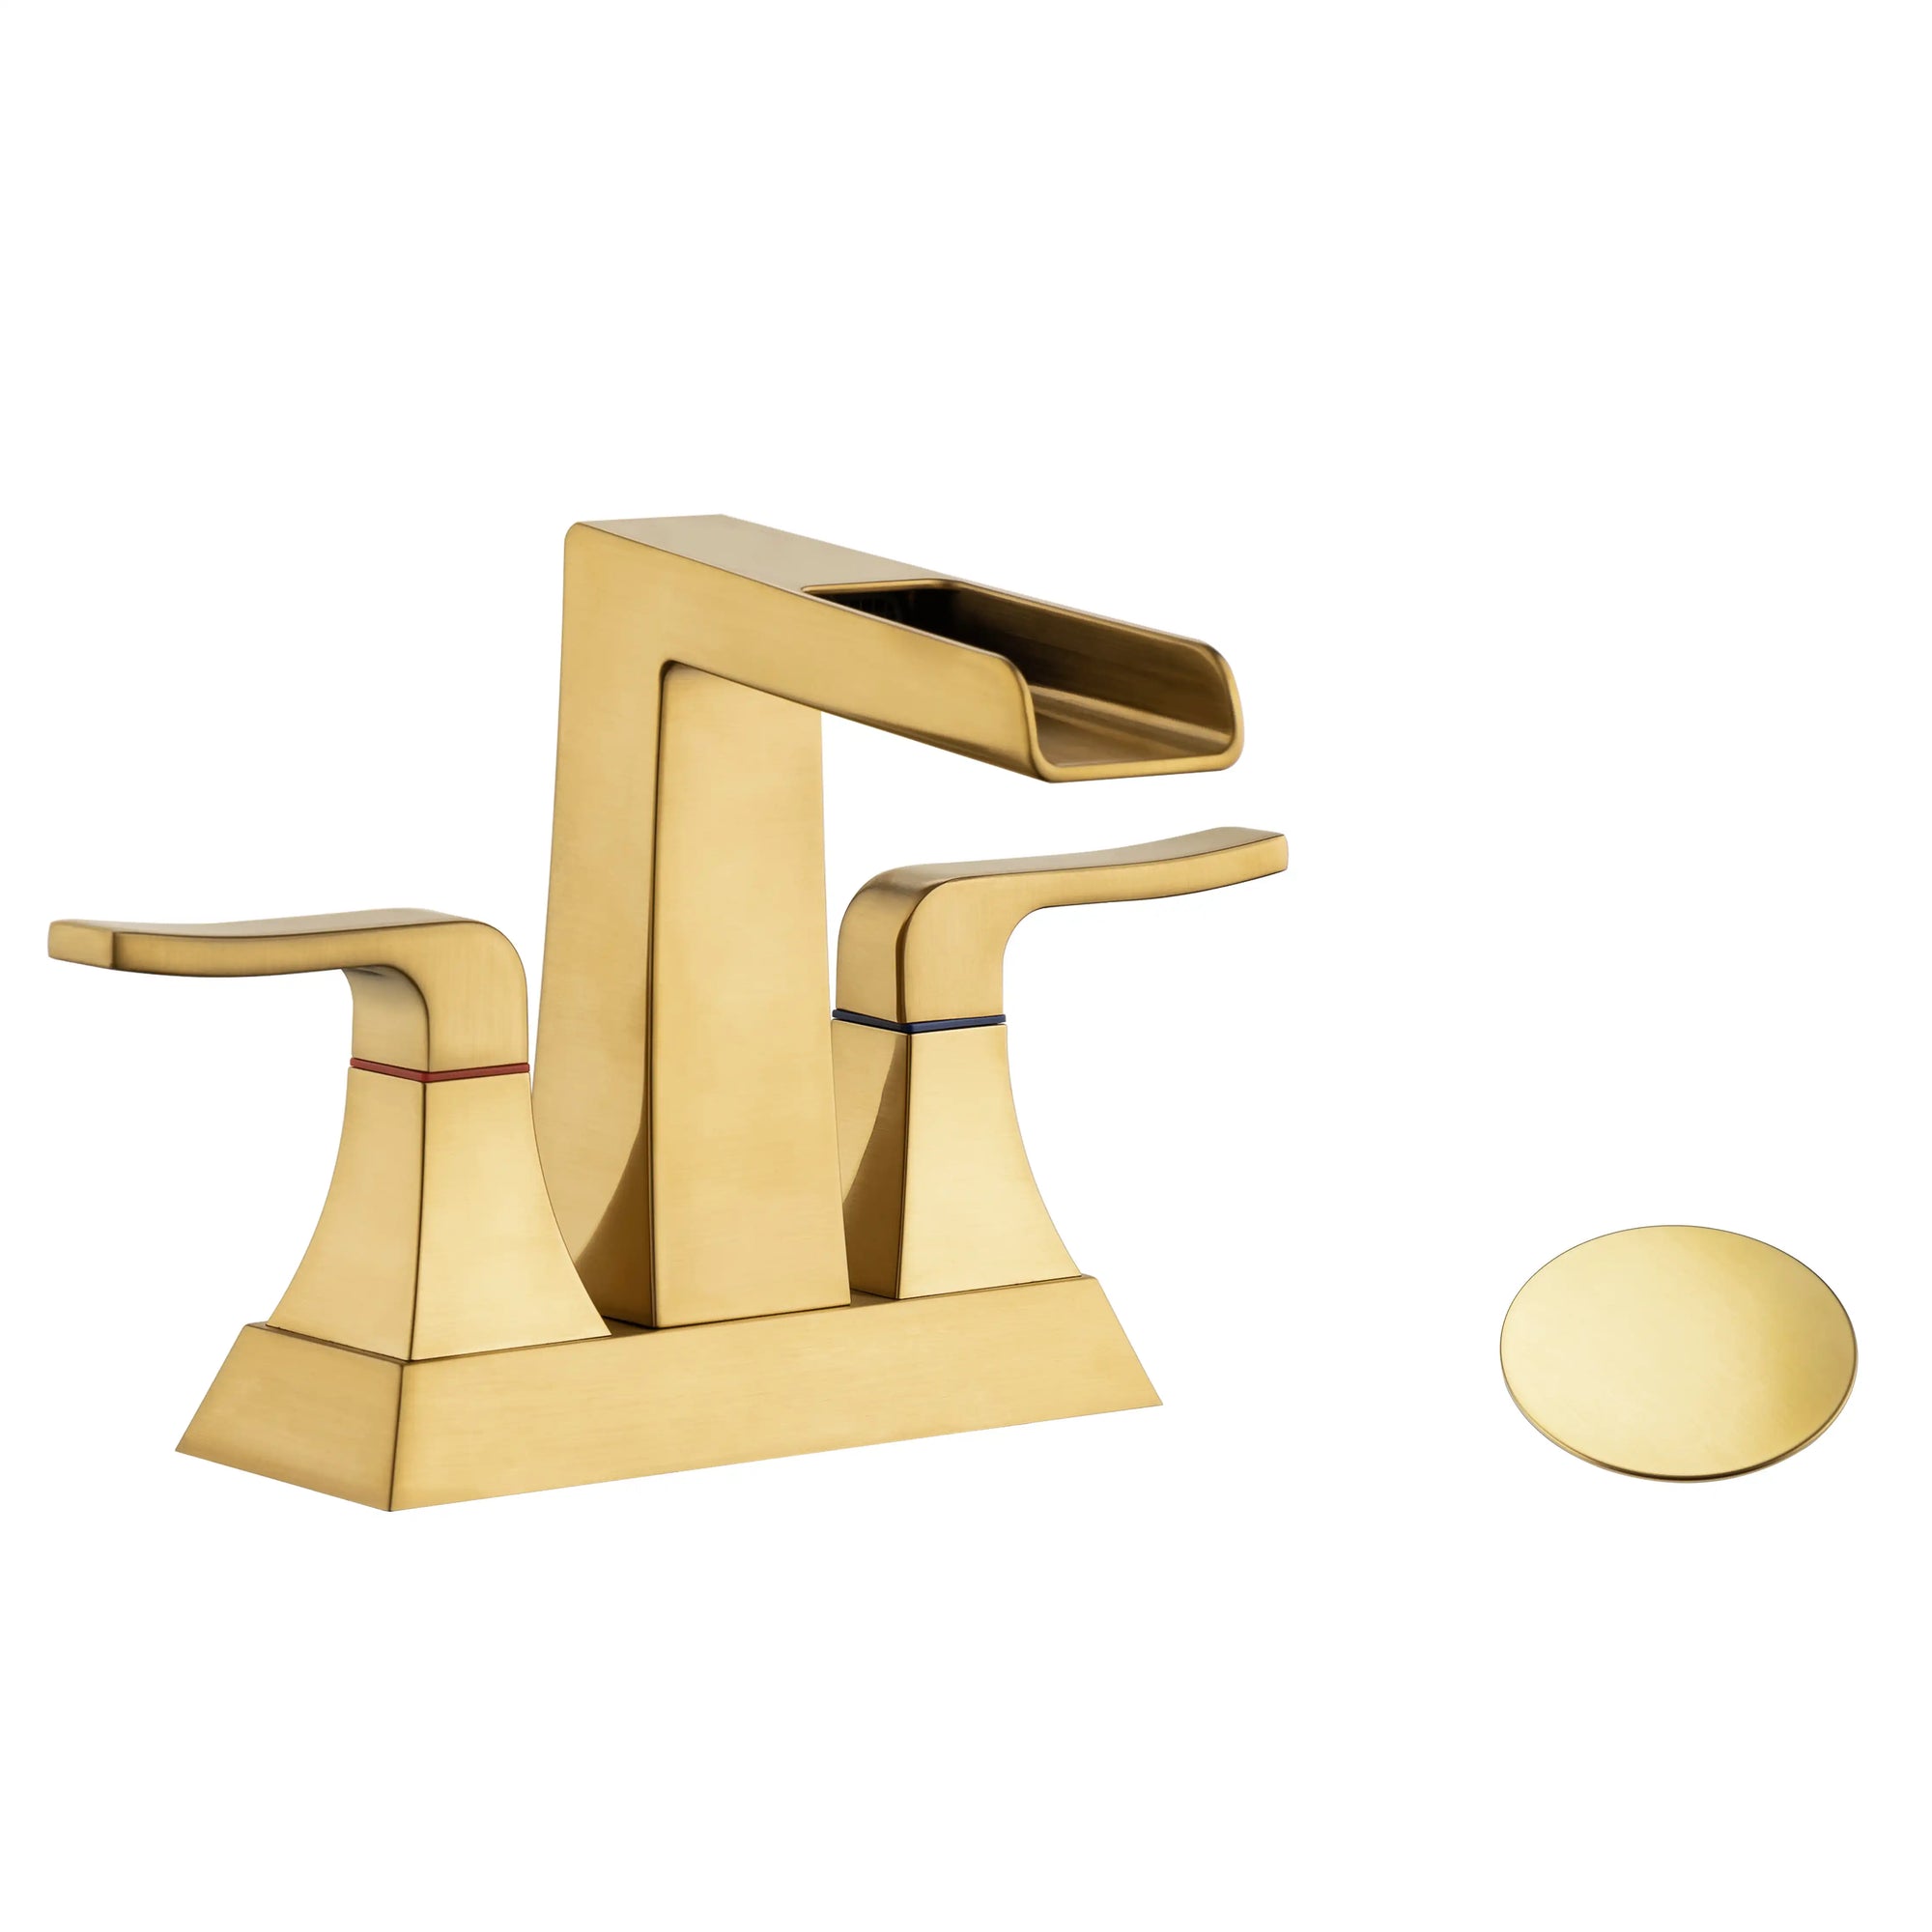
1. Ball Faucet
Used mainly in single-handle models, ball faucets control both temperature and water flow with a single lever that moves in multiple directions. Inside the faucet is a rotating metal or plastic ball with seals and springs.

2. Compression Faucet
This is the oldest and most traditional faucet type, often found in classic or older homes. It uses separate hot and cold handles that tighten down washers to stop the flow of water.

3. Cartridge Faucet
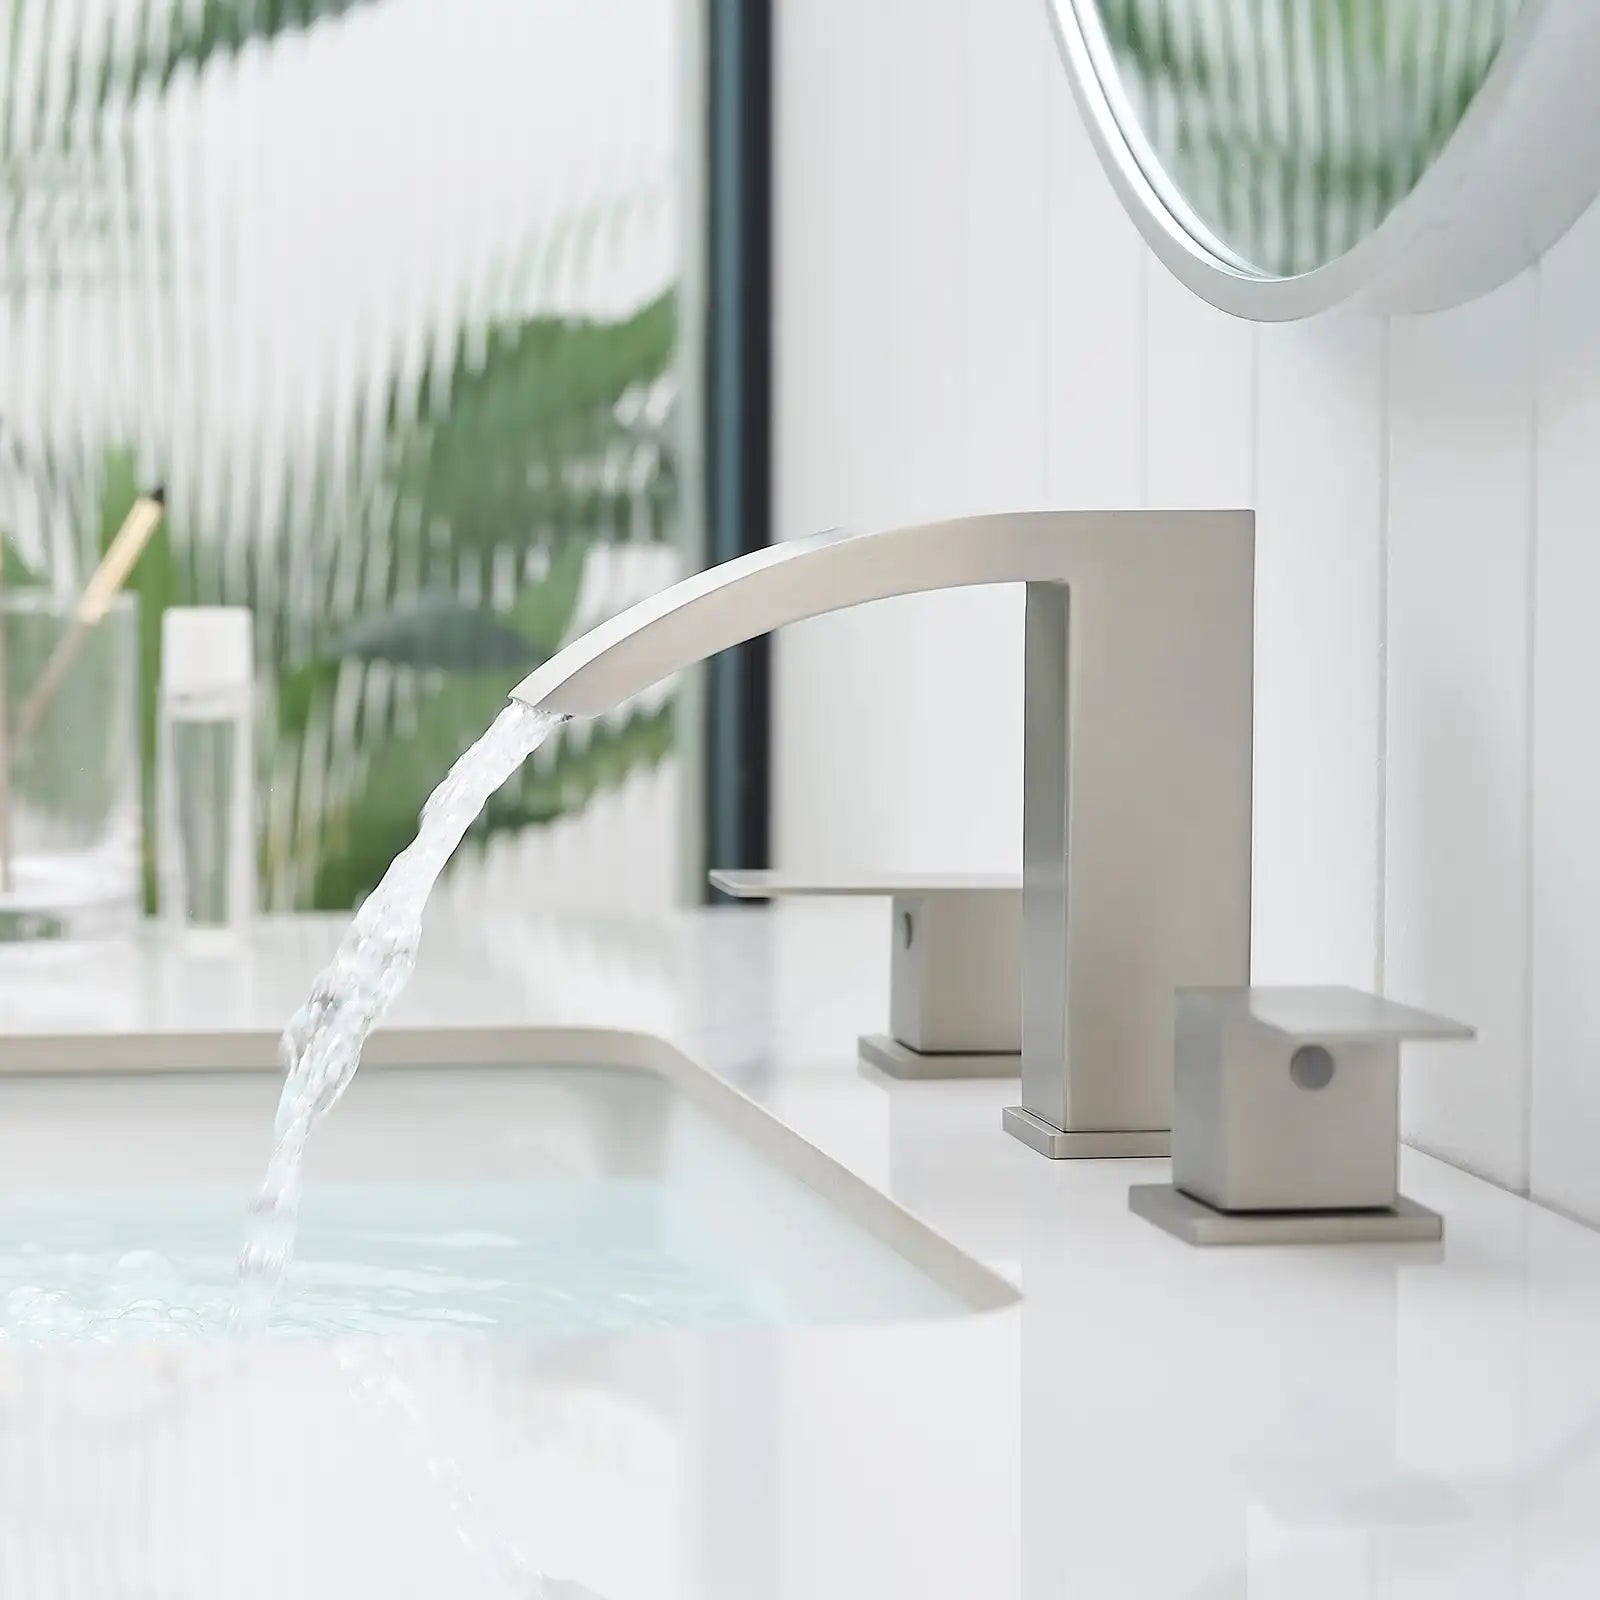
The most popular choice in modern bathroom designs, cartridge faucets are reliable, durable, and easier to repair than they look. They come in both single- and double-handle versions and use a cartridge mechanism that controls water flow precisely.

4. Ceramic Disc Faucet
This is the premium option — known for durability, a solid feel, and long life. Inside, two ceramic discs slide together to control water flow. They’re extremely resistant to wear and can last for years without dripping.
If you’re still unsure which type you have, try this simple test:
Turn off the water supply, remove the handle cap, and take a peek inside. A cartridge will appear as a clean, cylindrical insert. A compression faucet will show two visible stems. Ball and ceramic disc faucets have more compact single-handle mechanisms.
Knowing your faucet type doesn't just make repair easier — it helps you buy the right replacement parts and avoid damaging a finish or internal seal. At Ace Decor, we always recommend identifying your faucet before purchasing any bathroom faucet replacement parts to ensure the perfect fit and long-lasting performance.
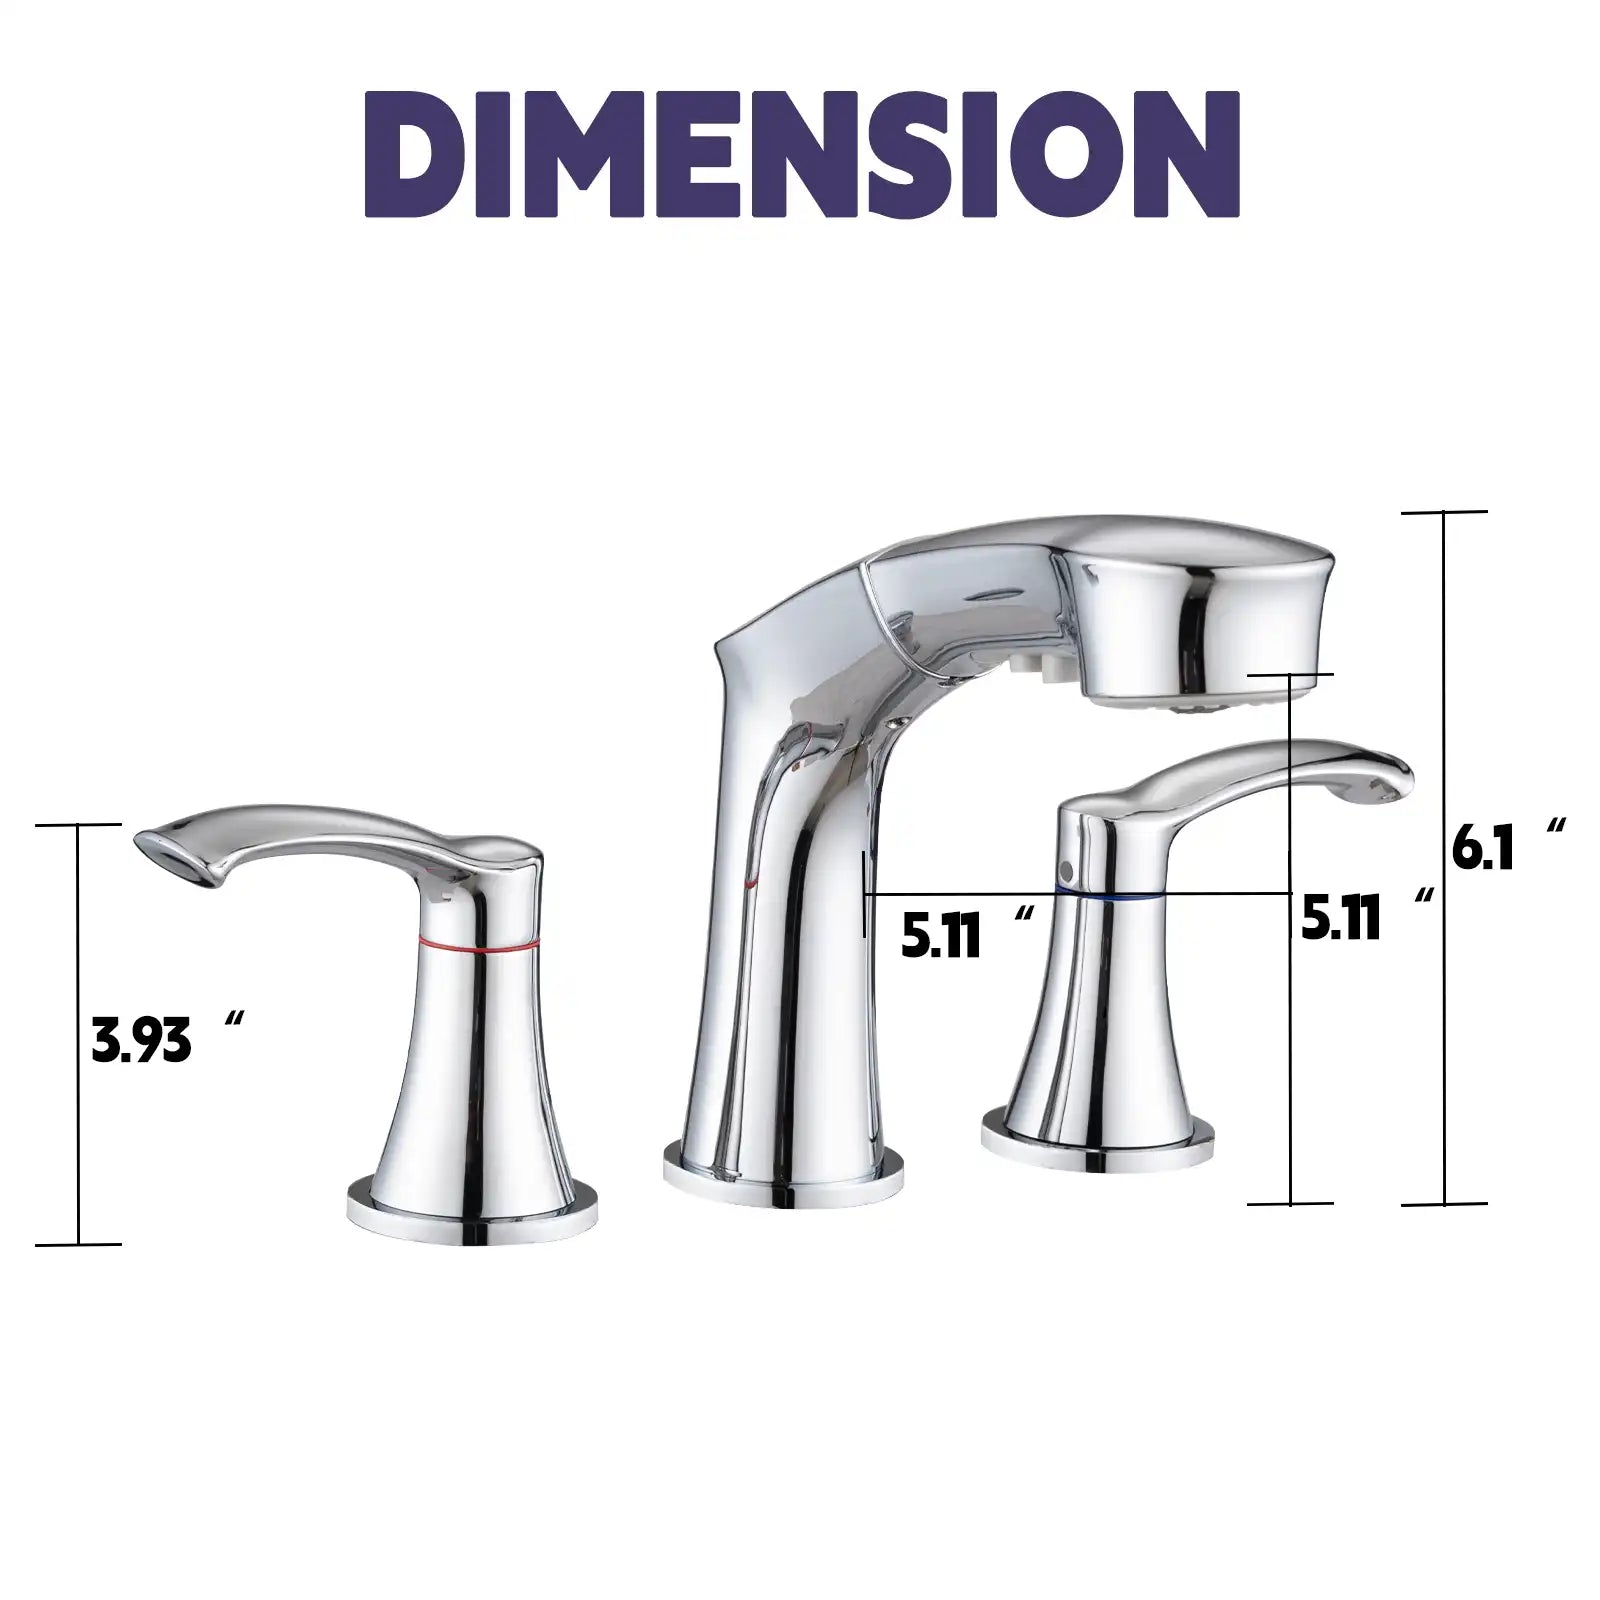
Tools & Materials You'll Need
Before you start any bathroom faucet repair, gathering the right tools and materials will save you time, frustration, and multiple trips back to the toolbox. Even a small leak repair can go smoothly when you're well-prepared. Here's a complete list of what you'll need—and why each item matters:
Basic Tools
- Adjustable wrench or basin wrench – Used to loosen and tighten nuts under the sink or around the faucet base. A basin wrench is especially helpful in tight bathroom spaces where regular wrenches can't reach.
- Phillips and flathead screwdriver – Most faucet handles and decorative caps are secured with small screws. Keep both types handy since different faucet brands use different screw heads.
- Allen wrench (hex key) – Some modern or minimalist faucet designs hide their screws within the handle, requiring a small hex key for removal.
Replacement Parts
- Cartridge, O-ring, washer, or gasket – These are the heart of any faucet leak repair. If your faucet is dripping or leaking around the base, these small parts are almost always the culprit. It's a good idea to take the old piece to your local hardware store to find an exact match.
- Plumber's tape (Teflon tape) – Wrap this around threaded connections to create a watertight seal. It prevents leaks where pipes or fittings connect and is inexpensive but incredibly effective.
Cleaning & Maintenance Supplies
- White vinegar or descaling cleaner – Ideal for removing hard water deposits, limescale, and mineral buildup inside aerators and around faucet joints. Soak parts for 10–15 minutes before rinsing to restore smooth water flow.
- Soft brush or old toothbrush – Helps scrub away residue from small grooves without scratching chrome or matte finishes.
- Microfiber cloth – Gently wipe faucet surfaces after cleaning or repairs to avoid water spots.
Safety & Setup Essentials
- Towels or bucket – Place them under your sink to catch any remaining water when disconnecting hoses or valves. Even with the water supply turned off, a few drops always sneak through.
- Work gloves – Protect your hands from sharp edges and hot surfaces, especially when working under tight vanity spaces.
- Flashlight – Bathroom vanities can be dimly lit; a good light helps you see connection points clearly and work faster.
If you're planning to do frequent DIY bathroom repairs, consider keeping a small plumbing kit at home with replacement washers, cartridges, and O-rings for different faucet brands. These small parts cost just a few dollars but can save you a professional service call.
At Ace Decor, we recommend investing in durable tools you'll use for years—because a quick bathroom faucet repair today might inspire you to take on bigger home upgrades tomorrow.
Step-by-Step Bathroom Faucet Repair Guide
Even if you've never done plumbing work before, this bathroom faucet repair process is easier than you might expect. With a few basic tools and a bit of patience, you can bring your faucet back to life—and stop that annoying drip once and for all.
1. Turn Off the Water Supply (Don't Skip This Step!)
Start by locating the shut-off valves under your sink. You'll usually find two small knobs—one for hot water and one for cold. Turn them clockwise until they stop to shut off the water completely.
Once the water is off, open the faucet handles to release any pressure or trapped water. This prevents an unexpected spray when you start disassembling.
If you can’t find the local shut-off valves or they’re stuck, turn off the main water supply to your home instead. It’s safer than risking a flood.
2. Remove the Faucet Handle
Next, take off the handle so you can access the internal mechanism. Most handles have a small decorative cap that conceals a screw underneath—pop it off gently with a flathead screwdriver or utility knife.
Use the appropriate screwdriver (or hex key, for modern faucets) to remove the screw, then lift off the handle carefully. Some may need a gentle wiggle to loosen mineral buildup.
Place all small screws, washers, and decorative caps in a small bowl or zip bag. It’s easy to lose them in a sink or drain opening, especially when your hands are wet.
3. Inspect and Replace the Internal Components
Now you can access the inner parts of your faucet—the real heart of the DIY faucet repair process. Different types of leaks point to specific issues:
- Dripping from the spout: Most likely a worn-out washer or cartridge. Over time, these rubber or ceramic pieces lose their seal and allow small amounts of water to leak through.
- Leak around the base: Usually caused by a damaged O-ring or gasket, often due to wear or mineral buildup.
- Leak from the handle: Typically means the valve stem or cartridge inside the faucet body is cracked or deteriorated.
Remove the cartridge, washer, or O-ring using pliers or a wrench. Inspect them closely—if they look brittle, deformed, or covered in mineral deposits, it's time to replace them.
If you're unsure which replacement to buy, bring the old part to your local hardware store or search the model number online. Faucet parts are not one-size-fits-all, and getting the correct fit ensures a watertight seal.
When installing new rubber or silicone parts, apply a small amount of plumber’s grease for smoother operation and longer lifespan.
4. Clean the Faucet Components Thoroughly
Even after replacing worn parts, your faucet won't work perfectly unless the internal components are clean. Hard water and limescale buildup can block flow and prevent proper sealing.
Soak all removable pieces—like the aerator, cartridge housing, and spout tip—in white vinegar for 15–30 minutes. This dissolves calcium deposits and kills bacteria naturally. Then rinse everything with warm water and dry with a microfiber cloth.
Don't forget to wipe the faucet body too; cleaning mineral rings and hidden spots keeps your faucet looking like new and prevents future corrosion.
Avoid abrasive pads or harsh chemicals—they can scratch matte black or brushed nickel finishes commonly used in modern bathroom faucets.
5. Reassemble, Test, and Celebrate Your Success
Once everything is clean and replaced, it's time to put it all back together. Follow these simple steps:
- Insert the new or cleaned cartridge into the faucet body.
- Reattach the handle securely, making sure it's aligned properly.
- Turn the water valves back on slowly to avoid pressure shock.
- Run both hot and cold water for a minute to flush out air bubbles and debris.
Now check for leaks around the spout, base, and handle. If everything feels tight and the dripping has stopped—congratulations! You've successfully completed your DIY bathroom faucet repair.
If a minor drip remains, turn the handle off firmly and check the valve connections one more time. Sometimes it takes a slight adjustment to create a perfect seal.
Optional: Upgrade While You’re At It
If your faucet is older or has visible corrosion, this is the perfect time to consider an upgrade. Modern faucets with ceramic disc cartridges or water-saving aerators not only prevent future leaks but also reduce water usage by up to 30%.
At Ace Decor, we design faucets and bathroom fixtures that combine elegant style, durability, and effortless DIY installation—so you can refresh your bathroom with confidence, not stress.
How to Prevent Future Faucet Problems
After completing your bathroom faucet repair, a few small habits can help your faucet stay leak-free and looking new for years to come. You don't need to be a plumber — just a little routine care goes a long way.
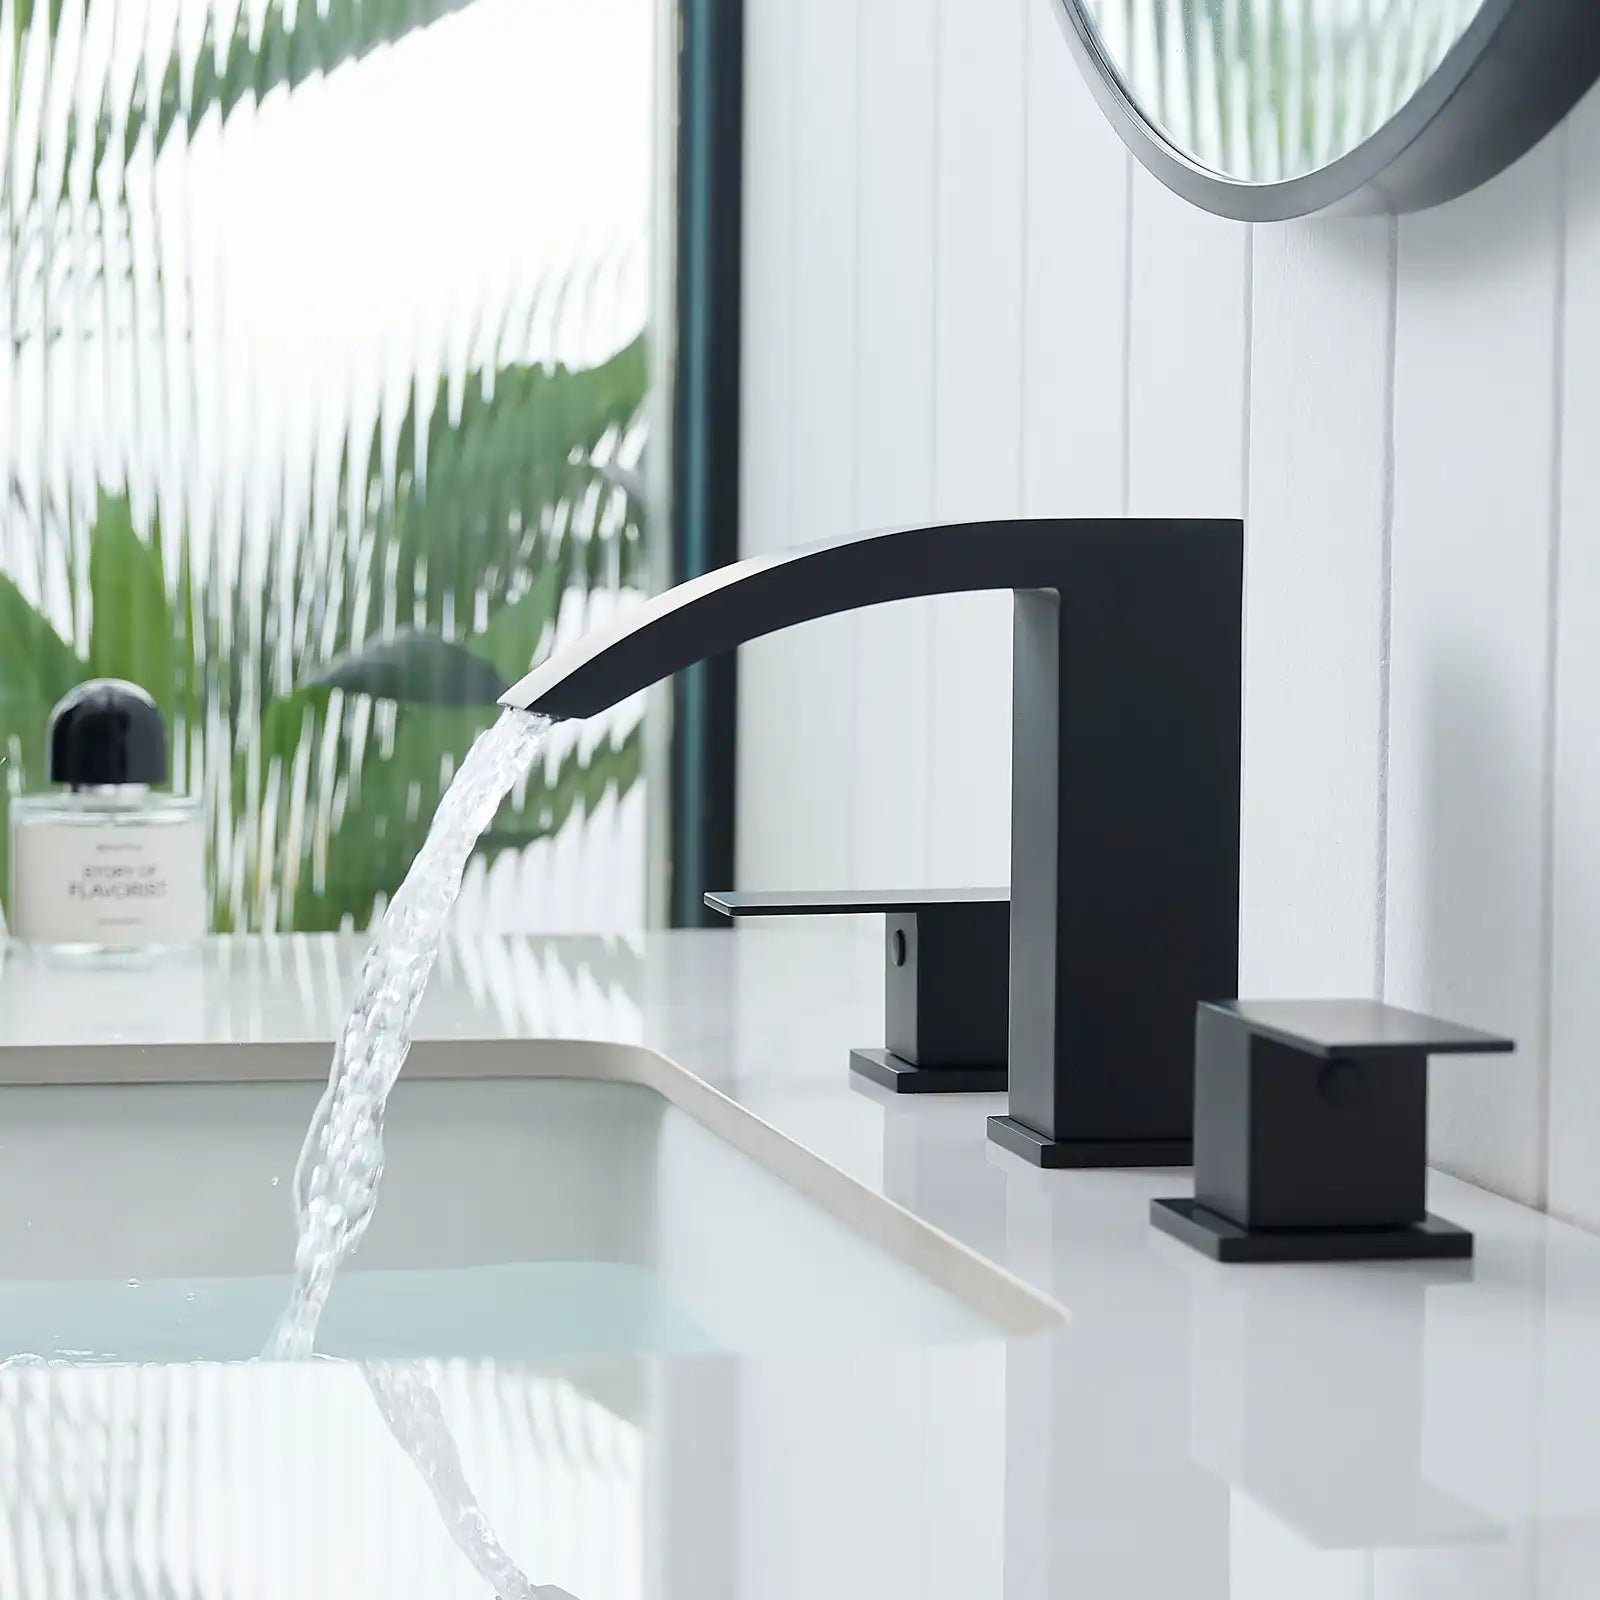
Keep the faucet clean by wiping it weekly with a soft cloth and mild soap to prevent mineral spots or corrosion. Avoid harsh cleaners that can dull modern finishes like matte black or brushed nickel. Check the aerator every few months and rinse away any buildup that might reduce water flow.
When turning the handle, close it gently instead of tightening hard — that's one of the most common causes of worn seals and future drips. If you live in a hard-water area, consider using a small filter or softener to slow mineral buildup inside the faucet.
Lastly, take a quick look under your sink once in a while to make sure no moisture is forming around the water lines. Catching a small leak early can save you a costly repair later.
A bit of preventive care keeps your faucet performing smoothly and extends its lifespan — helping your bathroom stay as functional and beautiful as the day you finished the repair.
A Quick Note from Ace Decor
At Ace Decor, we know that your bathroom is more than just a functional space—it's part of your home's comfort and style. Whether you're upgrading to a modern faucet or repairing your current one, investing in durable, easy-to-maintain bathroom fixtures will save you time, money, and stress for years to come.
If you're planning a full remodel, explore our curated collection of vanities, shower doors, LED mirrors, and faucets—each designed to bring timeless style and lasting performance to your space.
FAQ: Common Bathroom Faucet Repair Questions
1. How much does it cost to repair a bathroom faucet yourself?
2. How do I know if I need to replace the cartridge or just clean it?
3. Can I fix a faucet leak without turning off the main water supply?
4. How long should a bathroom faucet last before it needs repairs or replacement?
5. Is it better to repair or replace an old faucet?
6. Why does my new faucet still drip after installation?
7. What tools do I need for a simple bathroom faucet repair?
8. How can I tell if my bathroom faucet leak is coming from the base or the handle?
9. Can I repair a bathroom faucet if I have hard water buildup?
10. What’s the easiest faucet type for homeowners to repair?
11. How can I prevent future faucet leaks or wear?
Final Thoughts
You don't need to be a professional plumber to take care of bathroom faucet repair like a pro. Most common leaks can be fixed in less than an hour with a few simple tools—and that small bit of effort can save hundreds of dollars in water and repair costs over time.
Beyond the practical savings, there's a certain satisfaction in knowing you've restored something in your own home with your own hands. It's part of what homeownership is about: maintaining your space, protecting your investment, and making sure everything feels just right for your family.
If your faucet is showing its age, or if you're planning a bigger bathroom refresh, now is the perfect time to explore more efficient, modern options. New-generation faucets with ceramic disc cartridges, water-saving aerators, and durable finishes can make your bathroom not only quieter and leak-free but also more stylish and easier to maintain.
At Ace Decor, we understand how important it is for homeowners like you to combine practicality with design. That's why every product—from our faucets and shower doors to LED mirrors and vanities—is built for lasting performance, simple installation, and timeless appeal. Whether you're tackling a quick DIY project or redesigning your entire space, you deserve products that fit your lifestyle and stand the test of time.
So take pride in your repair work, enjoy that drip-free peace and quiet, and remember: a well-cared-for bathroom isn't just more functional—it's a reflection of the care you put into your home every day.
Related Articles
If you enjoyed this bathroom faucet repair guide, you might also like these related articles from Ace Decor — created to help homeowners build smarter, more stylish spaces.
- "How to Use Shower Steamers for a Spa-Like Experience at Home"
- "How to Plan a Bathroom Layout with Tub and Shower for Style and Function"
- "How to Unclog a Bathtub Drain Full of Hair — 5 Easy Ways to Fix It Fast"
- "Install Recessed Medicine Cabinet with Lights: Create a Safer and Brighter Bathroom"
- "How to Create a Modern and Simple Bathroom with Shower Door Alternatives"
- "How to Install a Bathtub Faucet: Floor, Wall, and Deck Mounted Options Made Simple"
- "How to Customize Mirrors: A Complete Guide to Creating Personalized Designs for Your Home"
- "How to Replace a Standing Shower Door: A Step-by-Step Guide for a Hassle-Free Upgrade "
- "How to Organize a Medicine Cabinet: Expert Tips for a Clutter-Free Bathroom"
- "How to Fix a Cracked Mirror: A Complete Guide for DIY and Replacement"